This post includes affiliate links for your convenience.
My laundry room update is finally done and I am super excited! Hope you all caught the tour/video I recently shared on IG. I received several questions about the different things I did in here, so I figured this is the best place to explain it all.
The Before
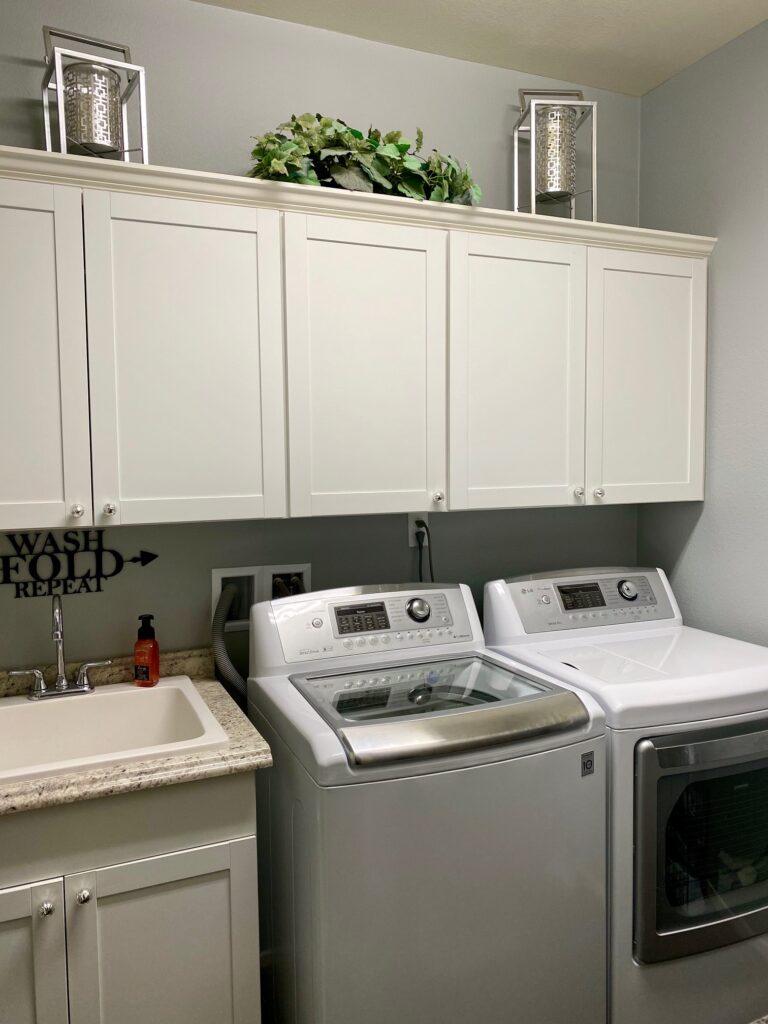
First off, I thought I’d start with a before pic in case you haven’t seen what my laundry room previously looked like. When we bought our home, there were actually no cabinets or sink in here. We added those upgrades after we moved in. I still felt this space could use a little more pizazz, though, so I decided to make it my summer project while I have some time off from work. My goal was to make laundry time a little more enjoyable. 😉
The Plan
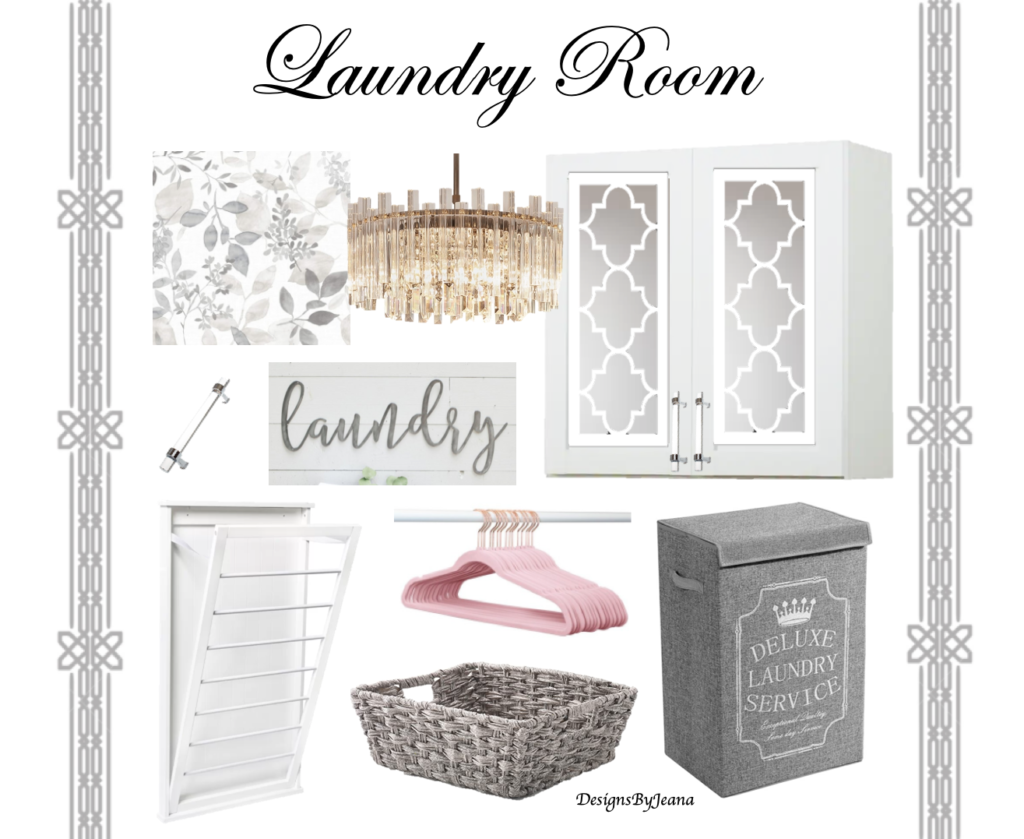
I have mentioned before that I love using design boards any time I want to update a space in my home. It is just a fun way to collect ideas and see how everything looks all together prior to purchasing anything. It also helps me plan everything out. Above is the original design board I created for my laundry room.
Starting Out
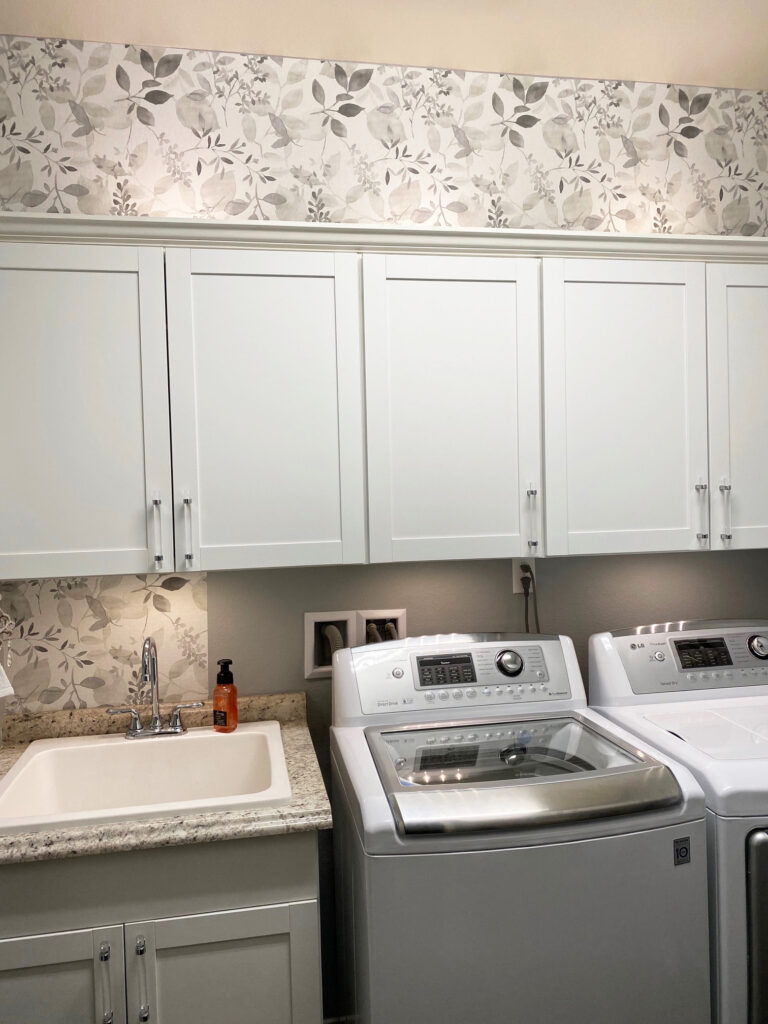
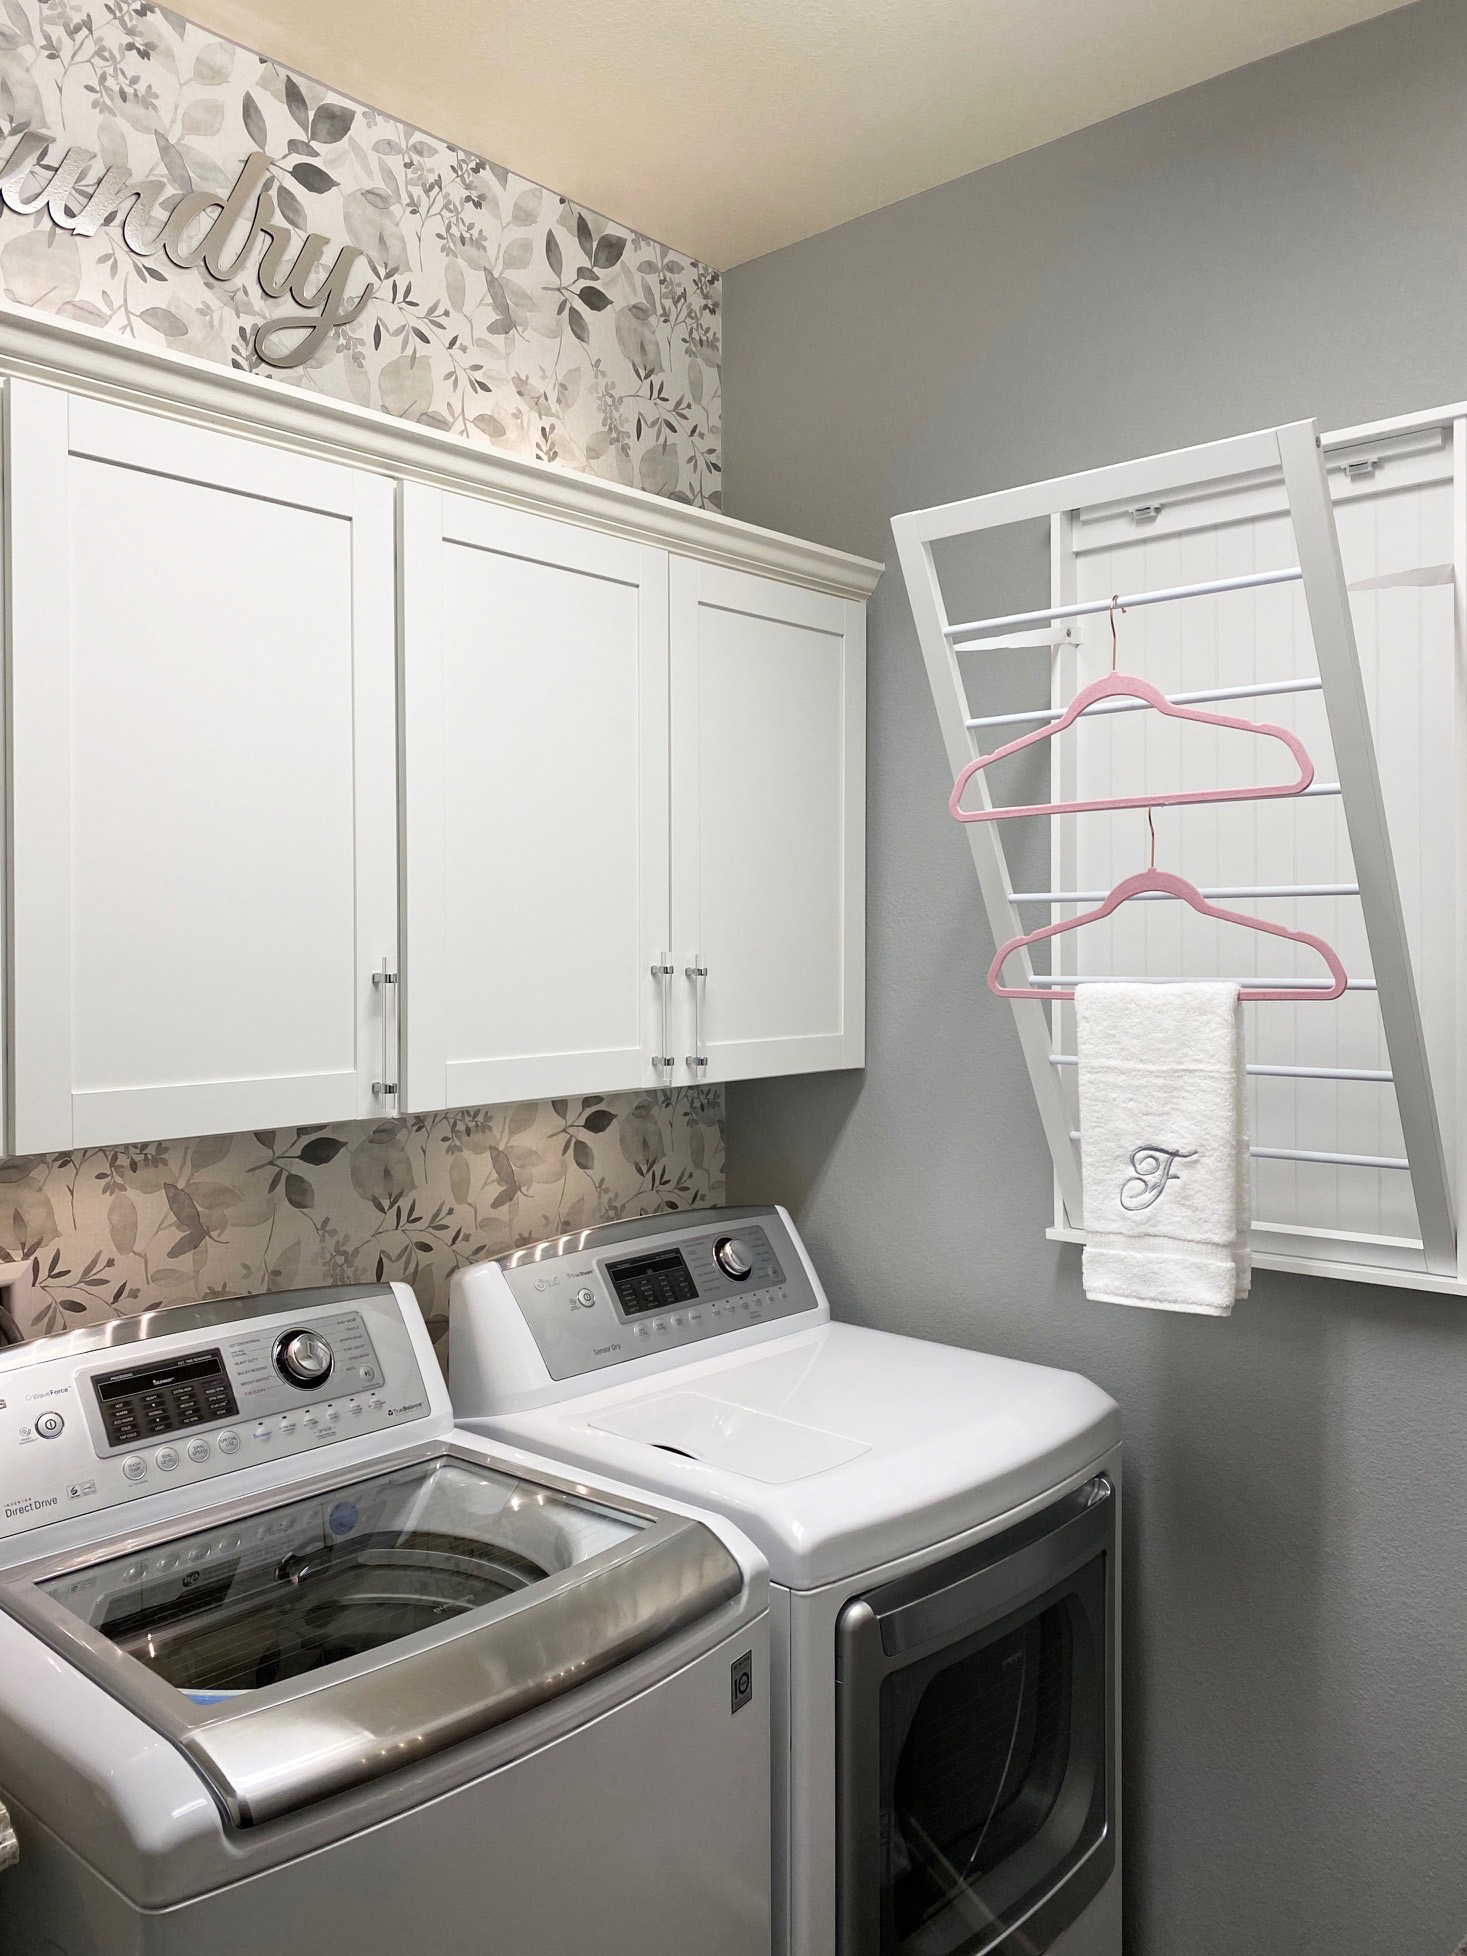
Starting out, I decided to replace the cabinet door pulls, add bar lights above and below the cabinets, and add wallpaper for the accent wall. I love that this wallpaper is peel-and-stick. It is easy to apply and can also be easily removed if I were to ever decide I didn’t want it in here anymore. The outlet being up so high and the electrical cords showing on this wall bothered me and got in my way for wallpapering. I decided to hire my handyman dad to move the outlet a little lower (see pic below).
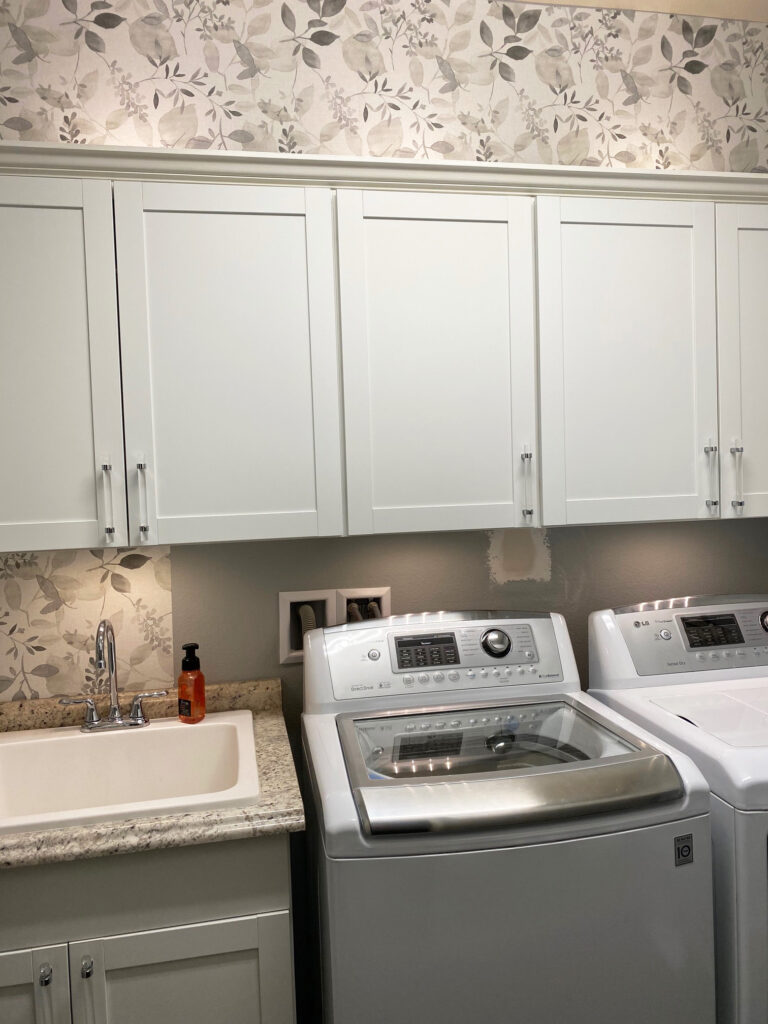
Once the previous hole was patched, dried, and painted, I was able to finish applying the wallpaper (see below).
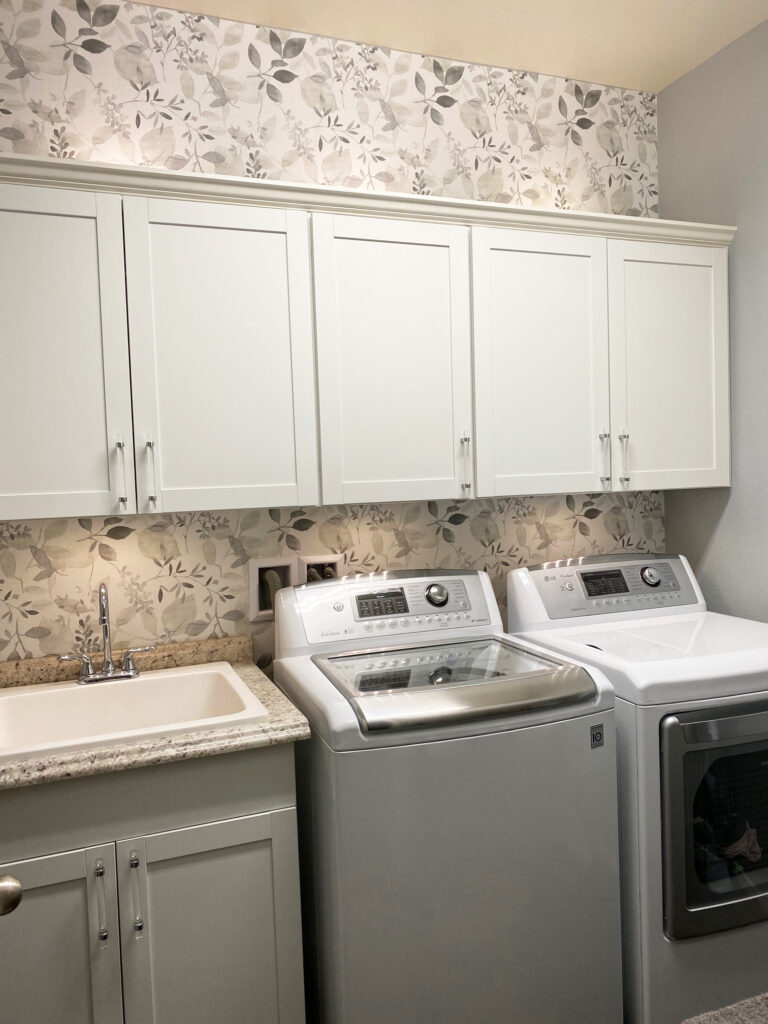
Next Steps
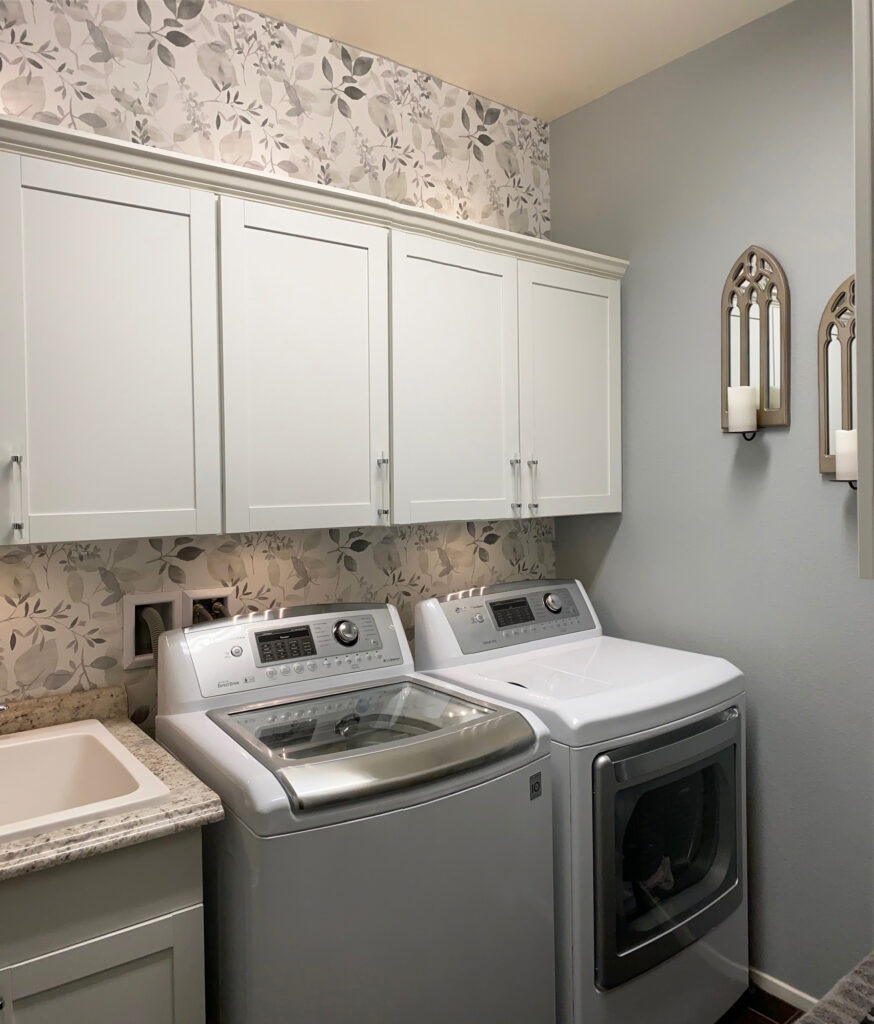
Before 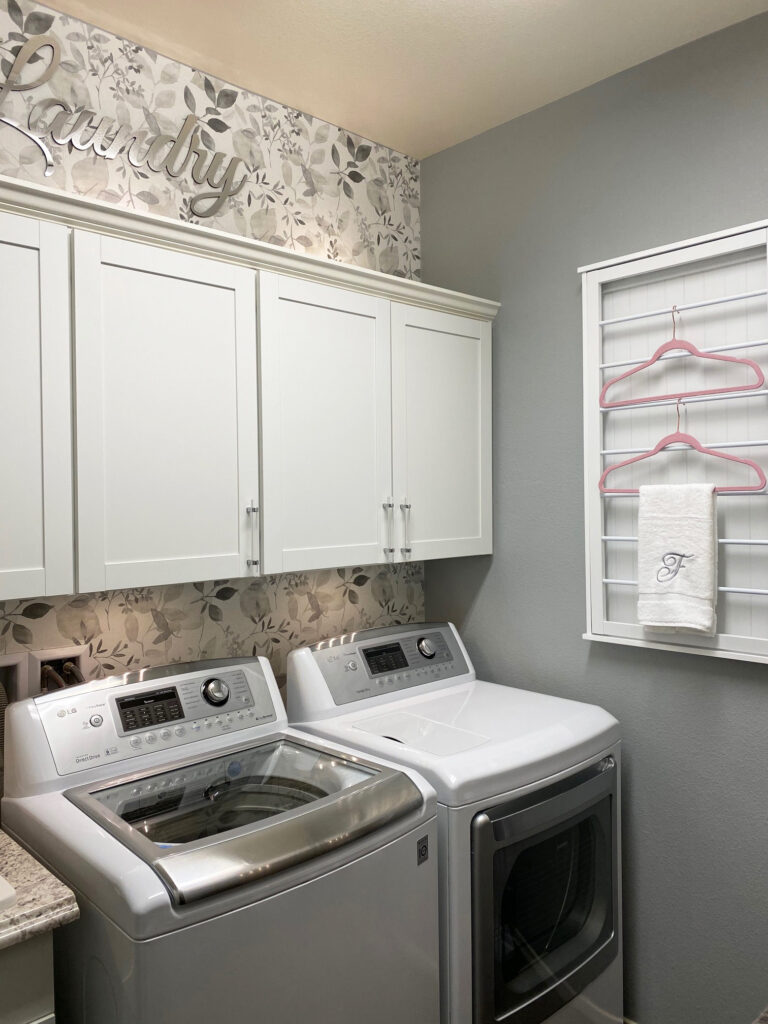
After
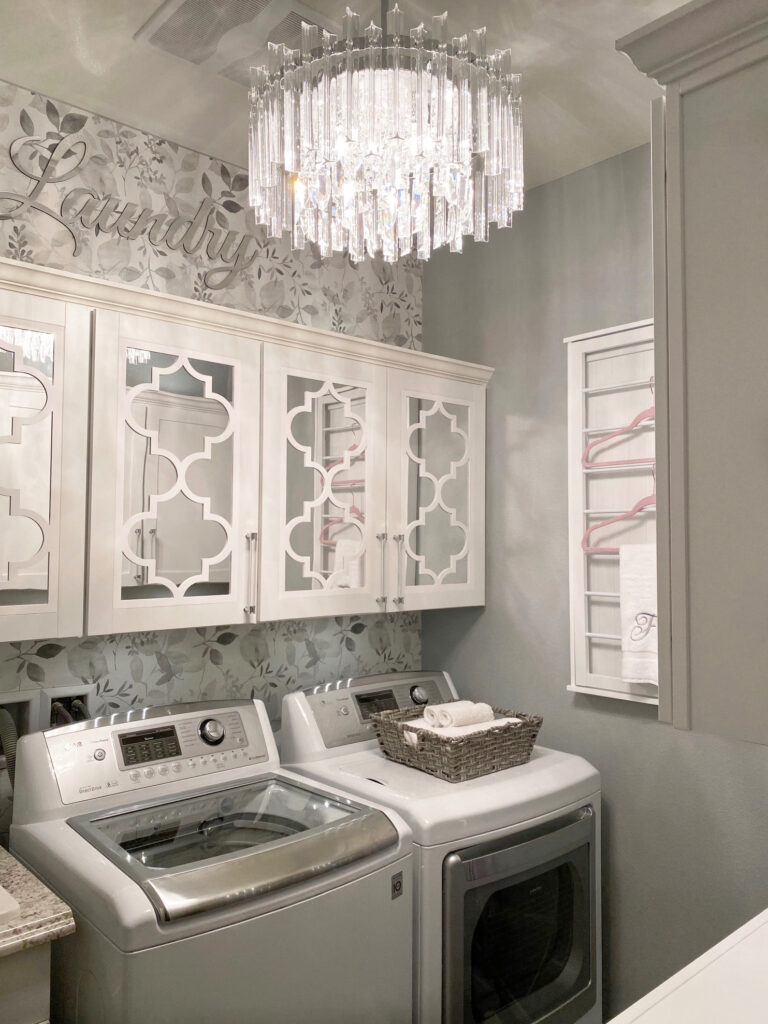
Next, I added the mirrored “laundry” sign above the cabinets and found a cute drying rack to hang on the wall. It pulls open to hang-dry the things I don’t want to throw in the dryer (see pic below). Hangers are not required; I just like the look and wanted to add a little pink in here, of course. The drying rack also comes with brackets to hang on the back of the door, if preferred.
The Cabinets
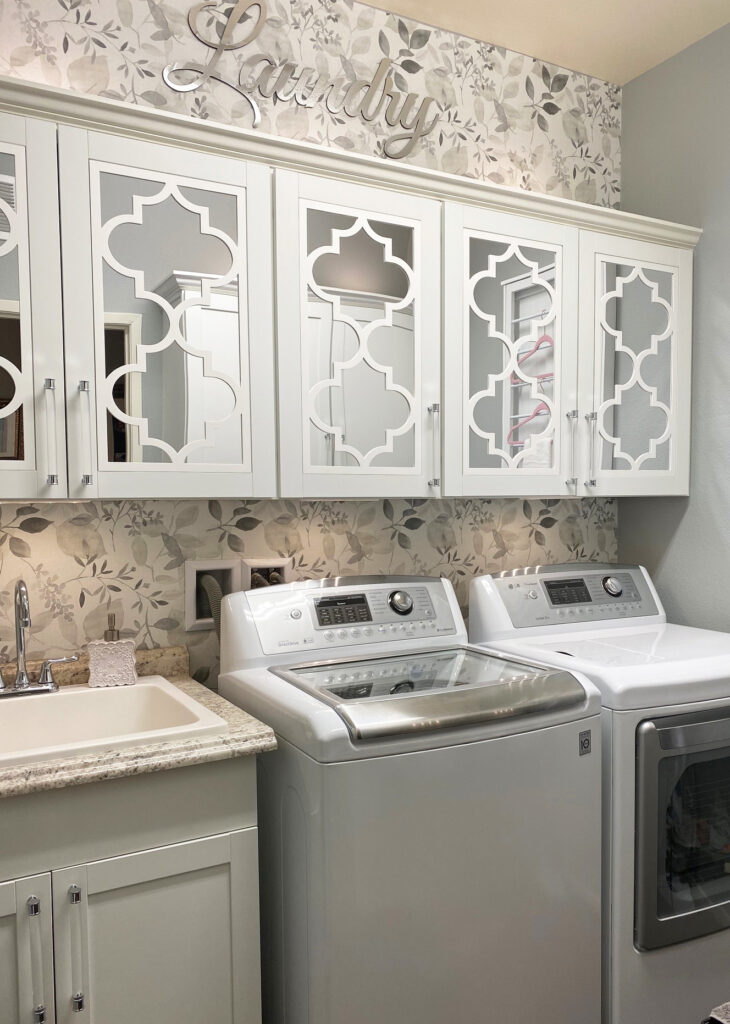
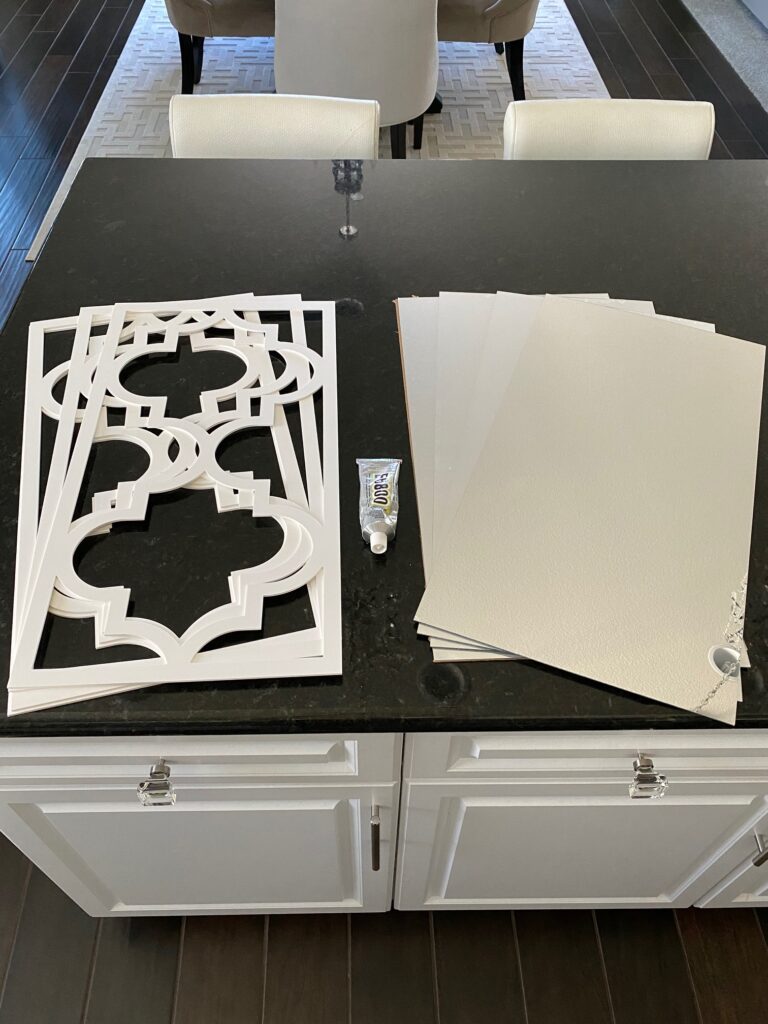
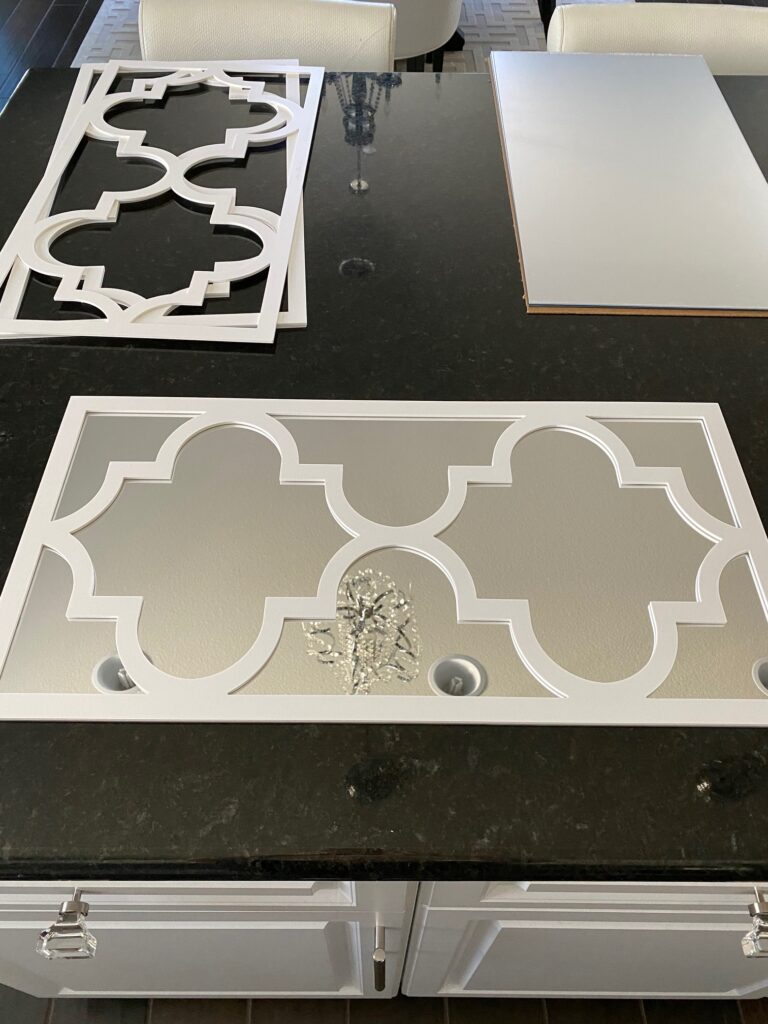
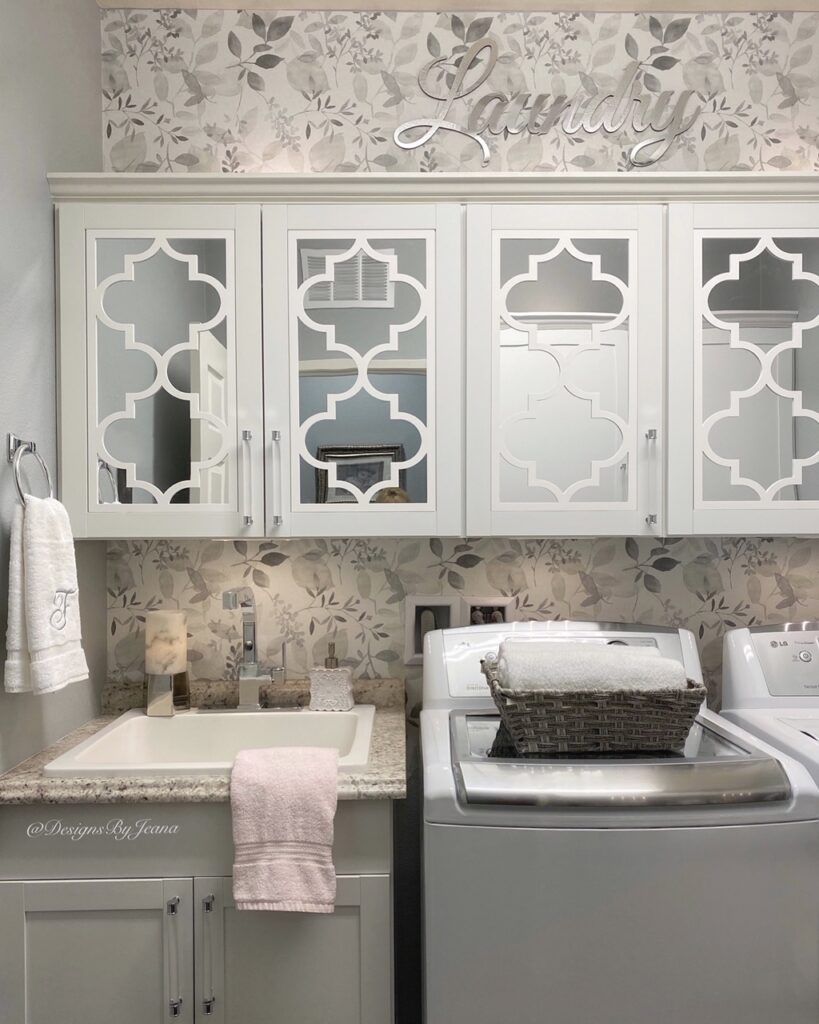
I decided to dress up my cabinets a little with custom-sized acrylic mirrors from Acrylite and overlays from O’verlays. (Clicking on the words in pink should take you directly to the websites I used when ordering.) The acrylic mirrors are lightweight and flexible, making them easy to work with for this project. It’s important to point out that my cabinets are shaker-style, so the mirrors and overlays fit perfectly in them (with my custom measurements). Some of you have asked me about other styles of cabinets and I am not sure how this idea would look/work with different cabinets.
I used E6800 glue for this project because it is something I already had handy at home. Other types of adhesives (like Liquid Nails) would also work well. First, I carefully traced all the way around the back of the overlay with a little glue and then stuck the overlay on top of the mirrored acrylic. Once it was dry, I used the same glue to attach the mirror/overlay to the front of the cabinet door. After I was done with all 5, I ended up using caulk around the frame of the overlays to cover any small gaps between the overlays and door frames.
More Cabinets
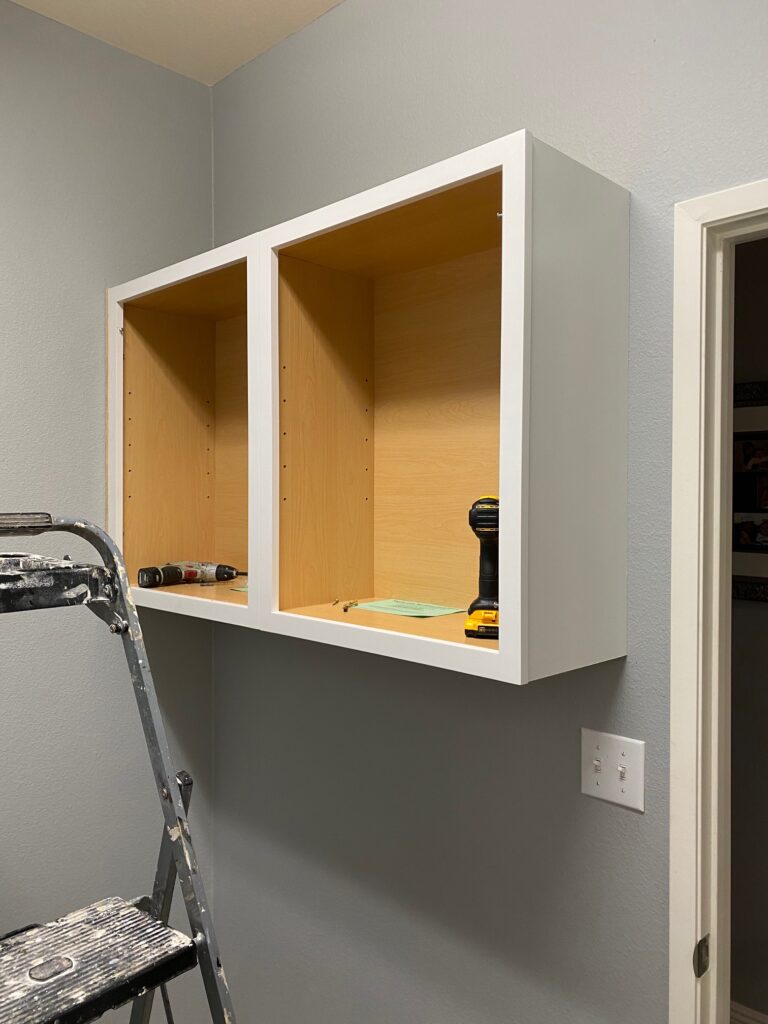
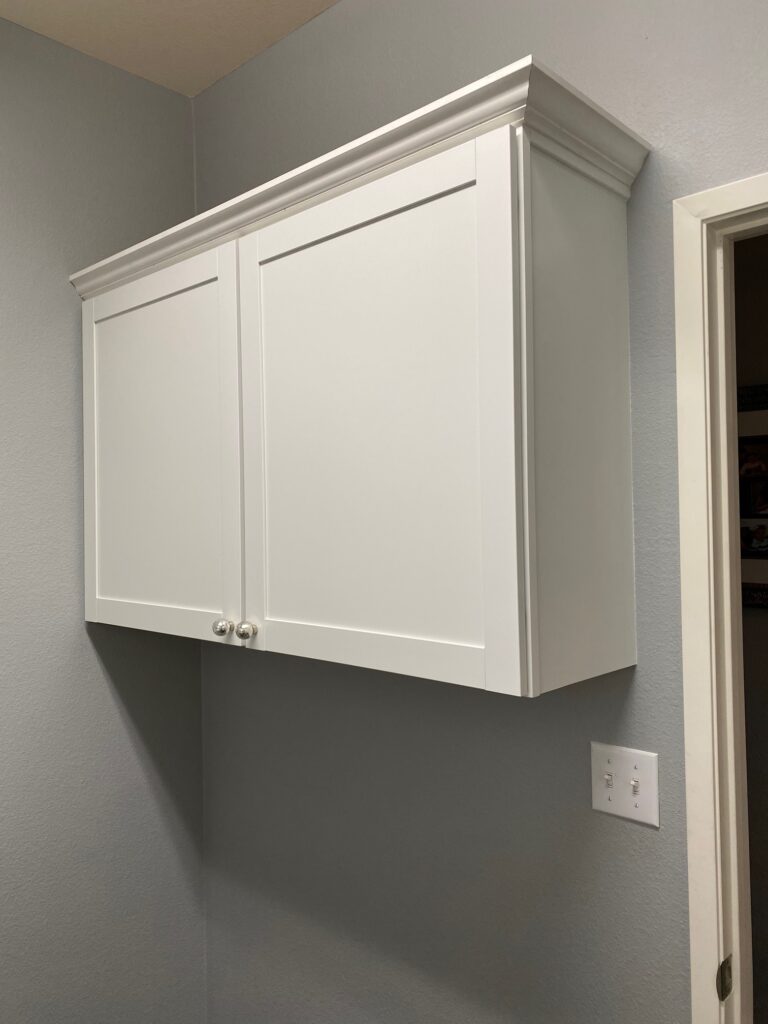
Another cabinet on the back wall was added because a little extra storage never hurts. The same shaker-style cabinets were installed here. Crown molding has been added to the top of all of our cabinets.
Folding Station
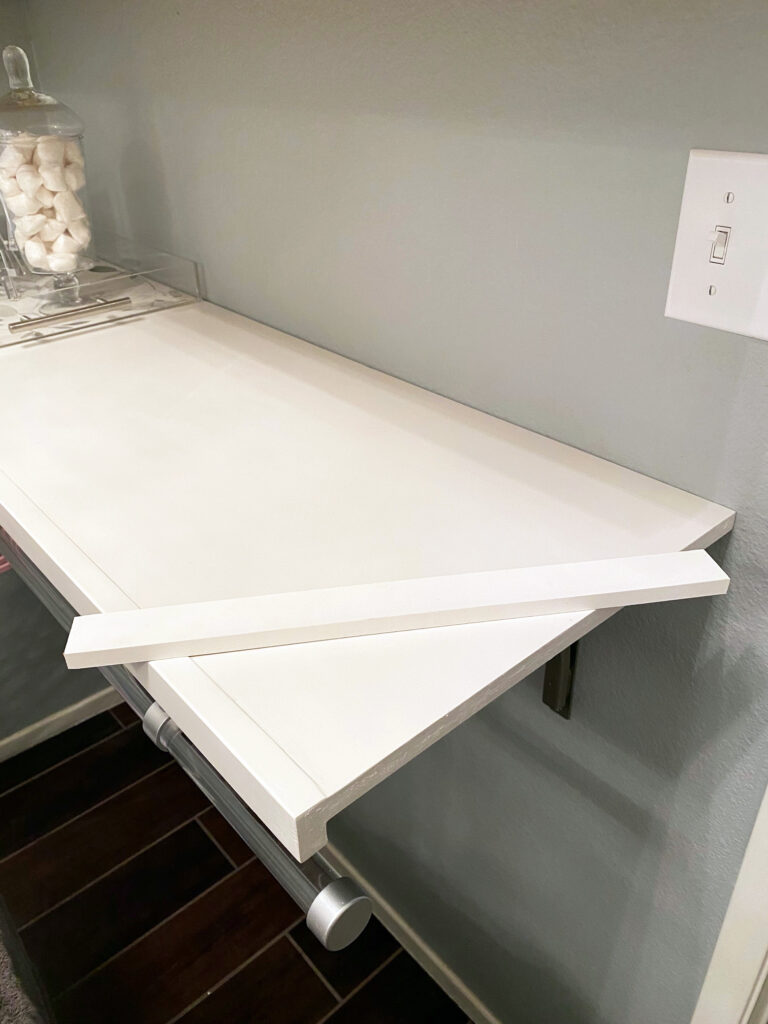
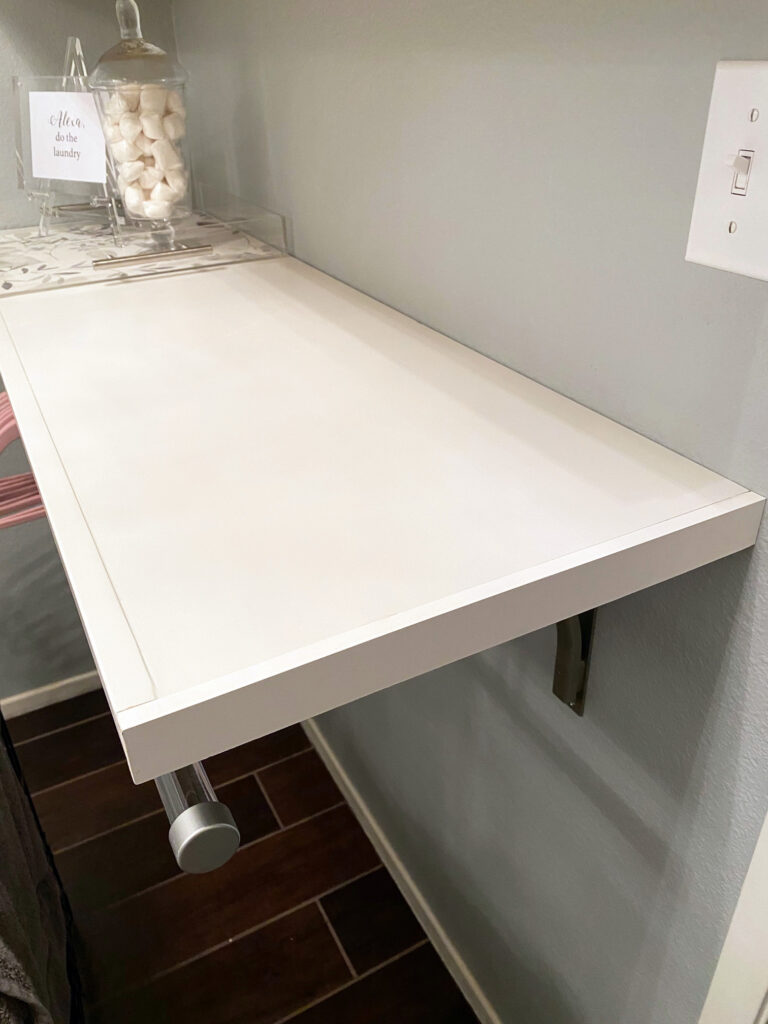
After adding the cabinet, I decided to add a shelf/folding station underneath. I was searching online for ideas and happened to come across a white shelf (with brackets) that was a great price and the perfect size (48″ long). It is actually designed for a closet, which led me to the idea of adding a closet/curtain rod underneath. I found the perfect acrylic rod option that looked great with my acrylic cabinet pulls. Better yet, the rod was available in the exact size I needed and the included hardware allowed it to be hung from the bottom of the shelf we installed.
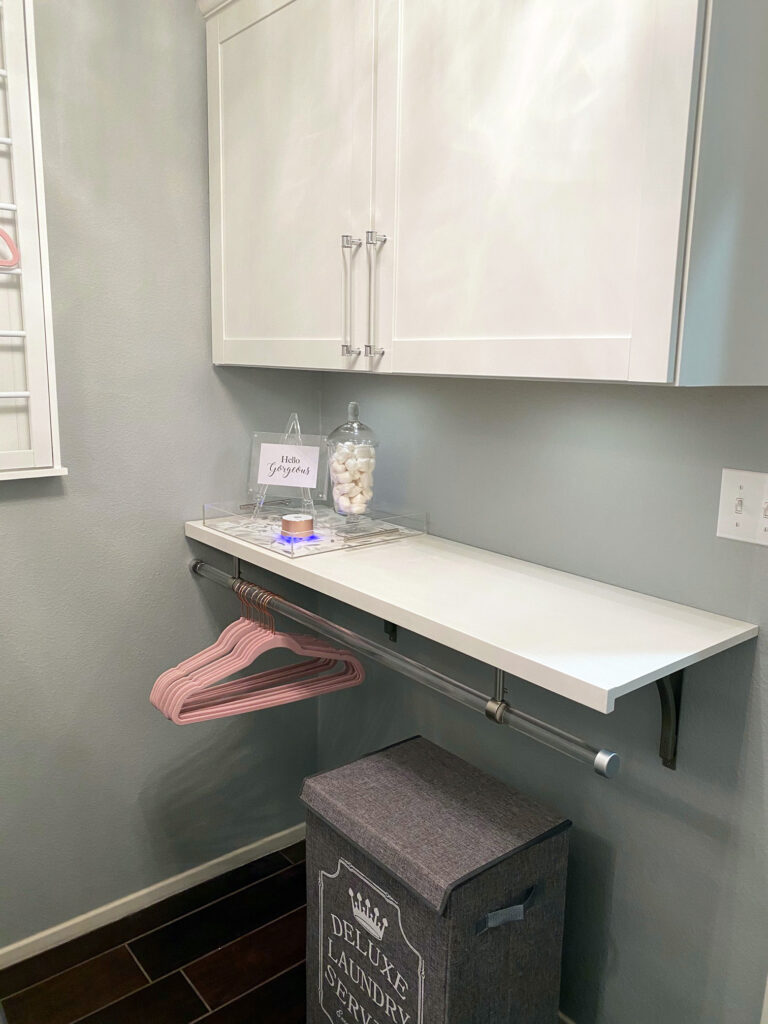
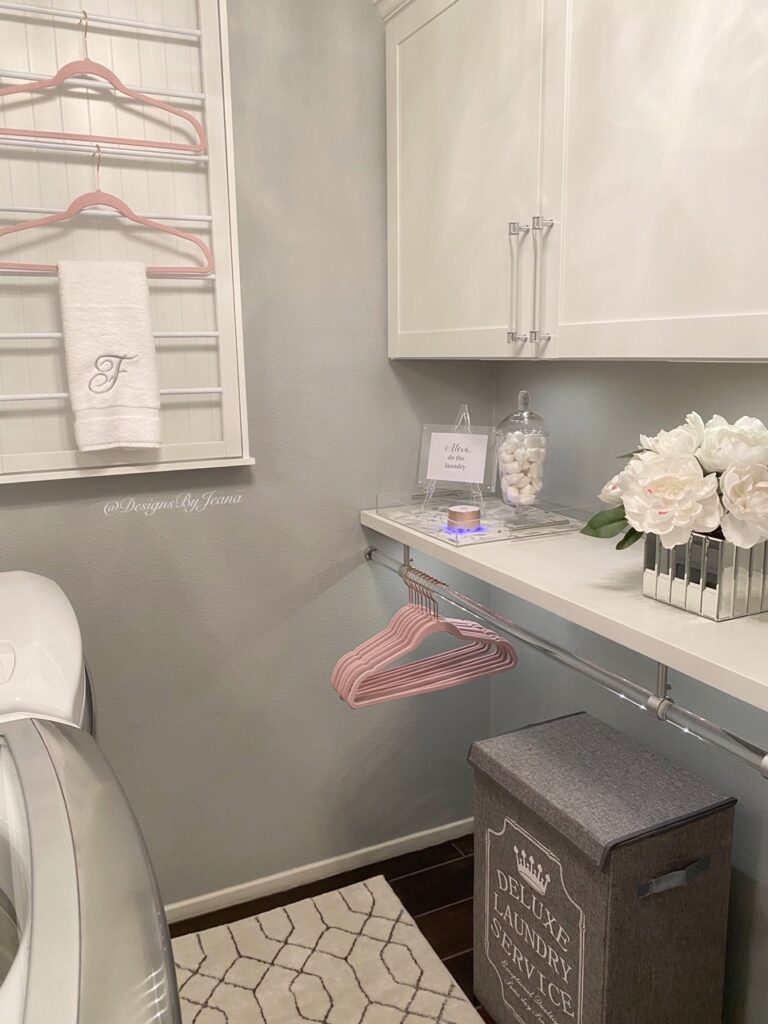
It was all coming together just as I had hoped! The only thing I didn’t like about the shelf, though, was how the side looked. I wanted to give it a more finished look, so I cut a small piece of trim and glued it on the side (see pics below).
A few decor pieces were added in addition to more of the bar lighting above and below the cabinets and shelf. I love the folding space that I now have and the extra hanging space provided by the rod. Normally I hang up my husband’s shirts and pants right out of the dryer to avoid wrinkles. This rod is just what I need for that!
Lighting
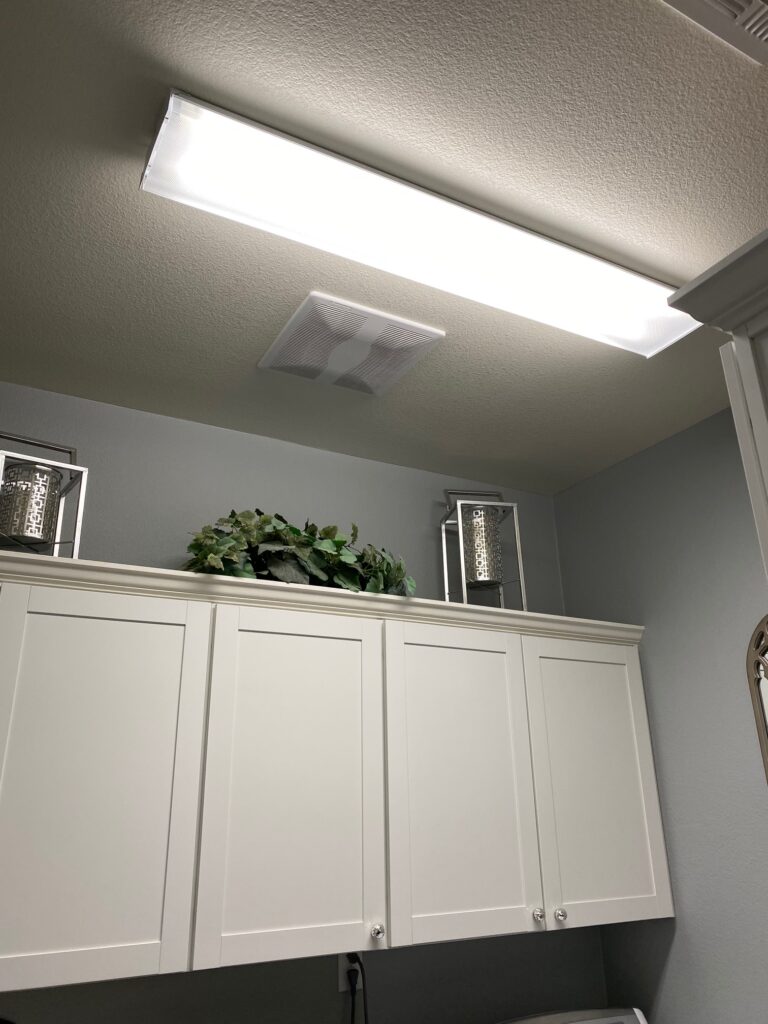
Last, but not least, let’s not forget about the lighting! I found a perfect fixture for this space and am so happy I decided to switch out the old fluorescent lighting. The new lighting definitely makes a statement in here!
Free Printables
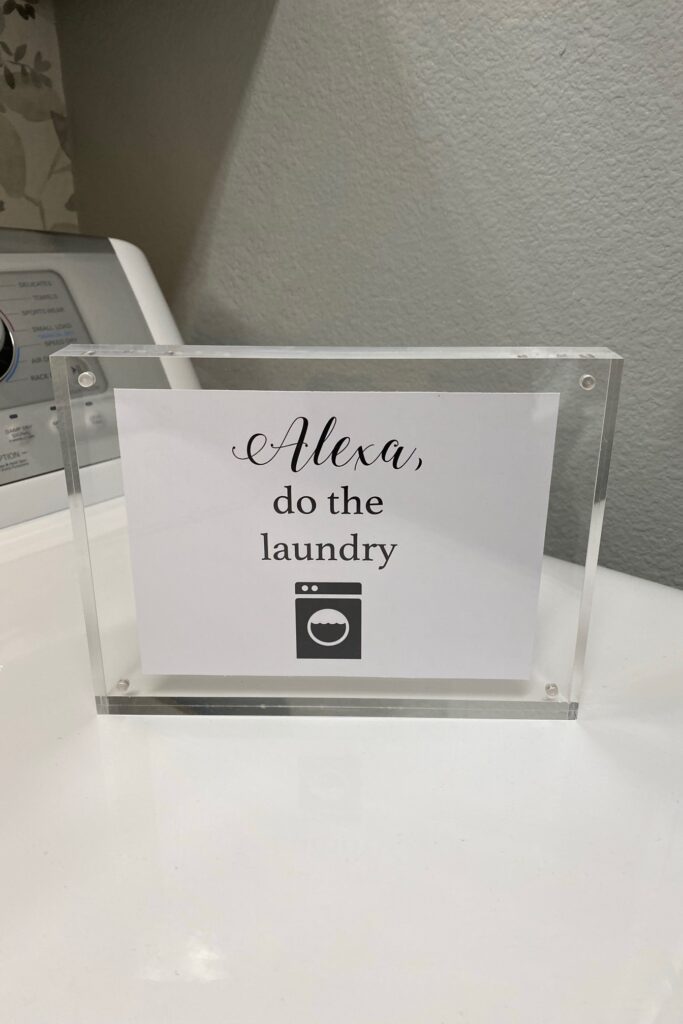
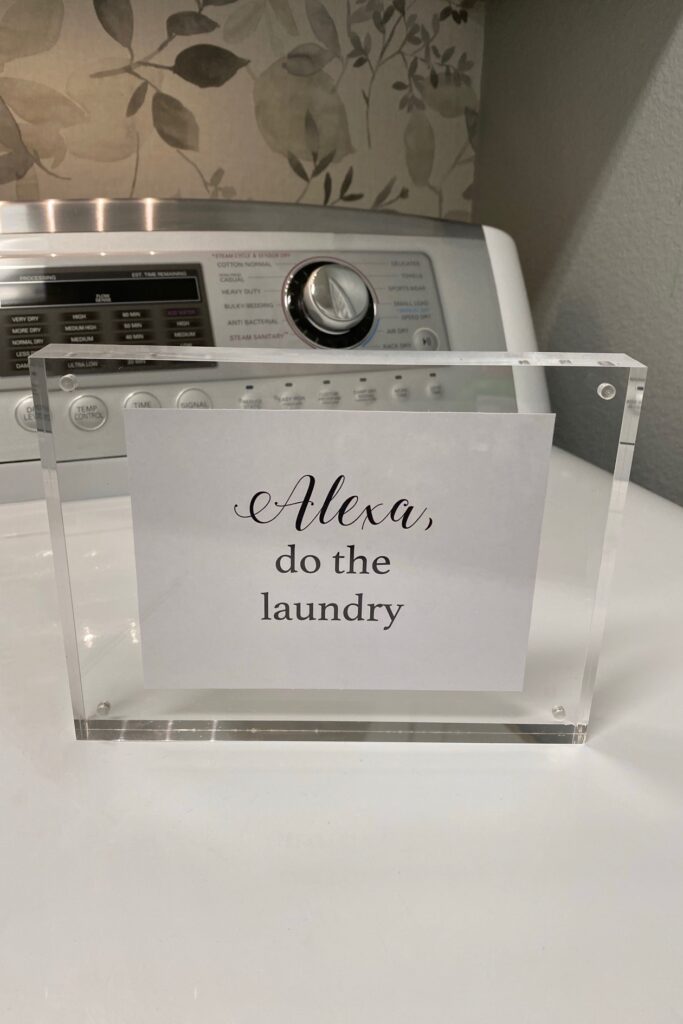
If you missed my previous post about the free printables that I created for my laundry room, click here.
Sources for Laundry Room Update
You can find my laundry room sources linked below.
I hope this helps to inspire you and answer some of your questions about my laundry room update. Please feel free to comment or leave additional questions below.



Kristen says
I love this room!!
shelovestodecorate says
Thank you so much!