- 4 – 6 tiles that are 4″ square (click here to shop)
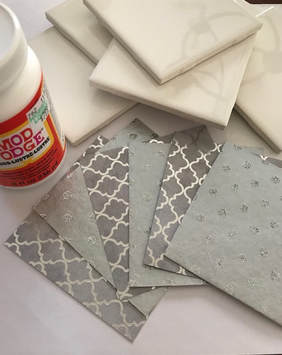
- ModPodge glue (click here to shop)
- Paint brush or sponge brush for applying the glue
- Scissors or craft knife
- Scrapbooking paper (can find at Joann’s, Hobby Lobby, or other craft store)
- Pencil
- Scotch tape
- Epoxy coating (click here to shop)
- Felt paper to cover the bottom of coasters
- Glue gun
- Plastic cups to place tiles on when applying epoxy
- Thick, disposable tablecloth or other disposable table covering
Cut out squares from your scrapbooking paper to match the size of the tile. You can either trace the shape of the tile on the back of your paper with a pencil, or measure a square that is a little less than 4″ on each side (to leave a little room for the curved edges) and cut it that way.
Wipe off the top of your tiles to ensure they are clean and dry. Use the paintbrush or sponge brush with the ModPodge glue to cover the back of your paper squares with glue. Make sure to go to the edges. Place the paper on the top of the tile (glued side down) and work out any air bubbles so it is nice and smooth. Do this to all of your tiles and wait 10 – 15 minutes for your glue to dry.
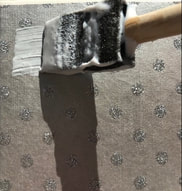
Once the glue is dry, use your brush again to go over the top of the paper with ModPodge glue. Brush in the same direction over all of your tiles.
After 10 – 15 minutes (once the glue is dry), paint another layer of glue on your tiles, this time in the other direction (if you went horizontally first, then you’ll go vertically now).
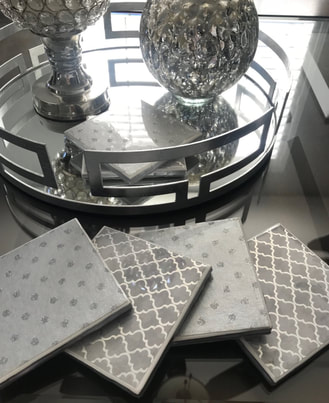
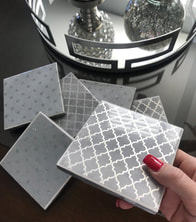
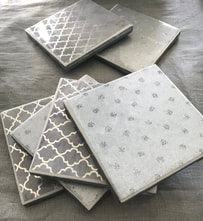
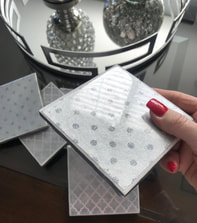
Let the glue dry overnight so that it will be ready for the epoxy coating in the next step. If you prefer that the side edges of your coasters be colored, you can paint them before moving on to the next step. I painted mine silver to match the scrapbook paper.
You will need a well-vented area for this step. You can do it outside, but have to be especially careful so that bugs, dirt, or other debris does not land on the coating. You will also want to cover your area with something you will be able to dispose of afterwards (thick, disposable tablecloth or other thick, paper covering will work). Once the glue has dried overnight, apply scotch tape to the bottom of your tiles right along the 4 edges. This is so that you can peel off any epoxy that drips to the bottom when pouring it on top of your tile. Put plastic cups upside down on a table and place your tiles on top of the cups so they are off the table when you pour the epoxy coating. Mix the Envirotex epoxy according to the directions.
Pour the mixture on the center of each of your coasters. The coating will start spreading and eventually drip over the edges of your coasters, which is perfectly fine. If the coating does not cover the edges, you can gently spread it with a small piece of cardboard or other plastic tool. Ensure the coating completely covers the edges of the coasters.
You might start to notice small bubbles forming after several minutes. You can get rid of these by gently blowing through a straw or using a blow torch or heat gun as long as it’s not too close to the epoxy coating.
After about 20 minutes, you can use a piece of plastic or cardboard to wipe away any excess drippings from the bottom edges of your tiles (do not wipe away the coating from the side edges, just from the bottom).
Give the epoxy coating about 24 hours to cure. Once it cures, you can peel off the tape from the bottom.
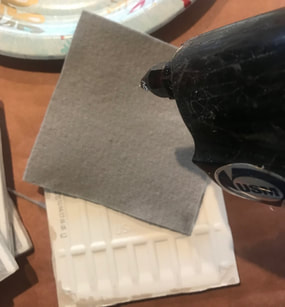
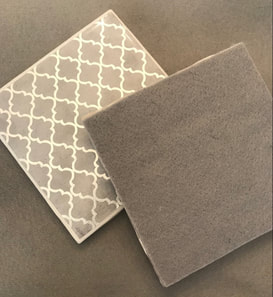
Now you are ready to cover the bottom of your coasters with felt so that they don’t scratch any hard surfaces. Cut 4″ by 4″ felt squares. Use a hot glue gun to glue them onto the bottom of each tile. Be sure the glue is right along the edge, so the felt doesn’t lift up and start peeling off.
These also make a great gift idea!







Leave a Reply