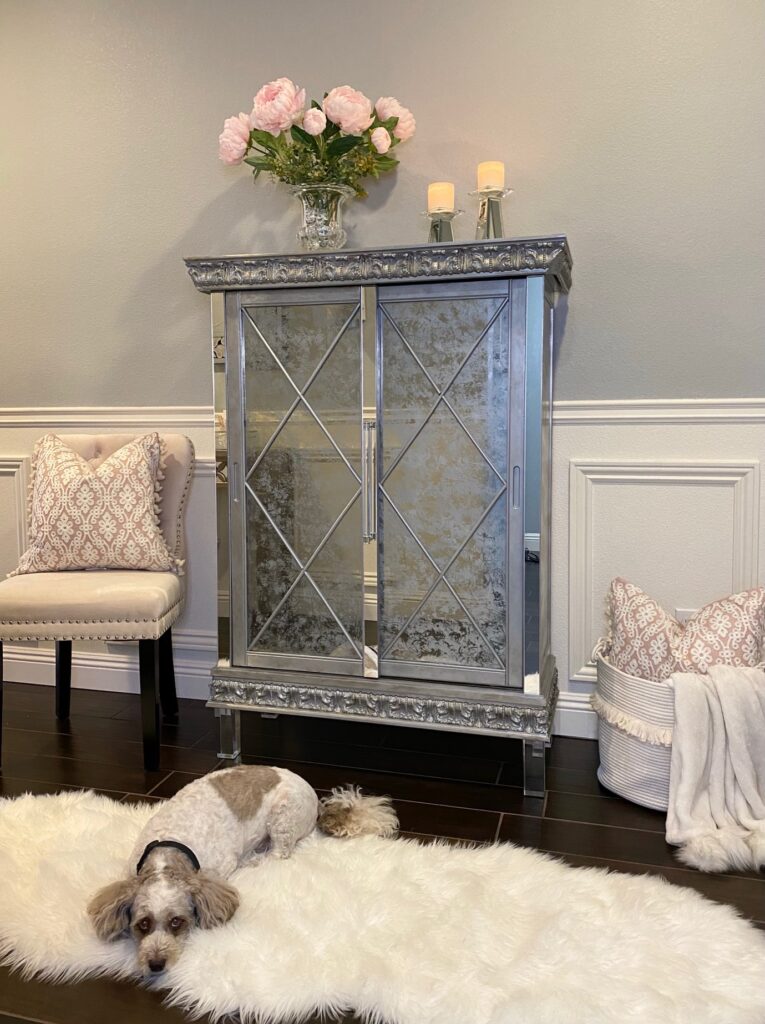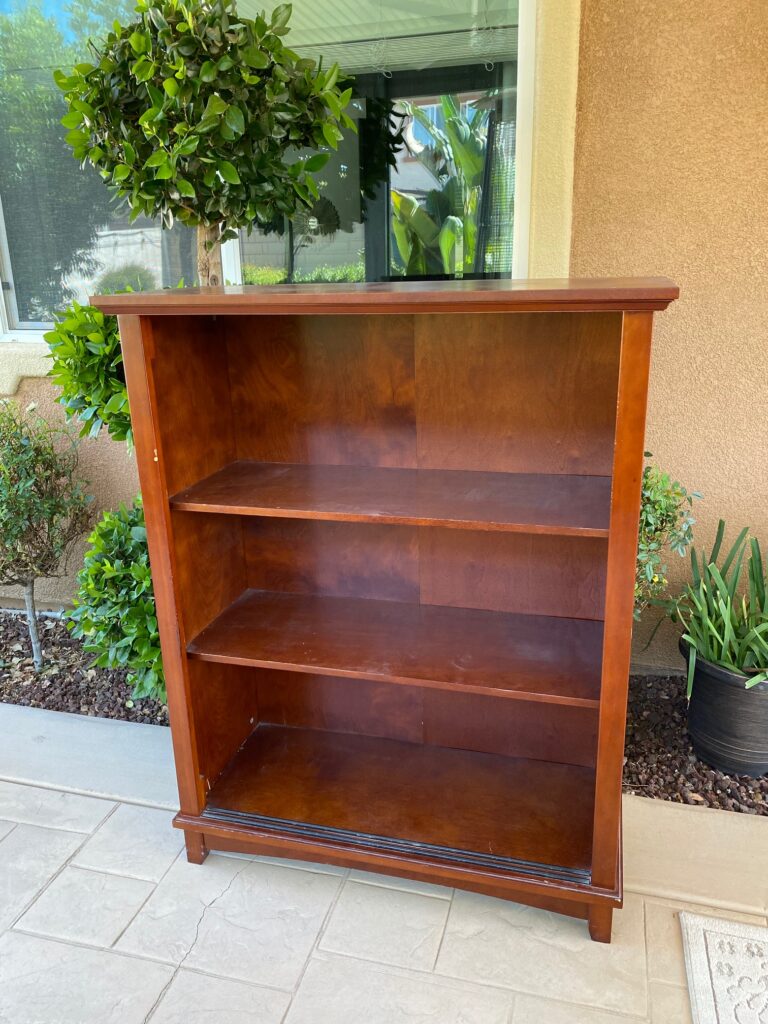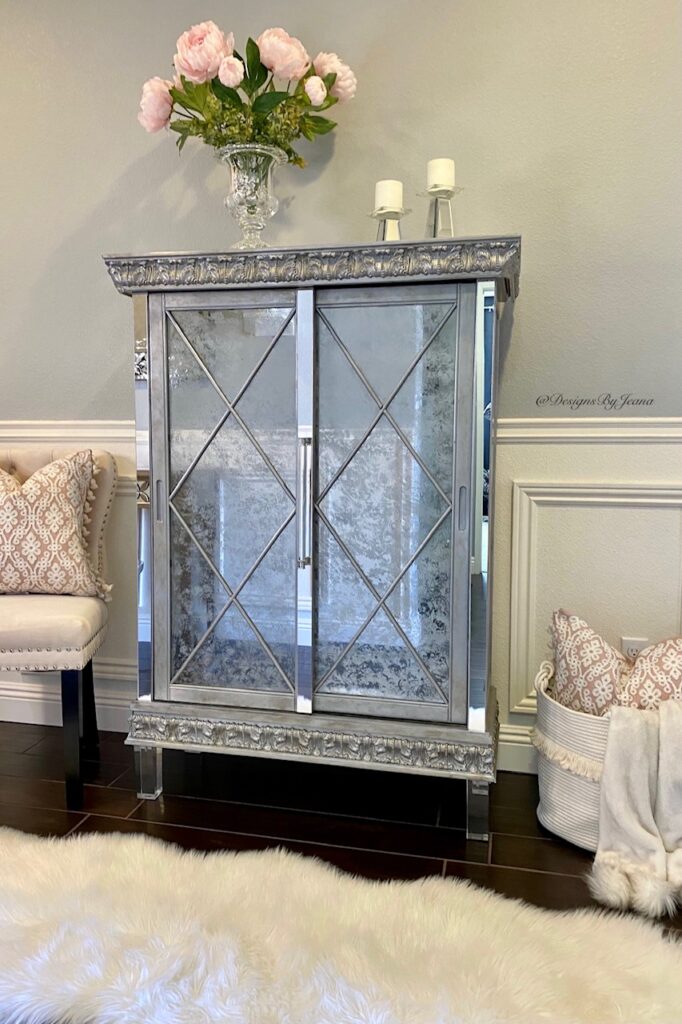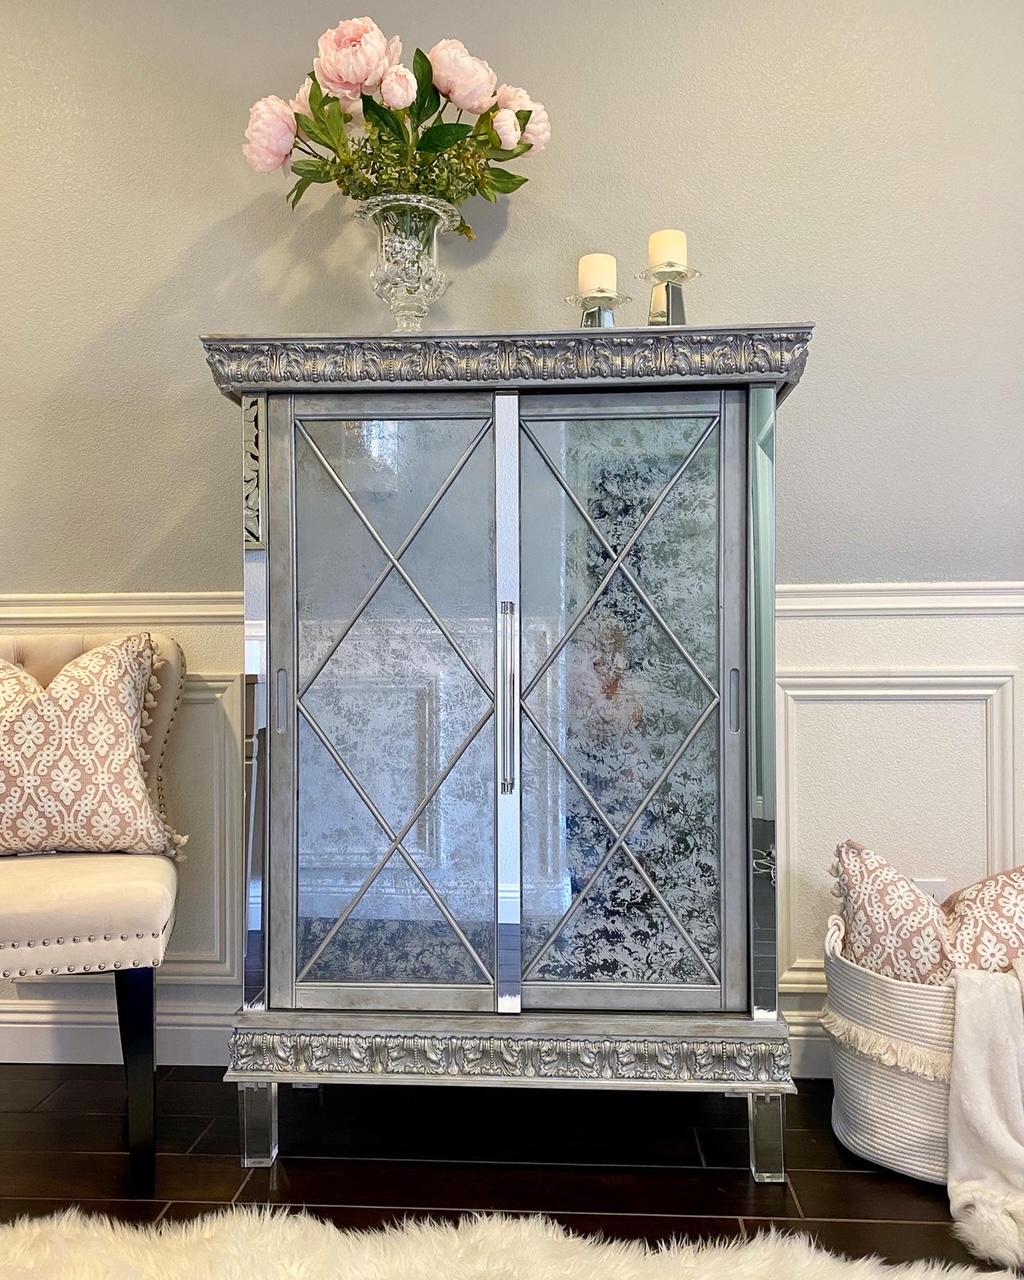
I am so excited to finally see my vision come to life with this old cabinet! My parents are moving out of state soon, and did not want to take this piece of furniture with them (see the before pic below). When they offered it to me, I jumped at the opportunity. I started thinking of all the different ways I could both dress it up and make it useful in my home. So much love and effort were put into this piece and the end result has me thrilled! I thought I’d share the entire “operation glam cabinet makeover” process with you all here.
This post contains affiliate links. All opinions are my own.
The Before
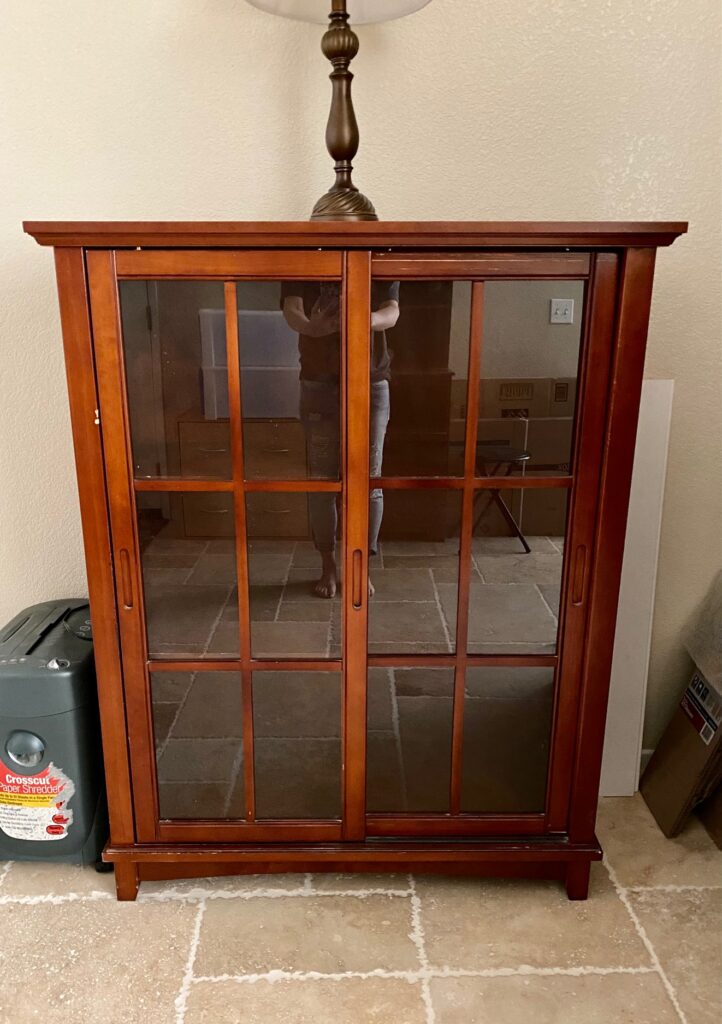
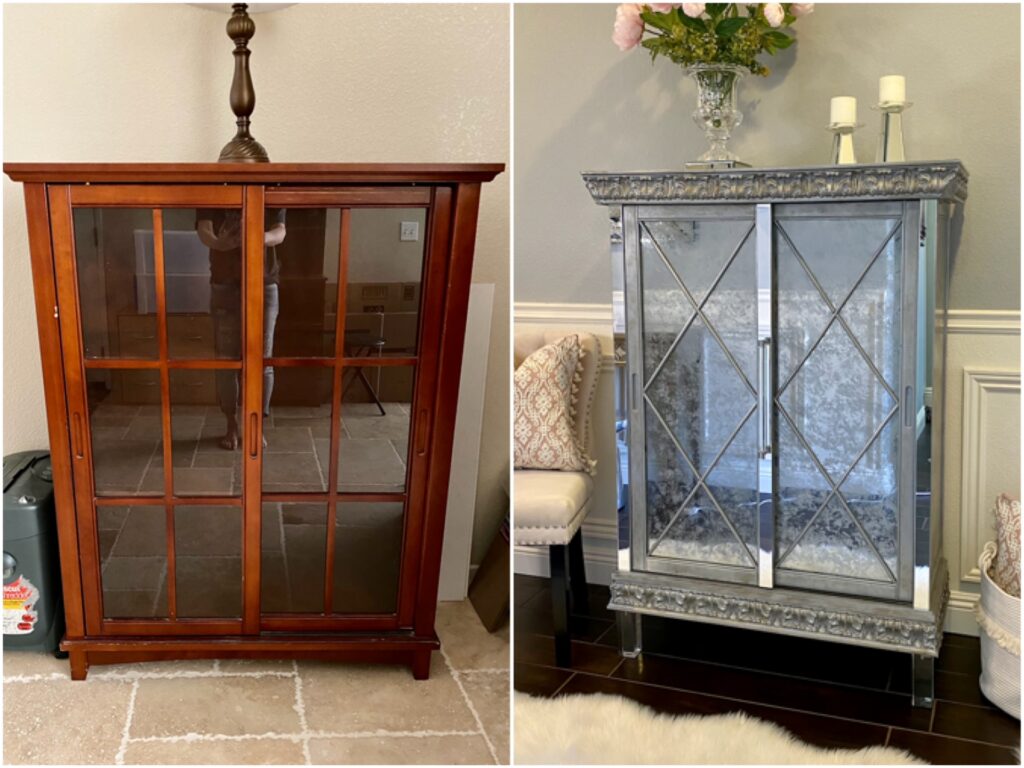
Not sure if you caught the before pic already, but this is what the cabinet originally looked like. My dad used it to store books, folders, etc. in his home office. Not really my style, but it was in pretty good condition overall, which is one of the main reasons I decided to keep it.
Shop the Glam Cabinet Makeover Products
You can shop all of the products I used on this cabinet update by clicking on the image(s) below.
Starting Out
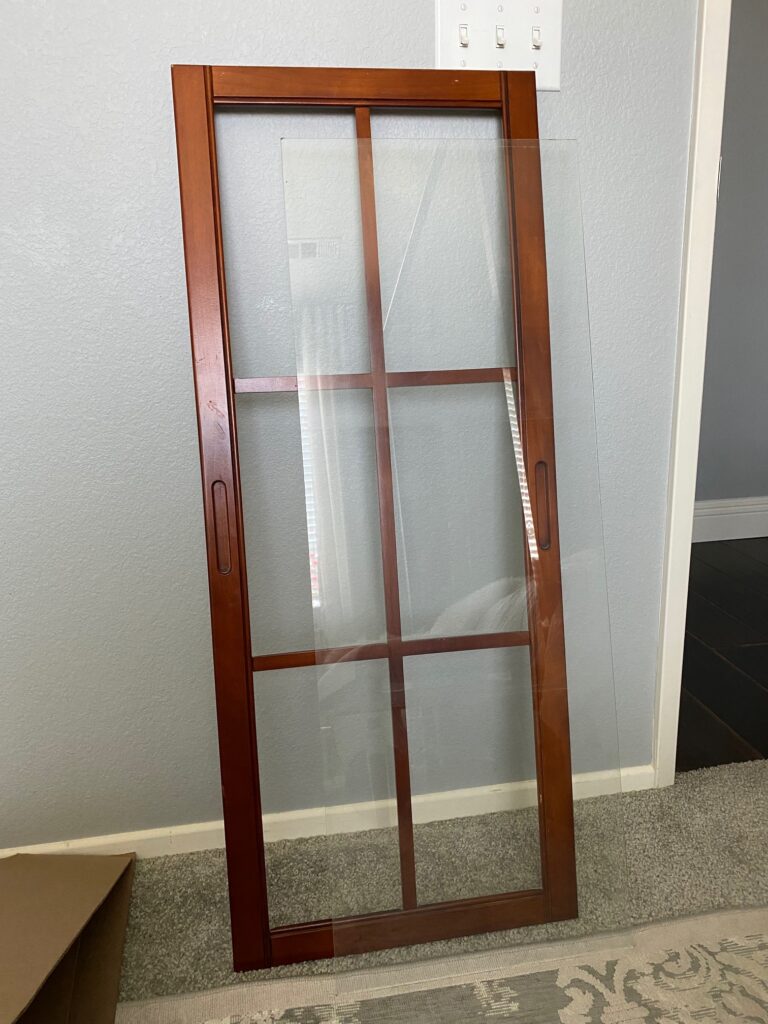
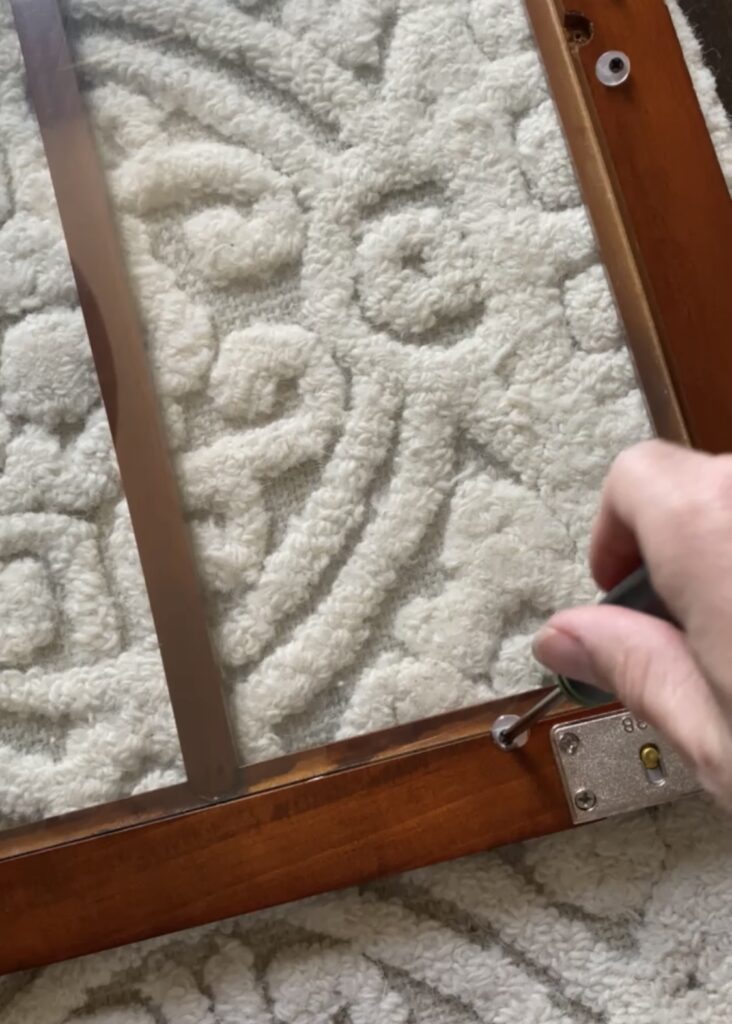
The first thing I wanted to do when we got the cabinet to our home was remove the doors and glass. The glass is secured with small clips that are screwed in on the back of the doors, so it was fairly easy to remove it (see image below).
Painting the Doors
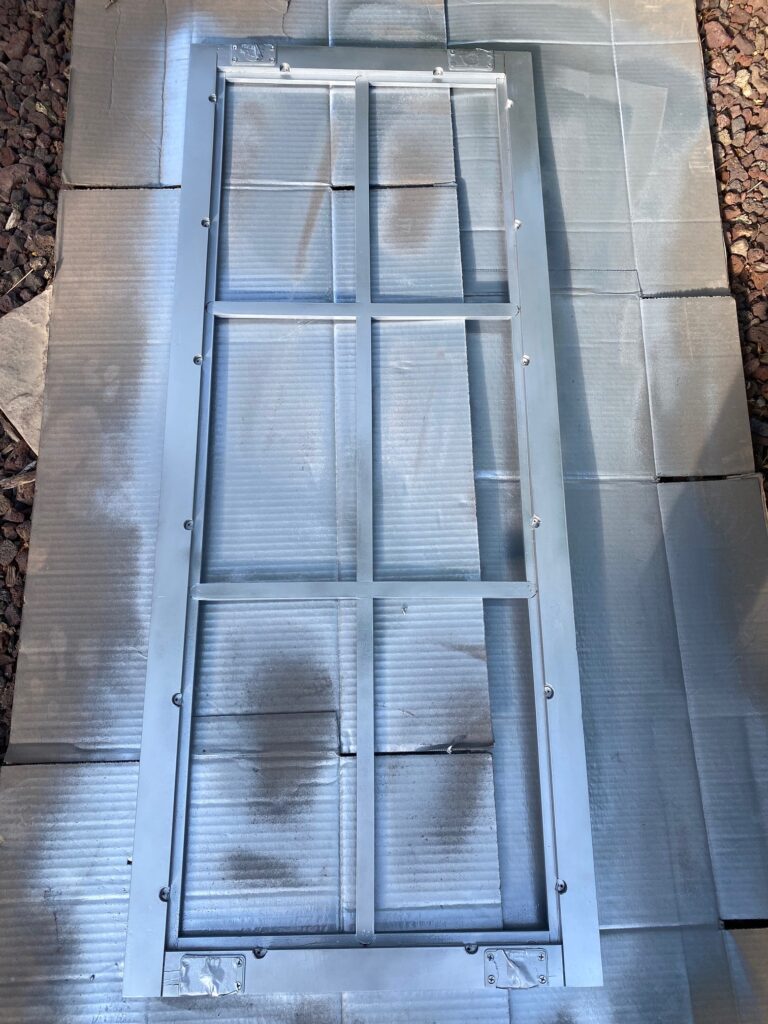
I started spray-painting the two doors silver. I wasn’t sure if I wanted to keep the inside grids and actually ended up removing them later on when another idea for decorating the glass came to my mind (more about that later). Luckily, the grids popped out easily with a little pressure on the sides, so I ended up with just the outer frame of the two doors.
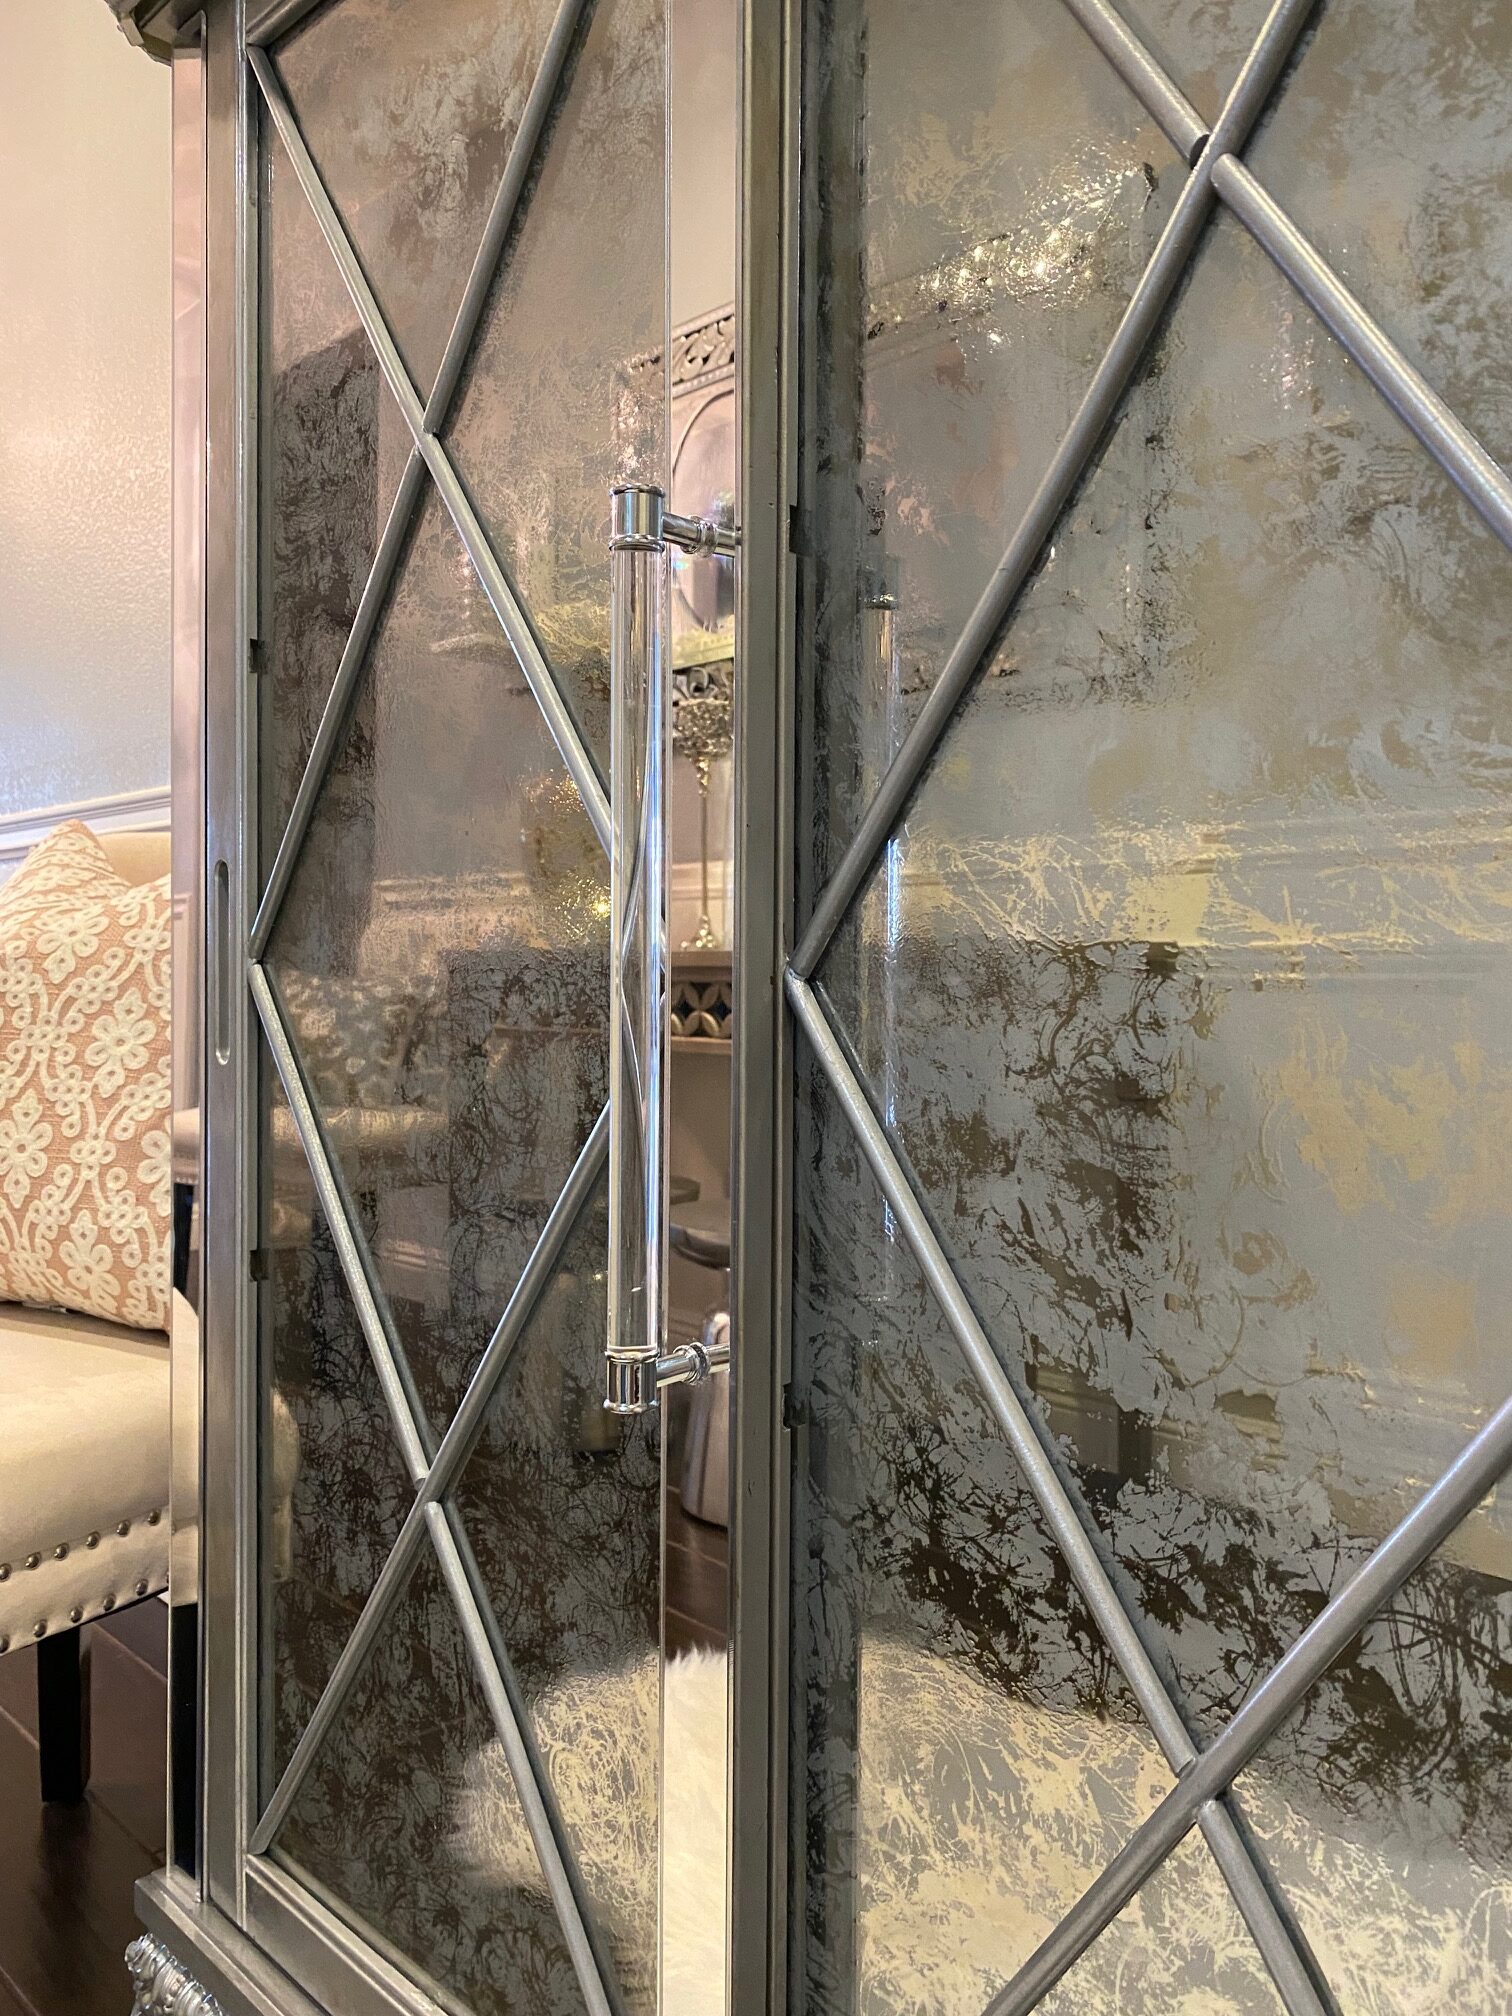
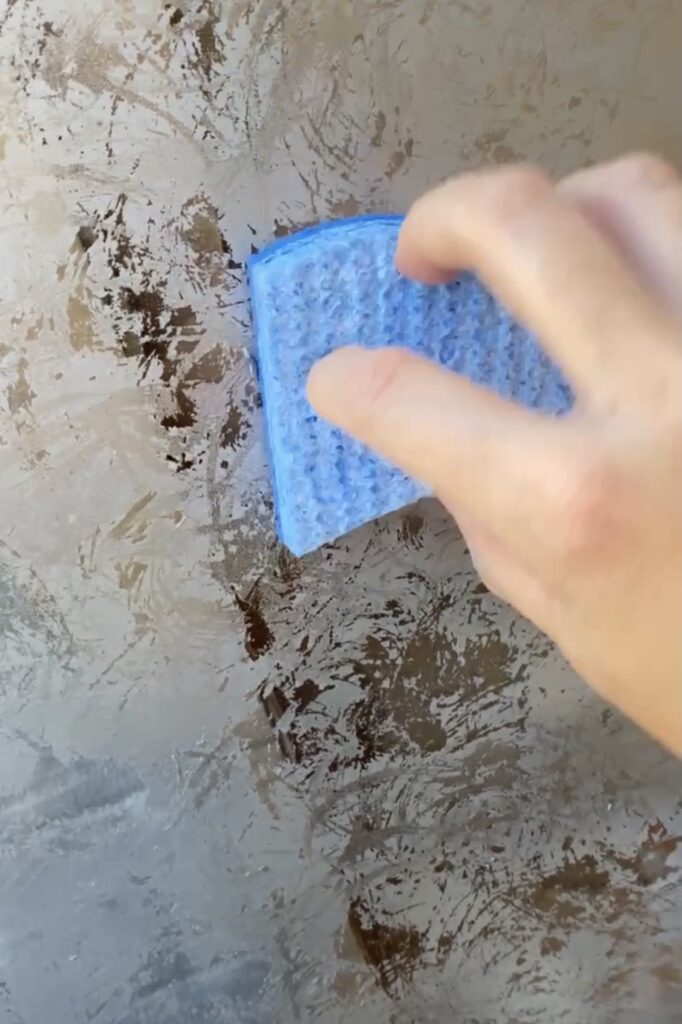
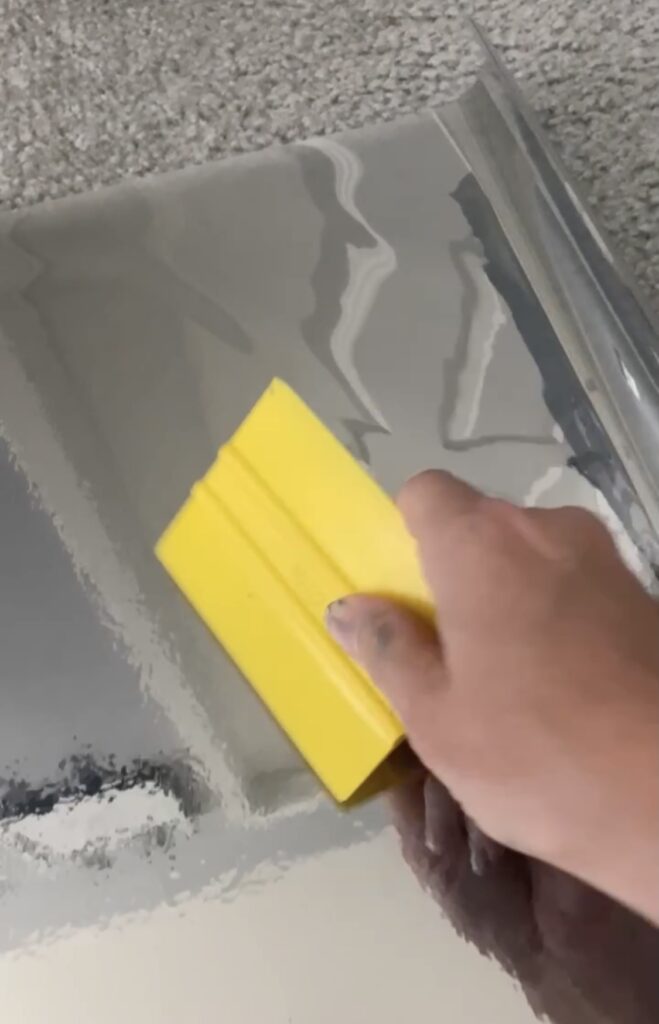
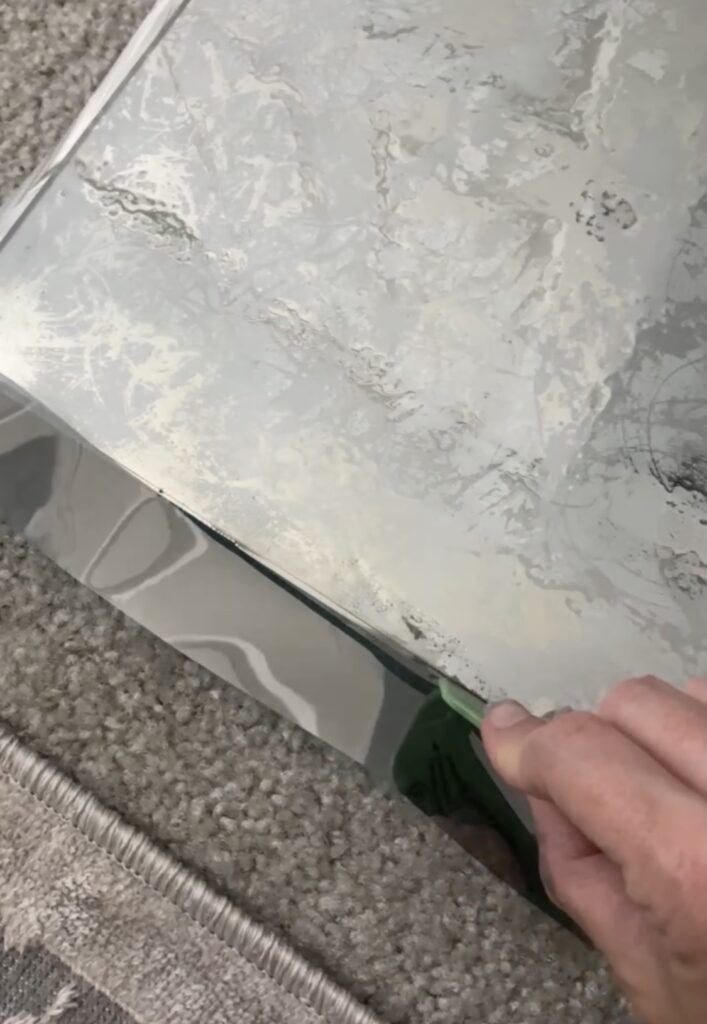
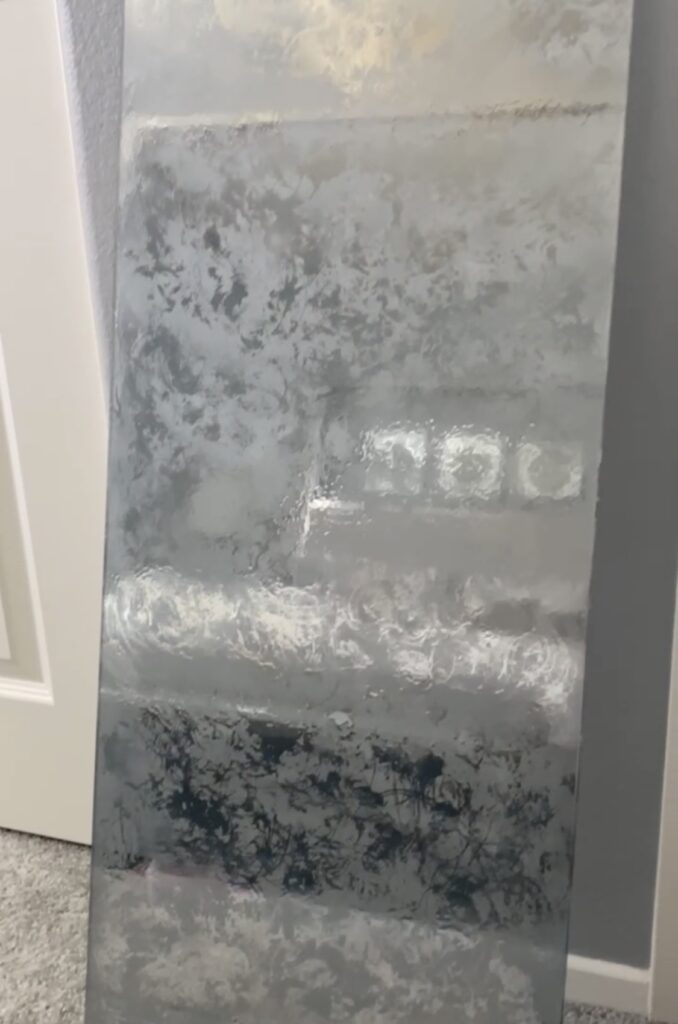
DIY Antique-Mirrored Glass
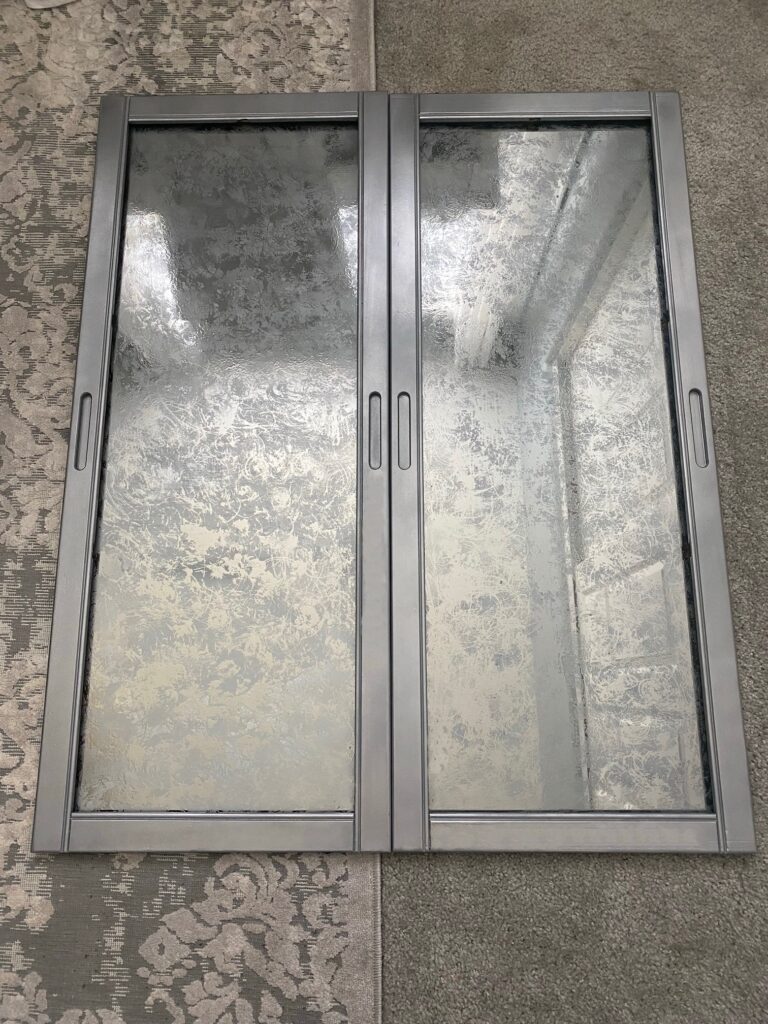
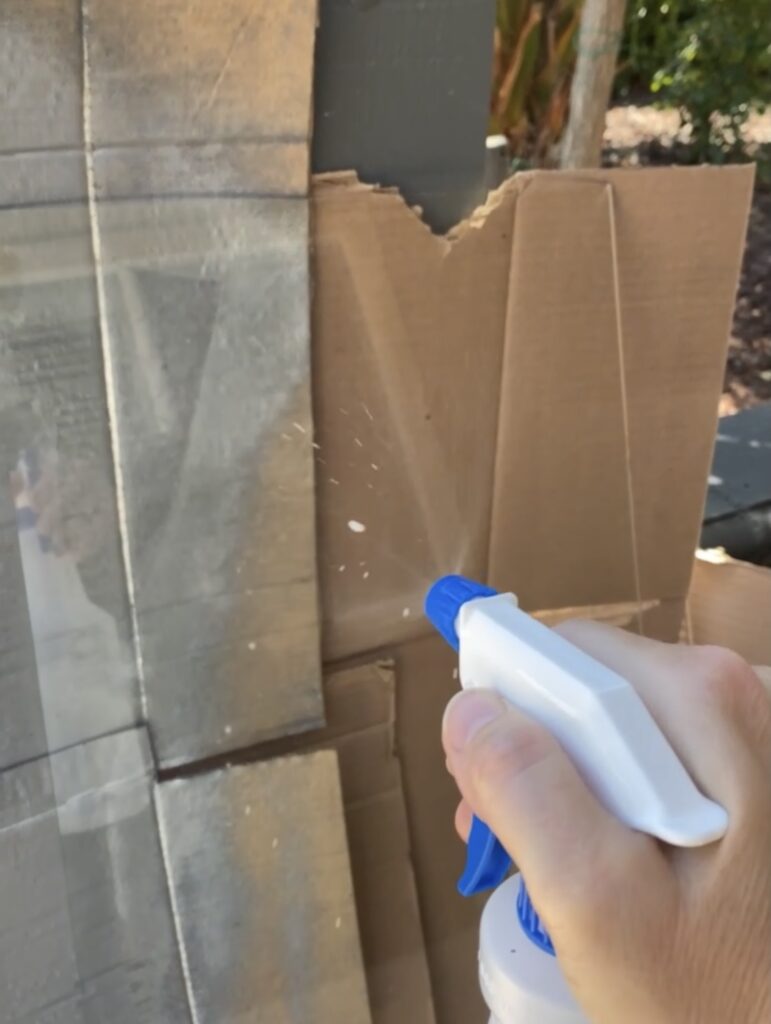
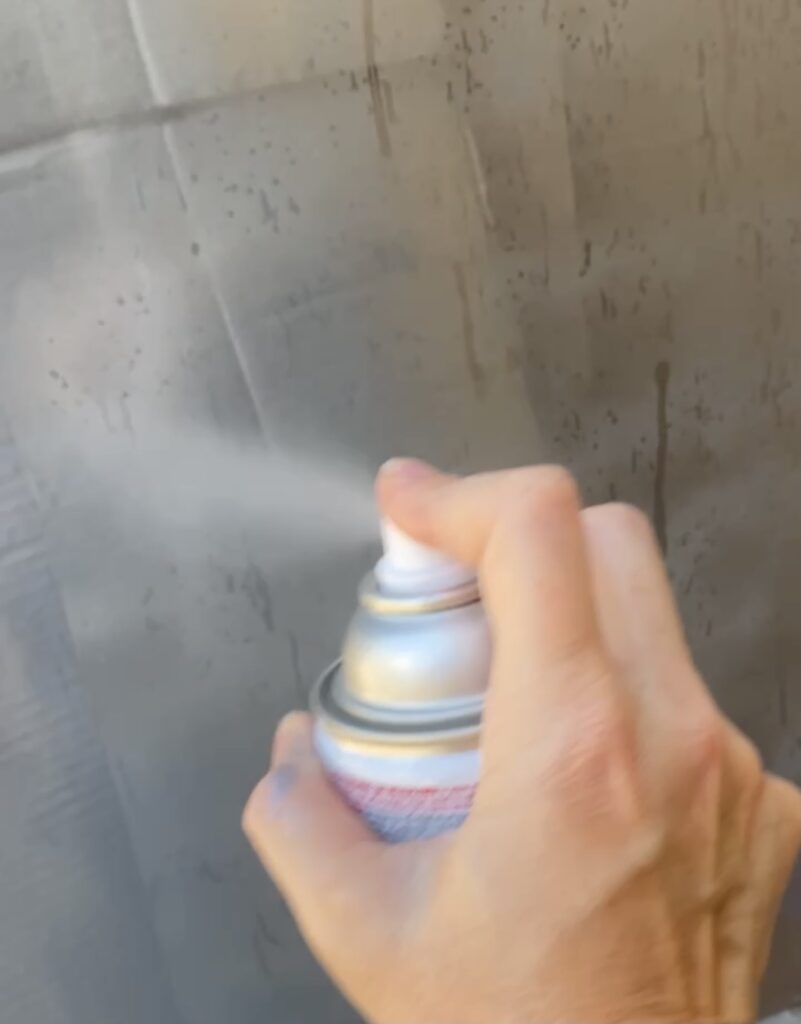
I shared a short reel/video on IG showing how I created this antique-mirrored look on the two glass pieces. Click here if you’d like to watch it. Below, you will find step-by-step directions with images to help show the process.
Glass Overlay Design
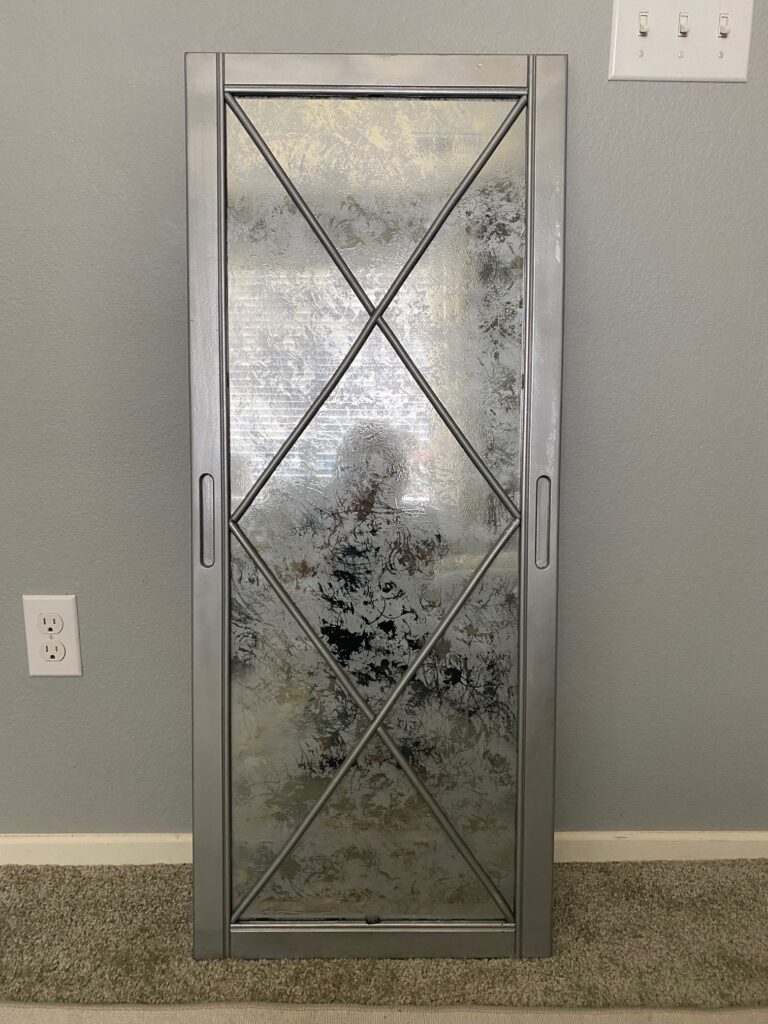
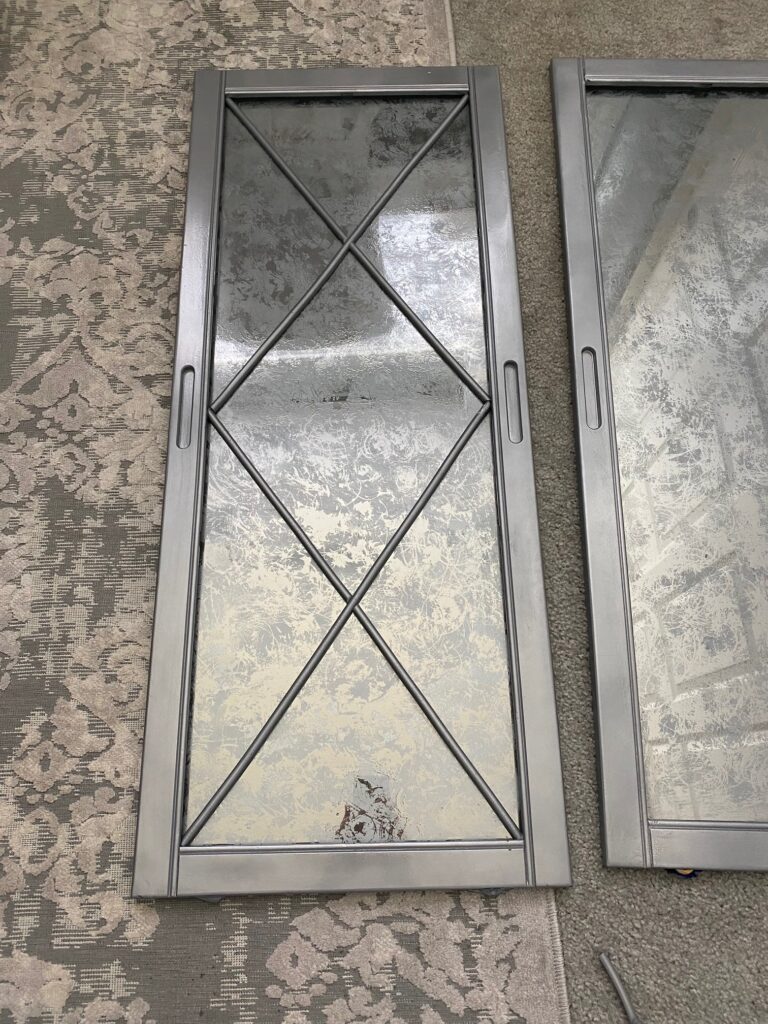
I mentioned earlier that I wanted to do something creative with the glass, so I came up with this very easy DIY overlay design. To achieve this look, I used flexible peel-and-stick edging that I had left over from a previous project.
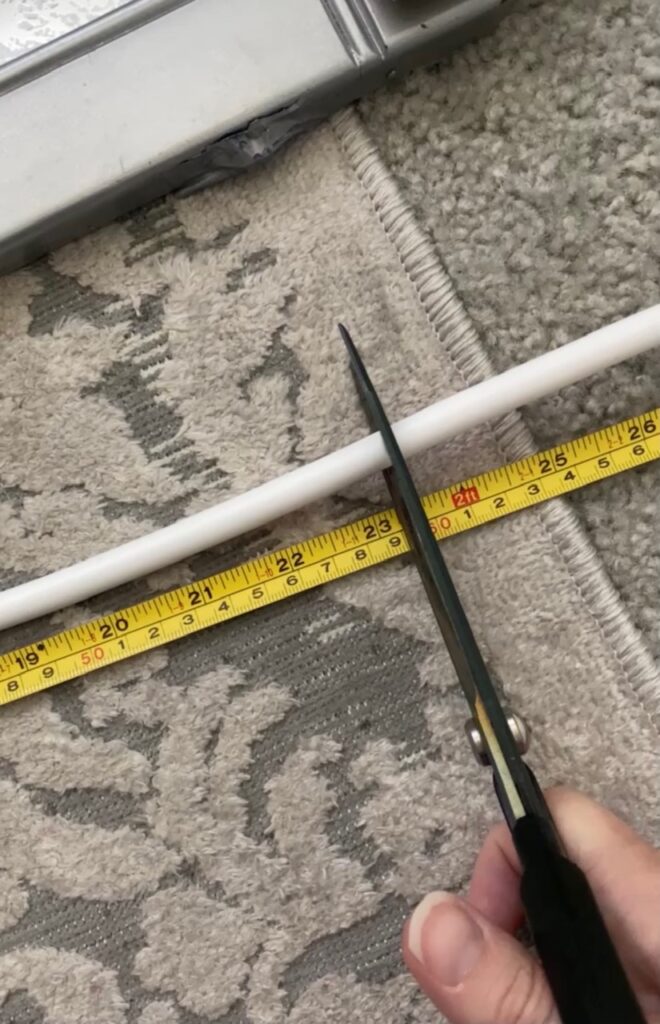
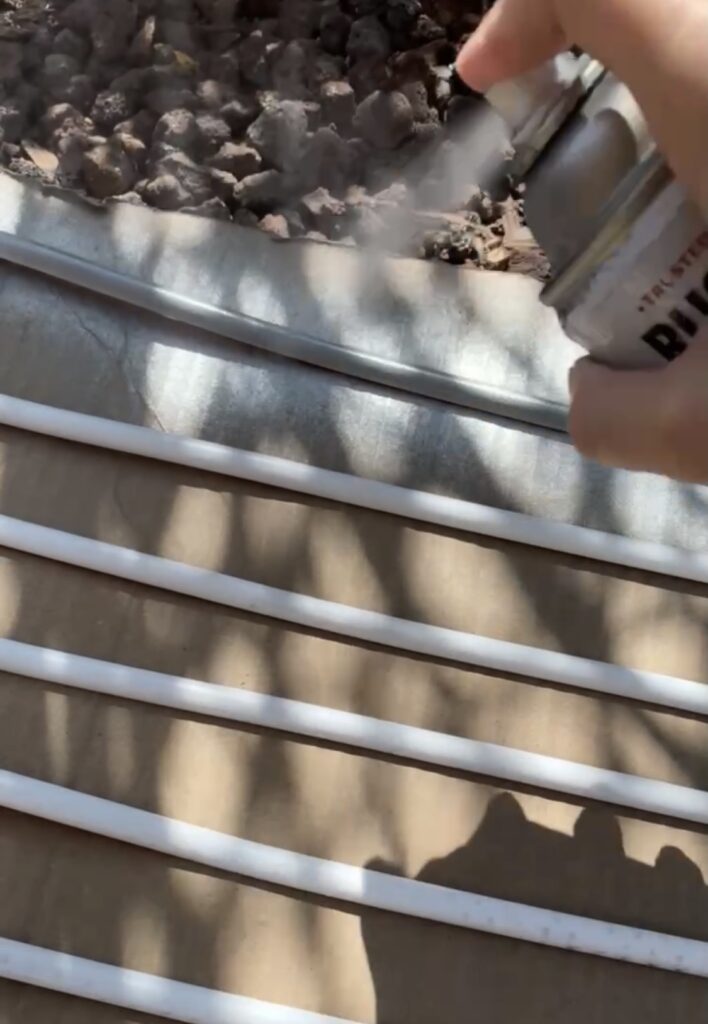
I measured diagonally from the center height of the door to each corner to figure out how long to cut the 8 pieces of trim that I needed. After I had them all cut, I spray-painted them with the same silver paint I used on the rest of the project.
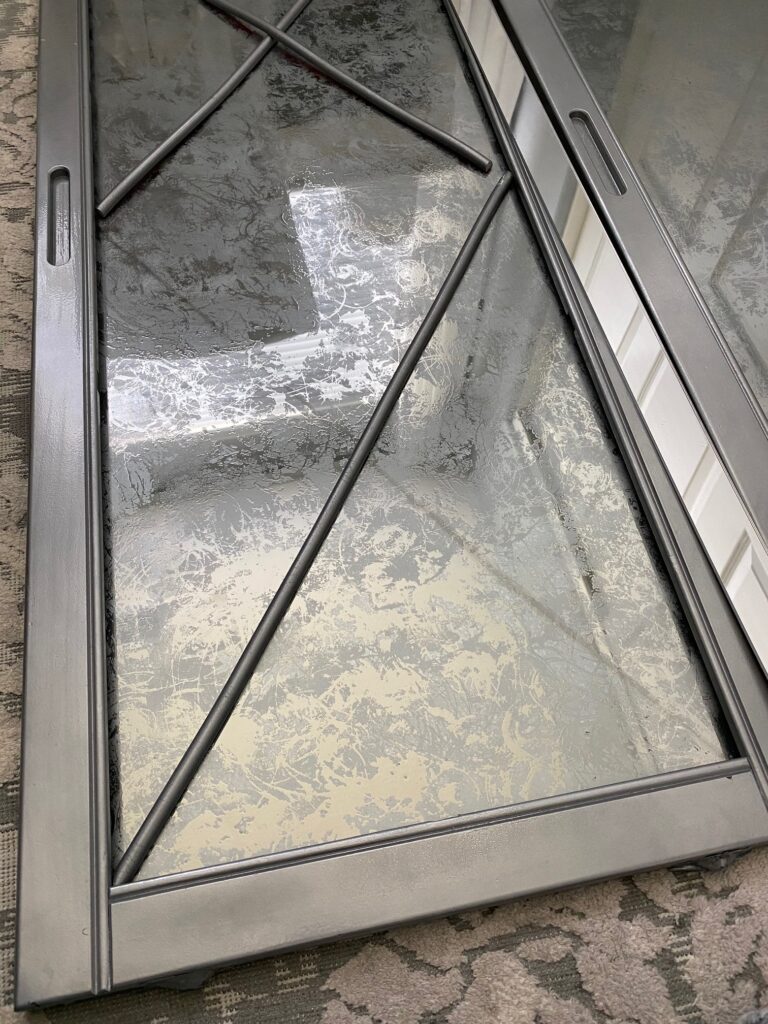
The simple design/pattern that I came up with was drawn out on the glass with a whiteboard marker before applying each piece to make sure everything was straight and fit perfectly (see image below).
Decorative Trim
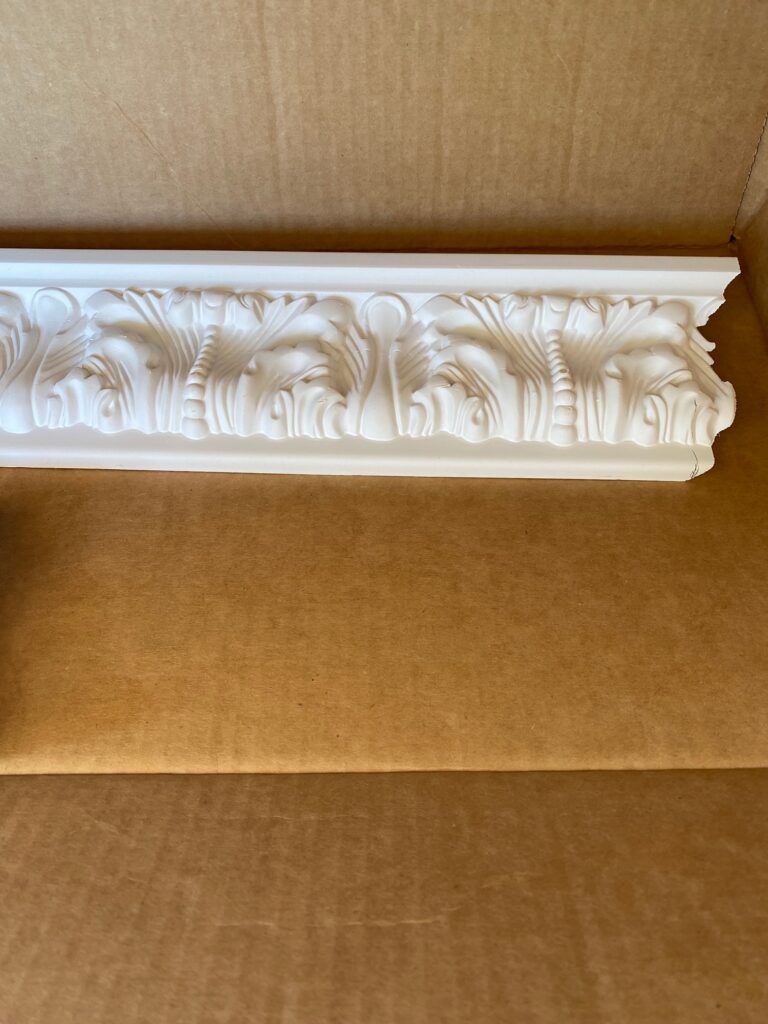
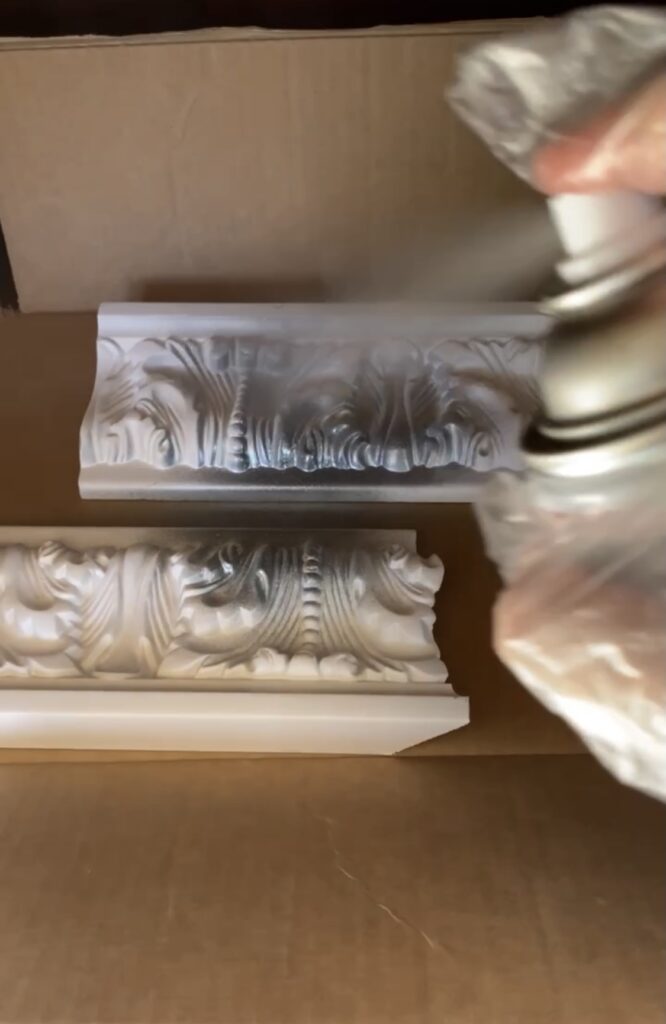
Remember the decorative trim I used on my DIY TV frame? (Click here if you missed it and want to see what I am referring to.) Well, I had several pieces left over and figured it would be a great time to use it. I painted it and set it aside while I worked on the rest of the cabinet.
Preparing for Painting
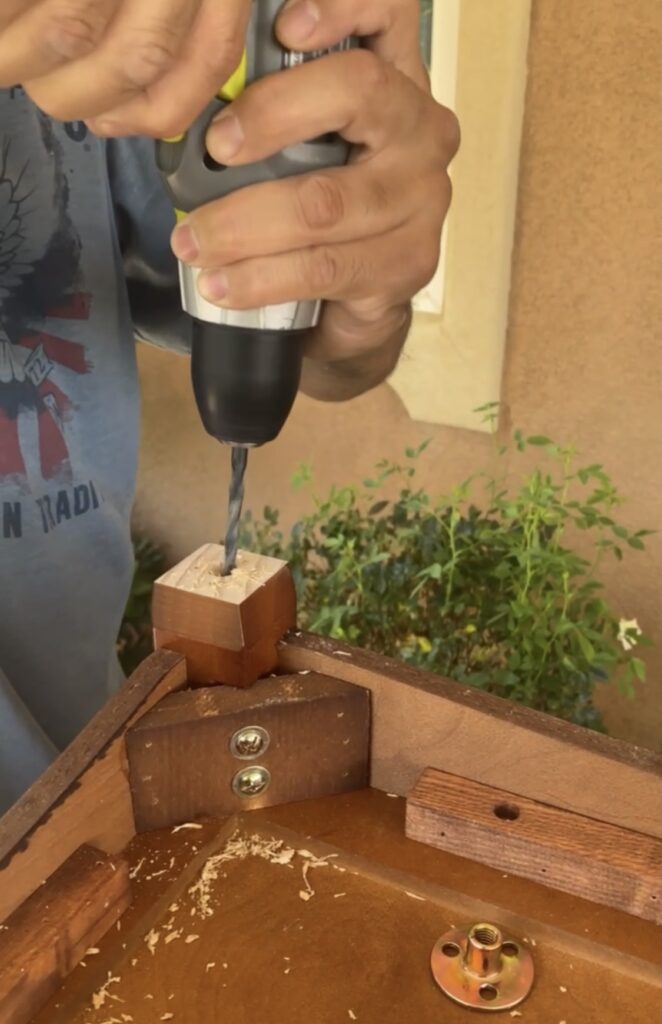
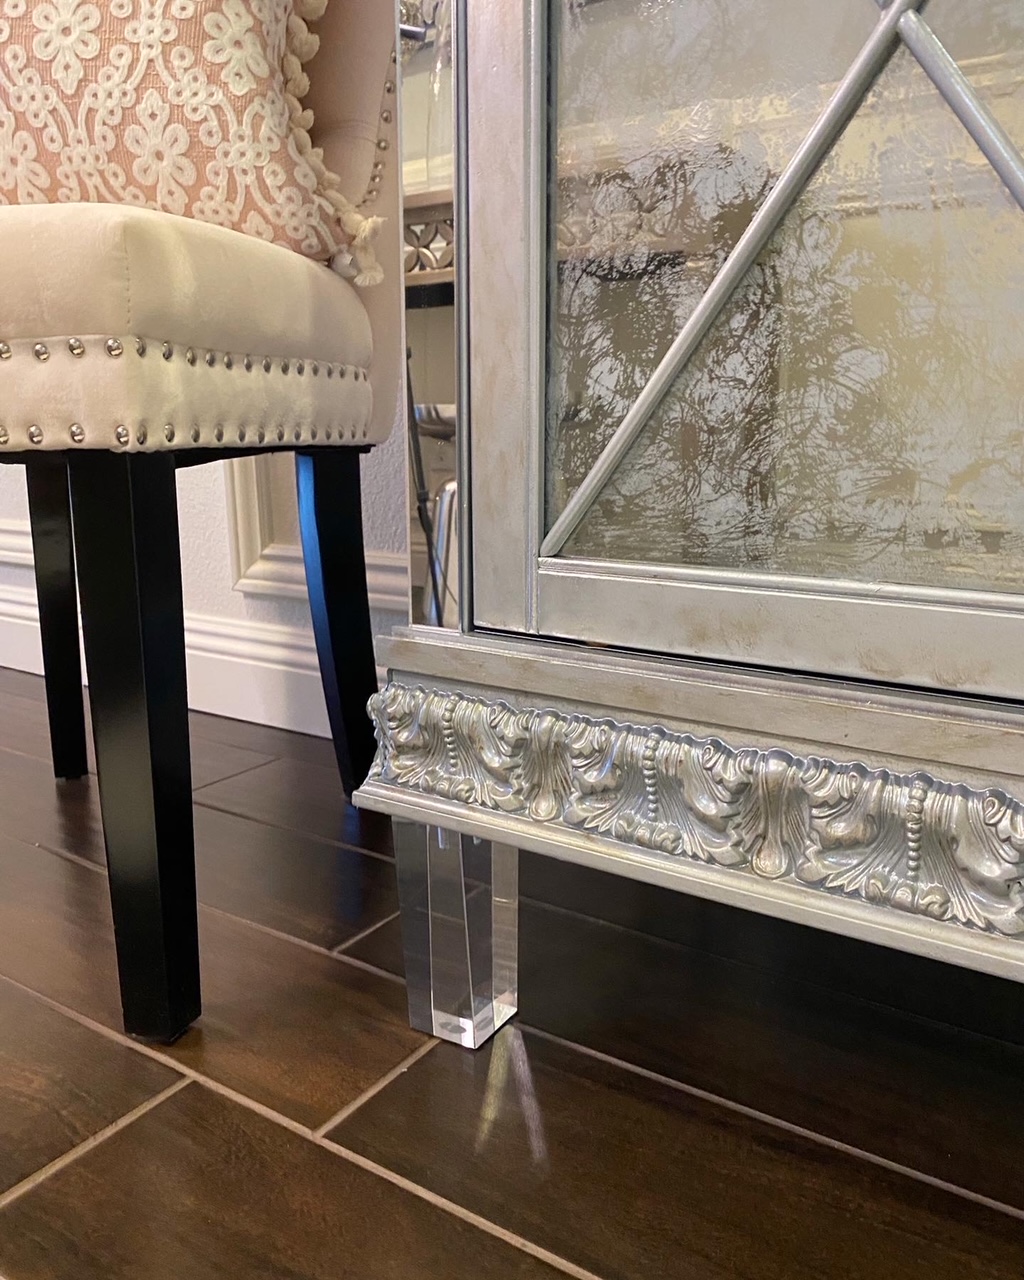
Before I started painting the cabinet, I decided to prepare it for the acrylic legs I was planning on adding. I kept the short, original legs on the cabinet as a steady base, but just had my husband trim them down a little so they wouldn’t stick out once I added the bottom trim.
After the legs were cut down, we added the hardware for the new acrylic legs (see below).
I sanded a few areas of the cabinet where there were scratches prior to wiping it all down. Next, it was ready to be painted. I set the cabinet upside-down first to start painting the underside before flipping it back over and painting the rest.
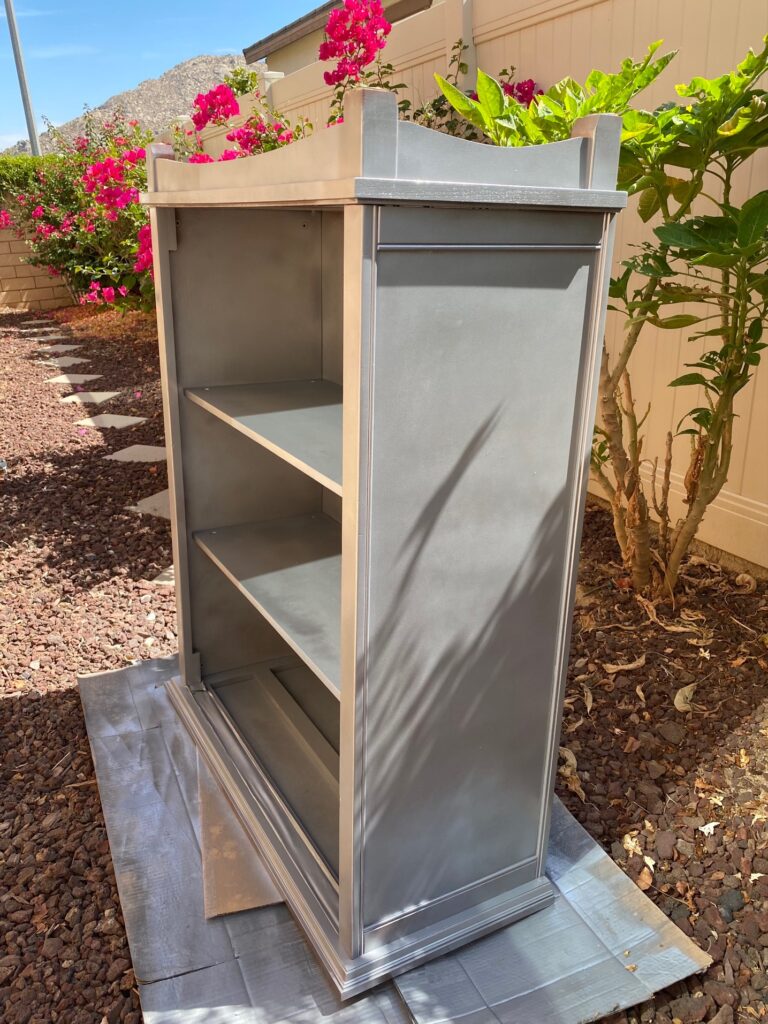
Once the paint was dry, I used antiquing wax all over the cabinet to add a little more color and character (see images below to see how I did this).
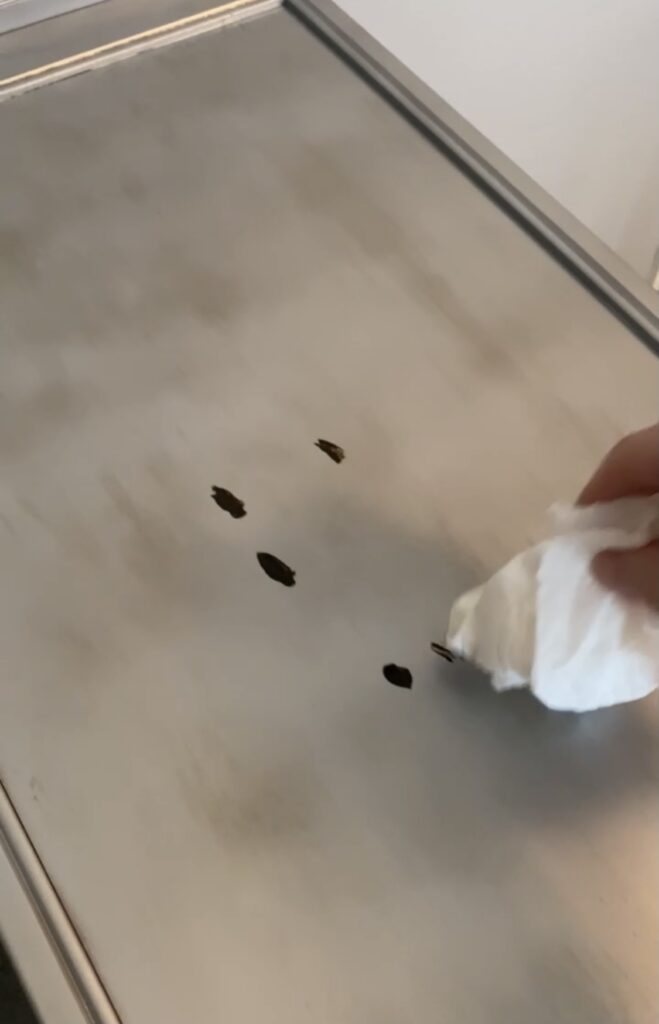
Blot it on randomly with a towel 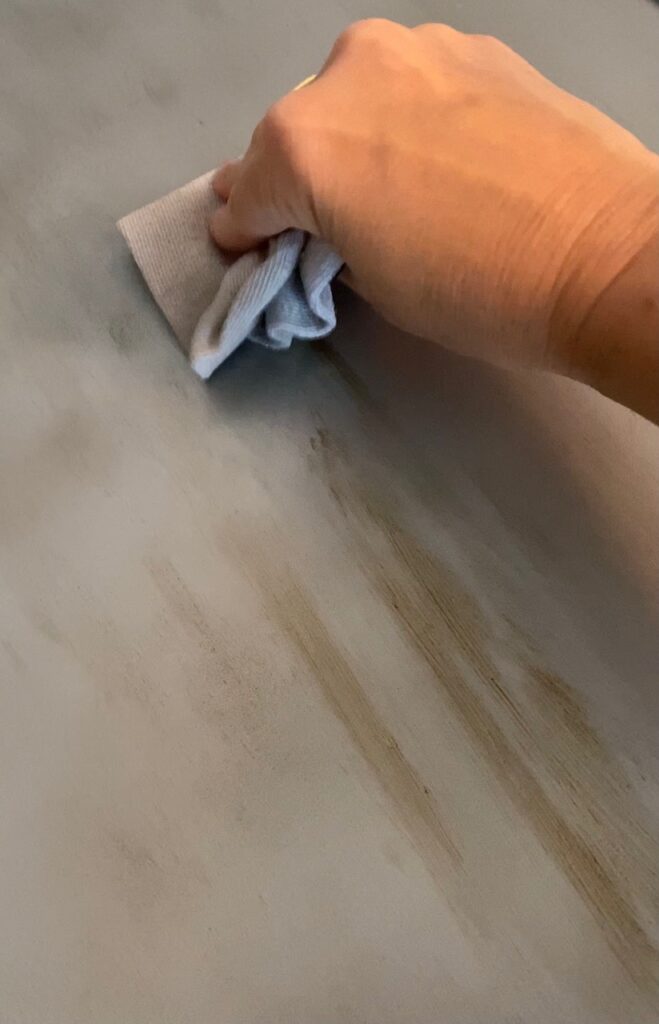
Use another towel to blend 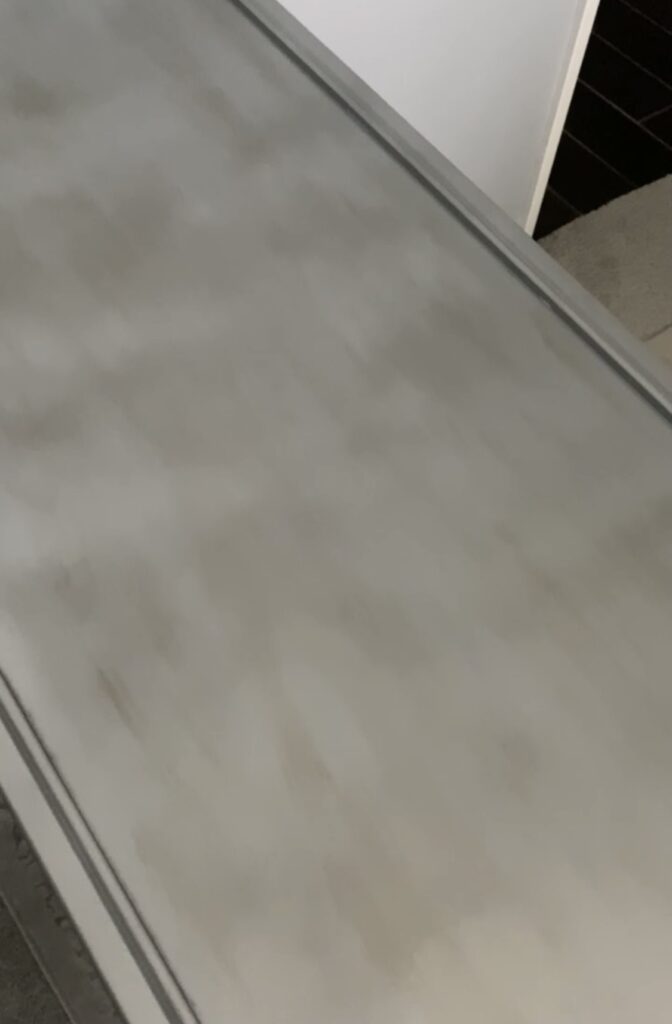
End Result
I let it all dry a few days and then applied a satin clear finish to everything as a protective coating.
The Finishing Touches
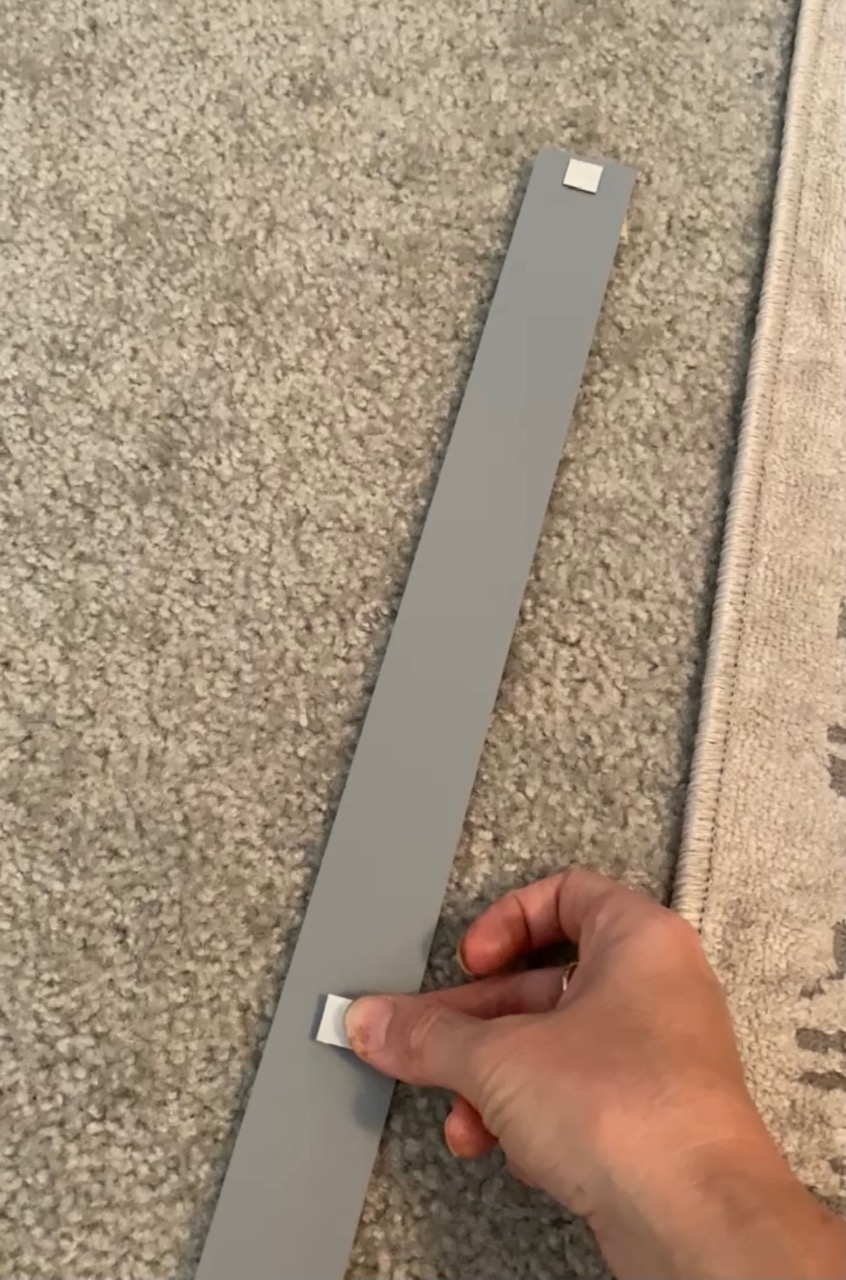
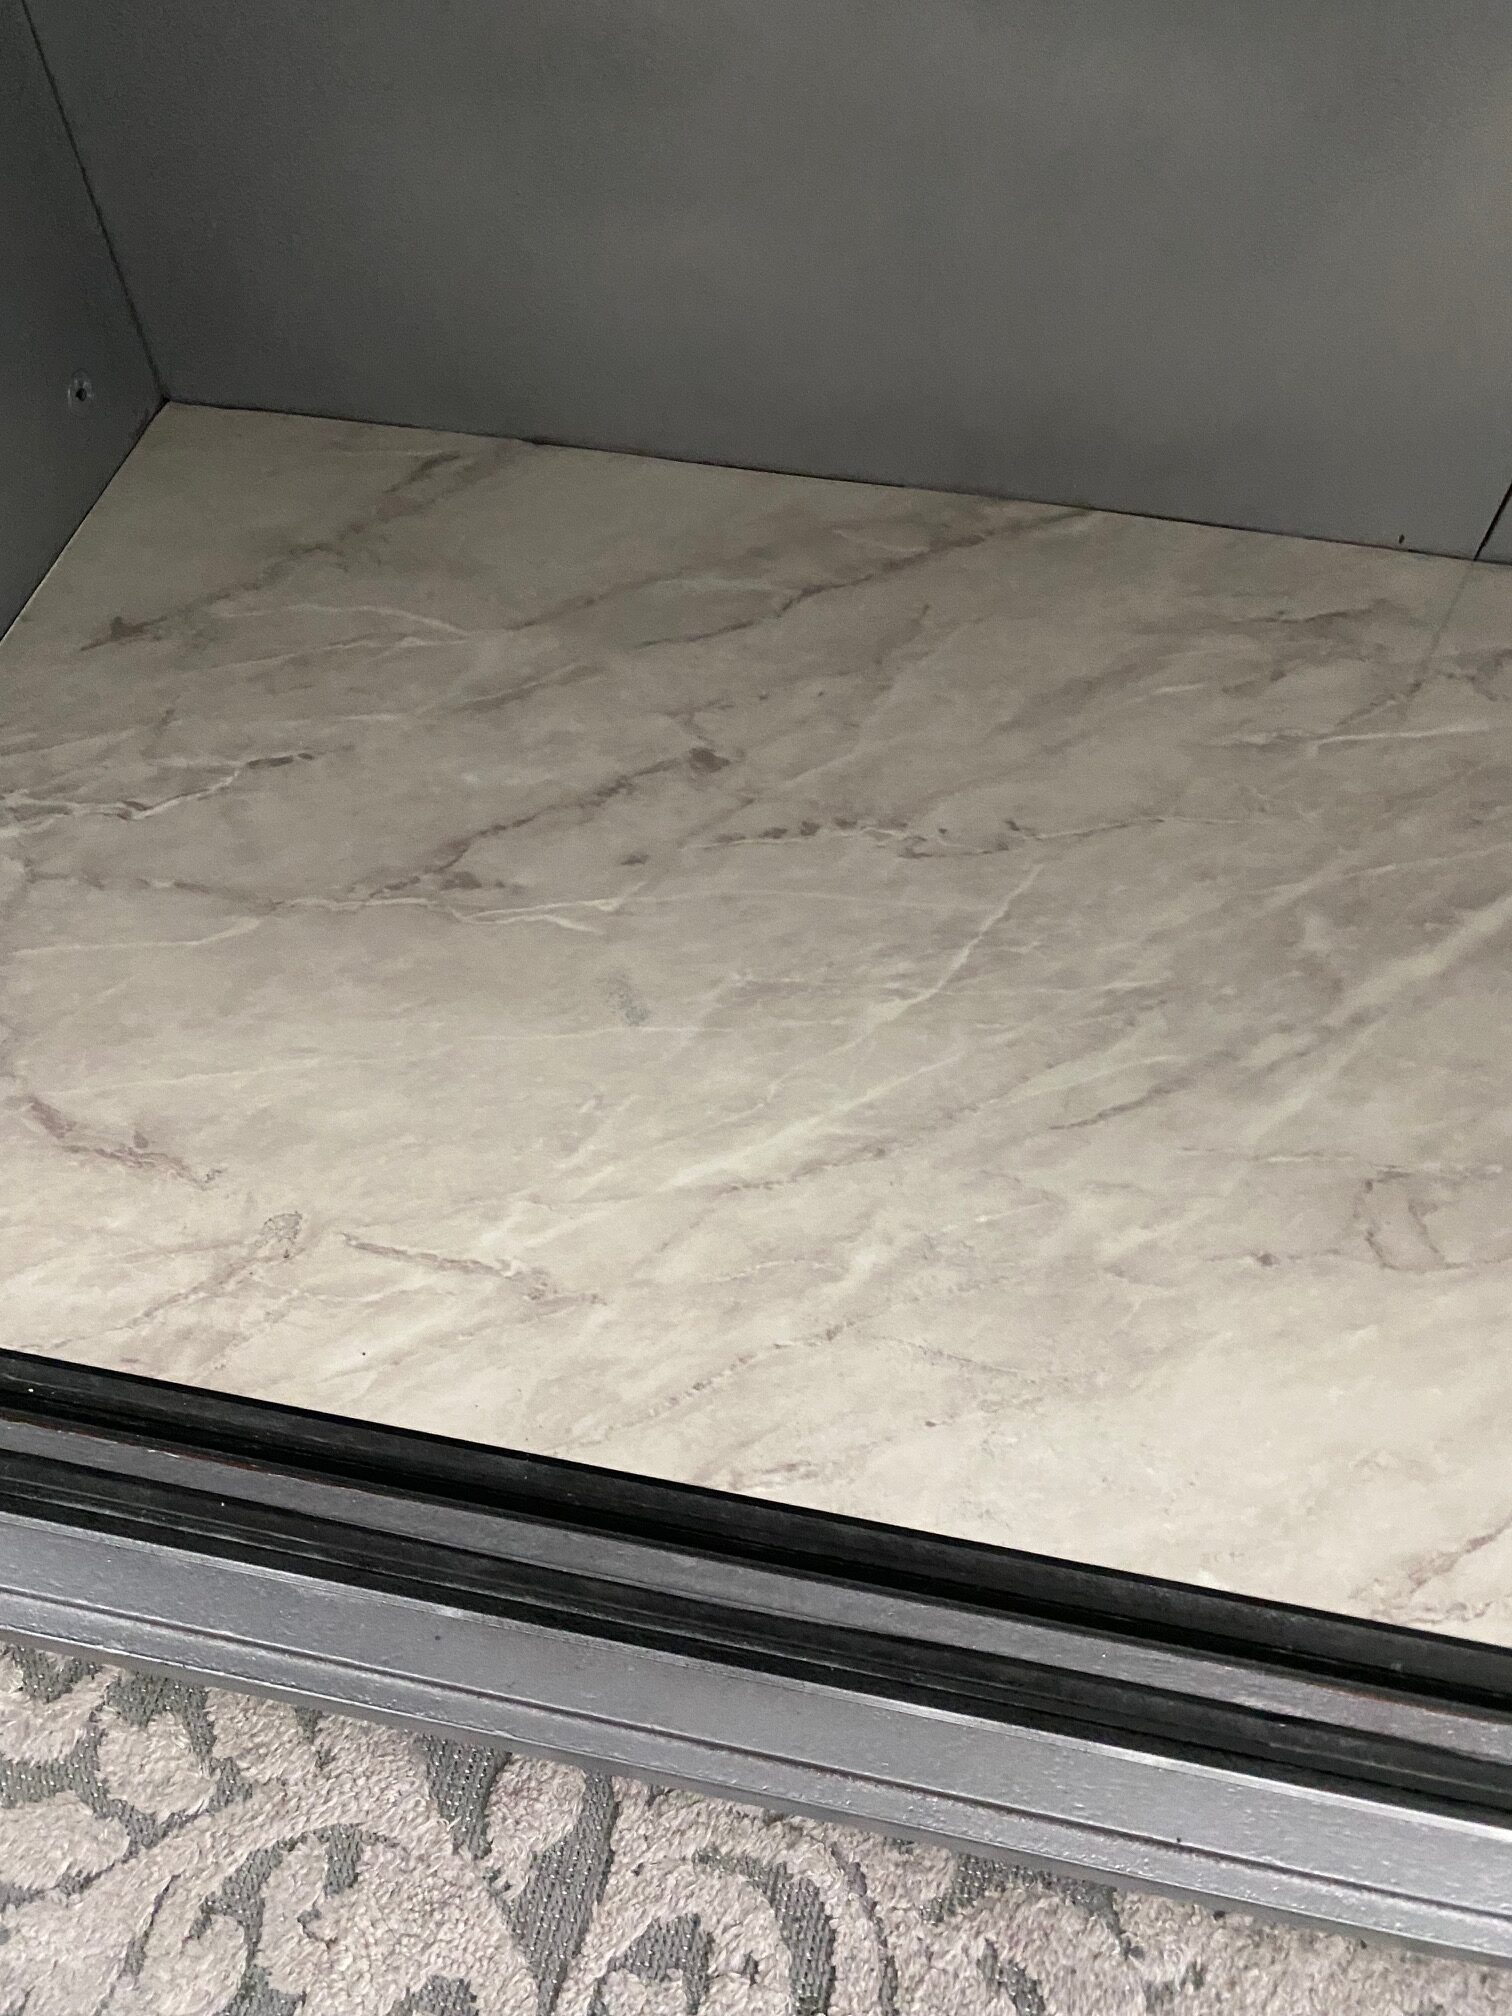
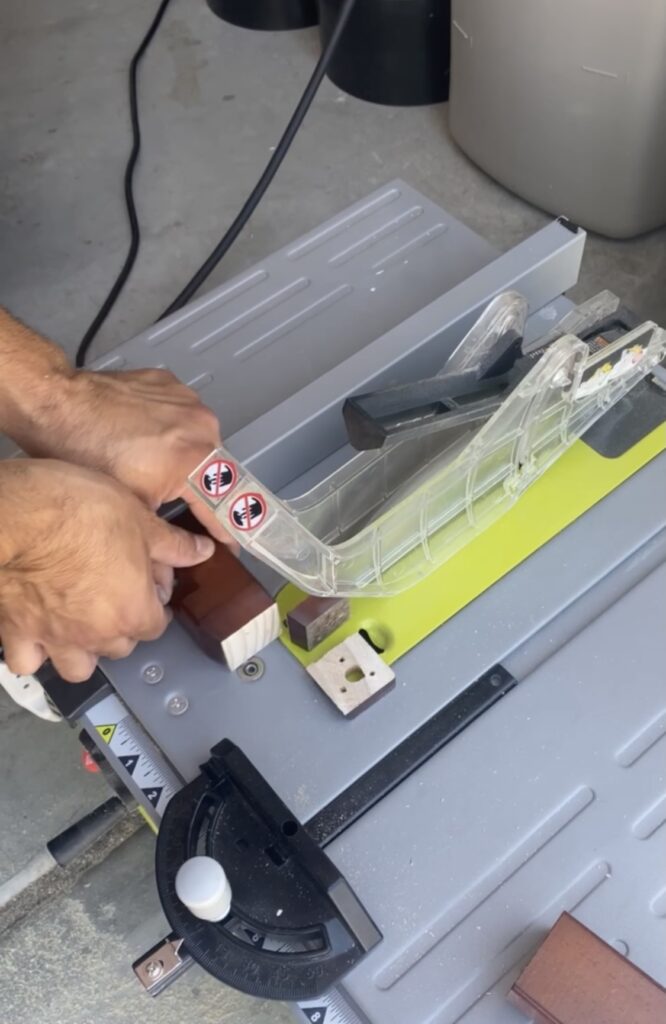
To me, this is the most exciting part because this is where I really get to see my vision come to life. The new acrylic legs were first screwed on prior to standing the cabinet upright. Next, the decorative trim was added at the top and bottom of the cabinet using gorilla adhesive and a nailgun. Three acrylic mirrored strips were cut accordingly (using a tablesaw) and then applied to the front of the cabinet. Double-sided sticky tape was used for this (shown below). I lined the shelves with peel-and-stick paper that has a marble-look design. Two holes were drilled on the front door in order to add the 12″ acrylic pull (shown below) before putting the doors back on their tracks.
Finally, I added baskets inside the cabinet. I plan on using this piece for extra storage in my guest bedroom or office.
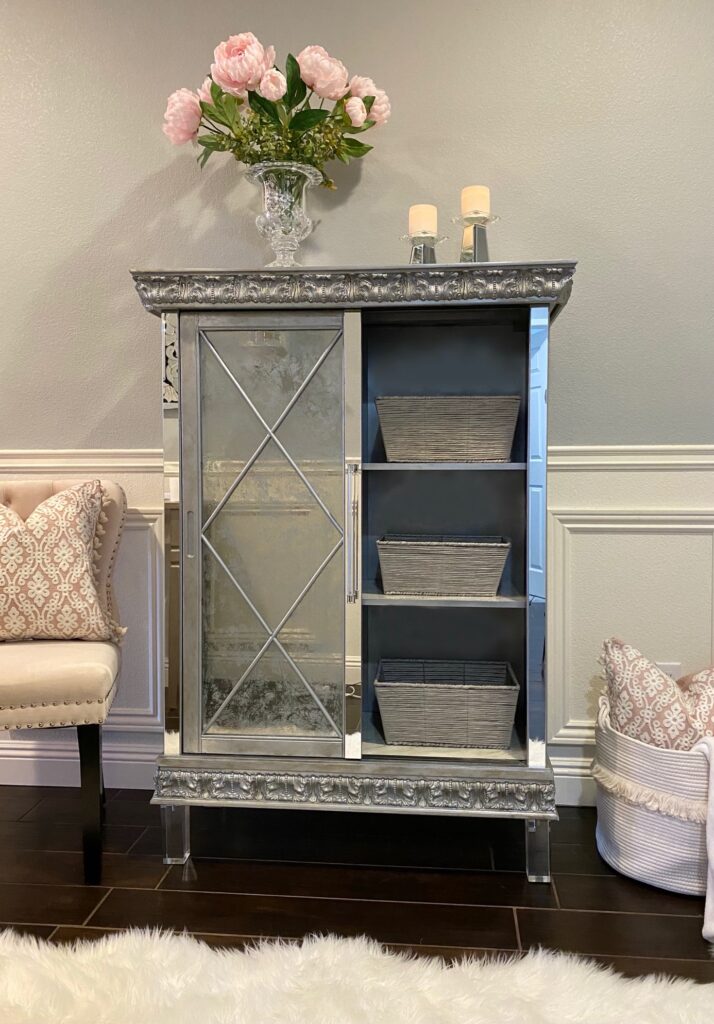
Glam Cabinet Makeover – Before and After
Here’s another look at the before and after. So much has changed that it’s hard to believe it’s even the same cabinet!
The Final Result
This is a rather long blog post, but I wanted to cover it all. I hope it helps answer all of your questions about this project. I am so happy with how my glam cabinet makeover turned out! What do you think?
