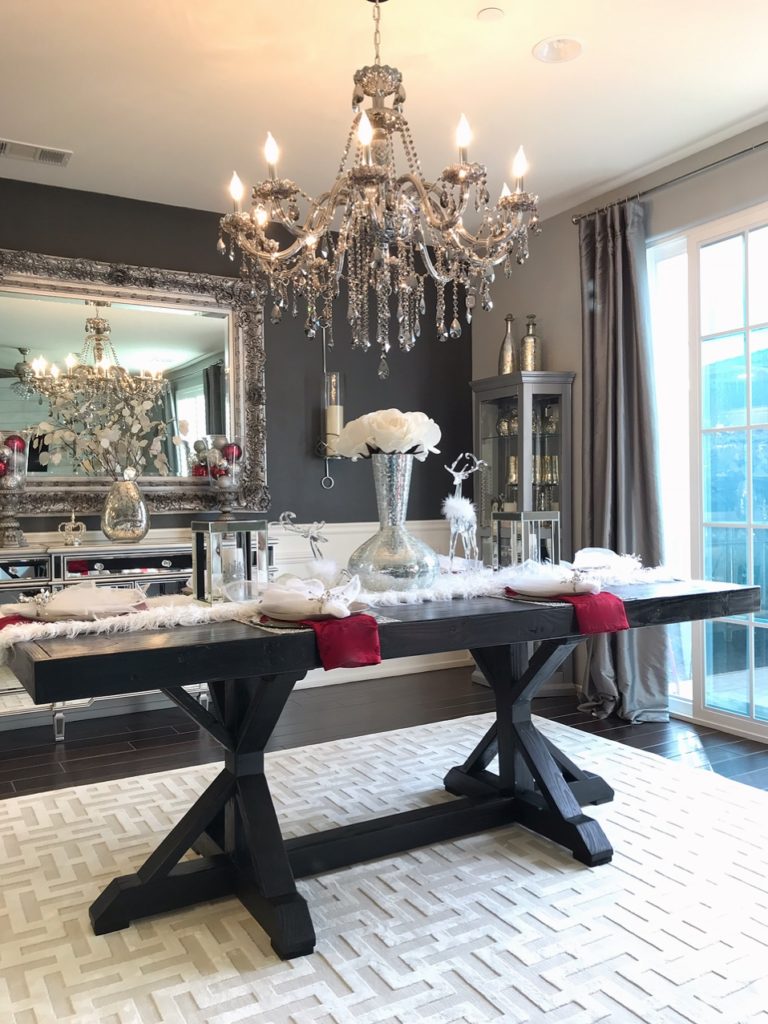
Wow! My DIY RH-inspired dining table is finally finished!! If you follow me on Instagram, you know that this is the first time my husband and I attempted to build anything and I am quite surprised by how much I love it! We put all of our extra time into this project and poured our hearts into making every detail look good. I have gotten a lot of questions along the way, so I wanted to share the process with anyone interested.
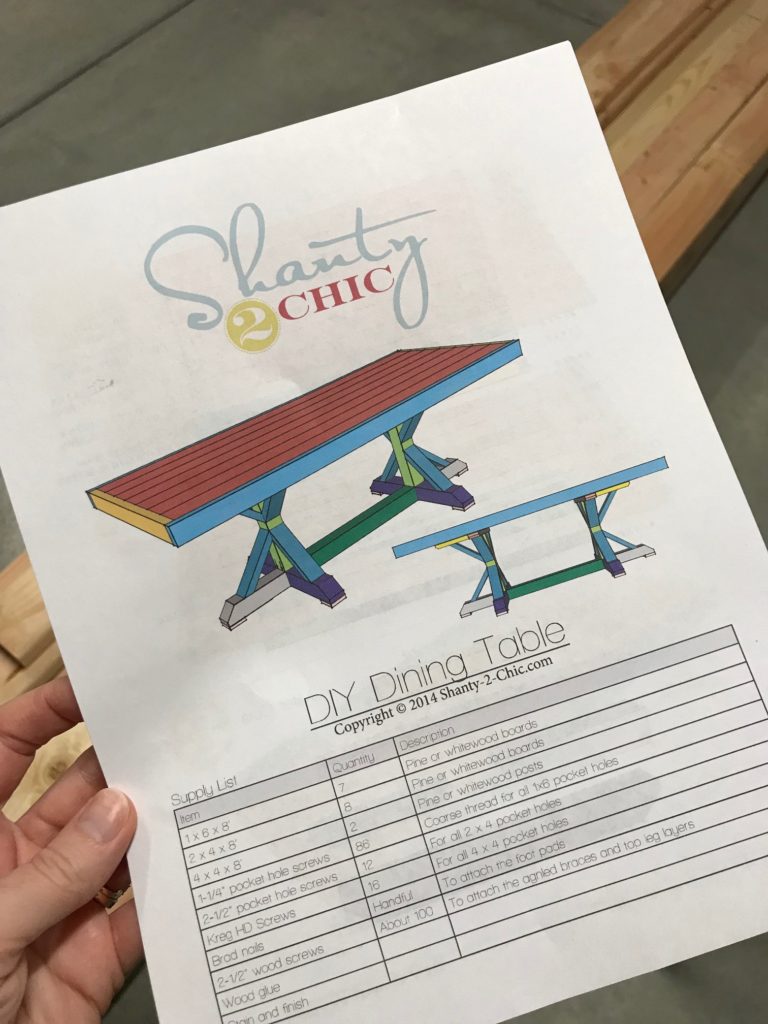
A HUGE shout-out to the beautiful and talented sisters, Whitney and Ashley, at Shanty2Chic. They share so many amazing and FREE plans for DIYers who want to build beautiful and affordable furniture. We definitely would not have tackled a project like this without their easy-to-follow plans. Click here to get their free plans for building this table.
Getting Started
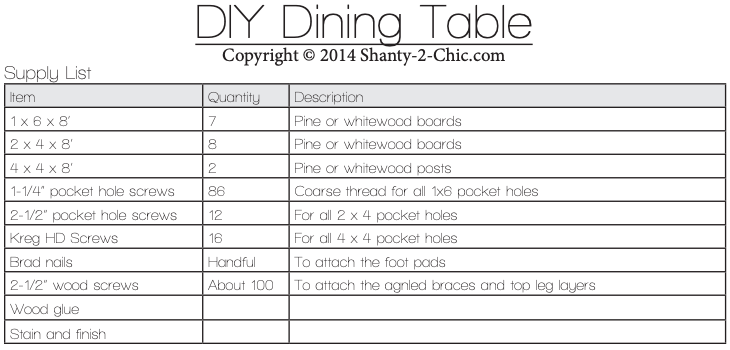
The first thing we did was go through the supply list to see what we needed to buy. My husband and I took a trip to Home Depot and Lowe’s on one of our Friday date nights because – why not? Between the two stores, we found everything we needed and brought it all home.
There were a few tools we had to purchase, but since my dad is a handyman, we were fortunate enough to be able to borrow several of his. Thanks, Dad! Even if we did have to purchase all of the tools, this table still would have been way less-expensive than a similar store-bought one. And the fact that it’s home-made makes it that much more special, right?
One Step at a Time
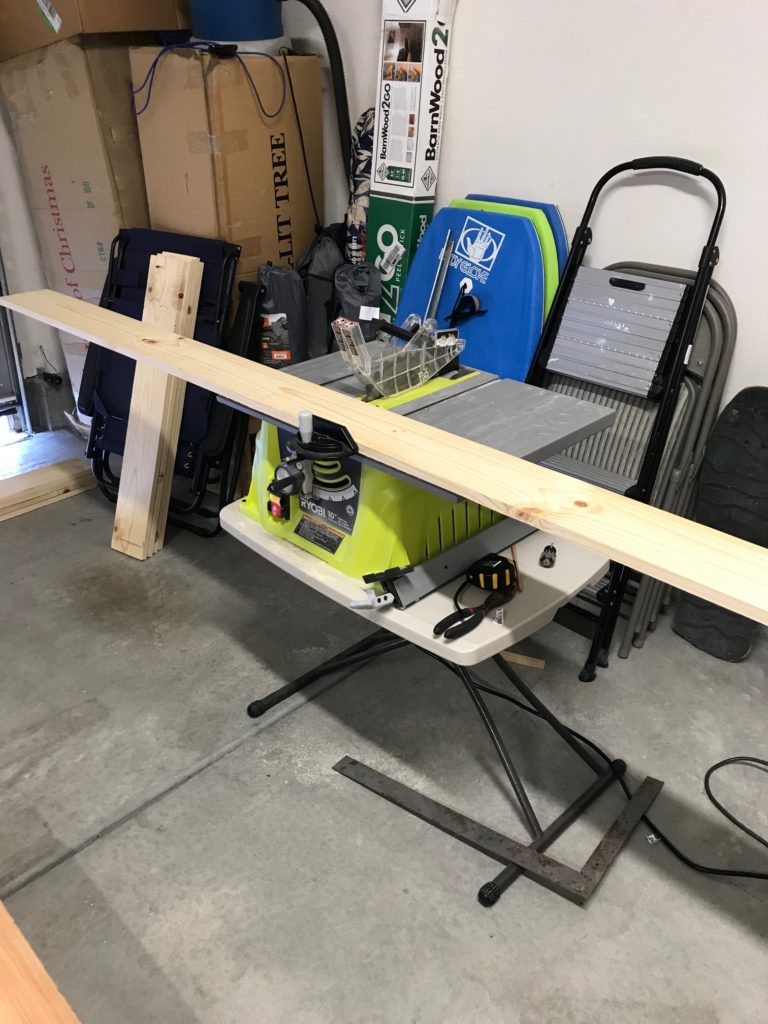
We started this project at the end of October and were determined to have it done and ready before Thanksgiving. This didn’t give us much time between both of us working full-time jobs, but when there’s a will, there’s a way. We began cutting the pieces right away.
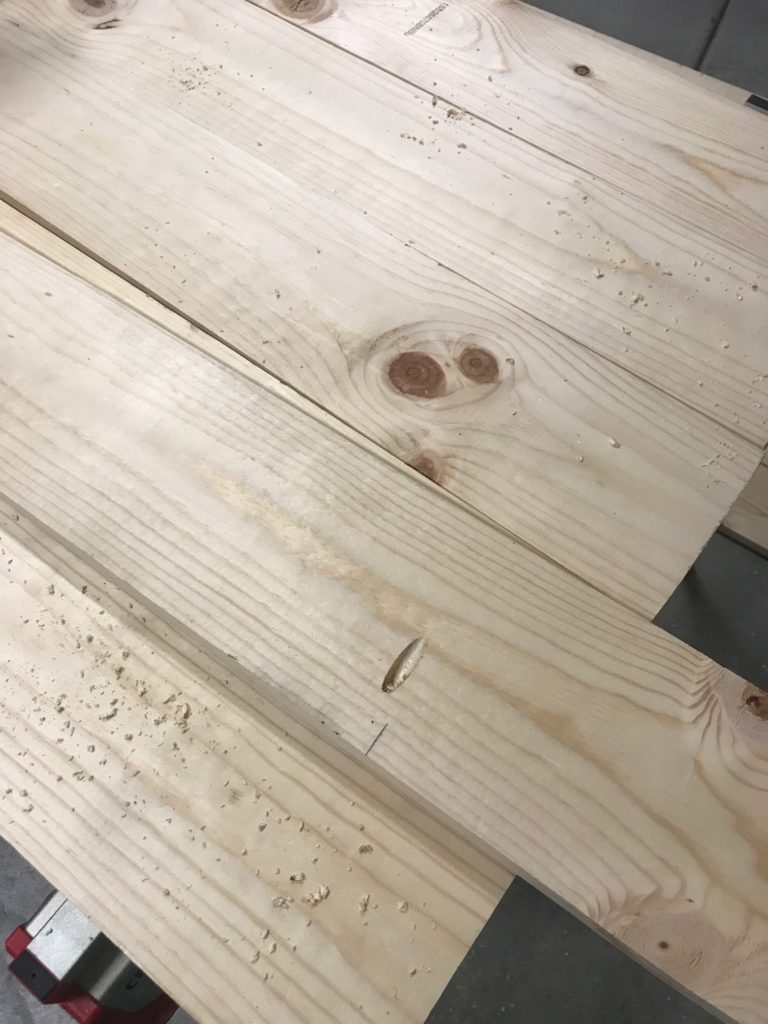
There were several pocket holes that needed to be drilled. This was done right after all of the pieces were cut to size. It was now time to begin putting the table top together!
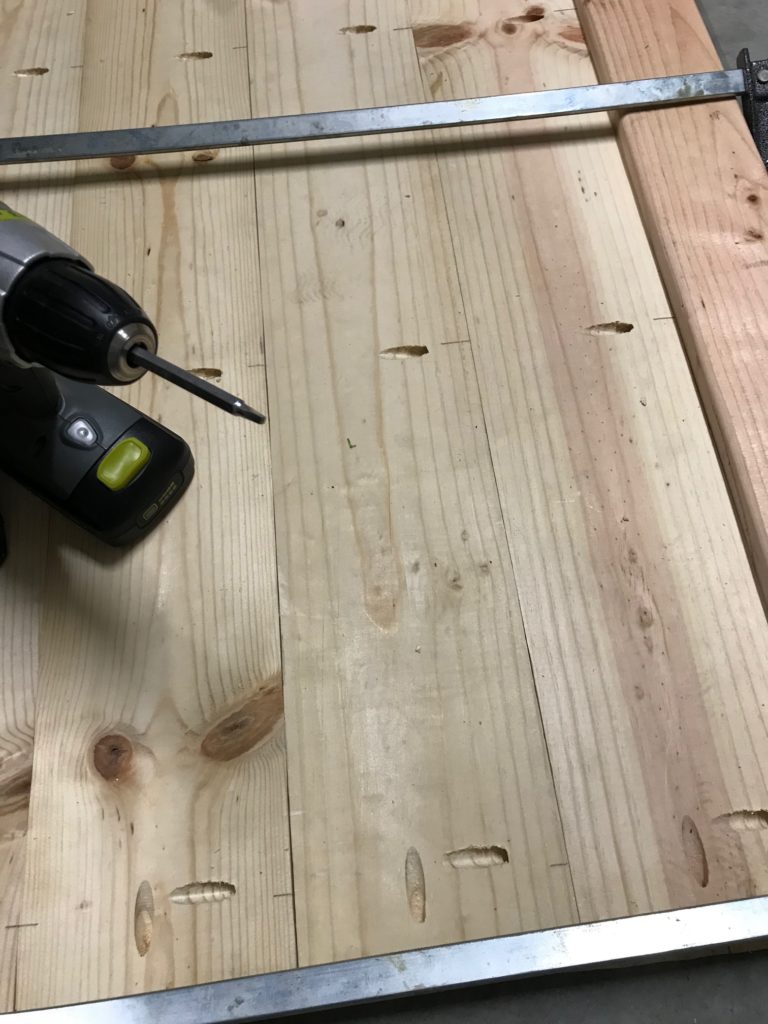
One by one, the top pieces were fastened with the pocket hole screws. Once all 7 pieces of wood were screwed together, it was time to build the frame around it.
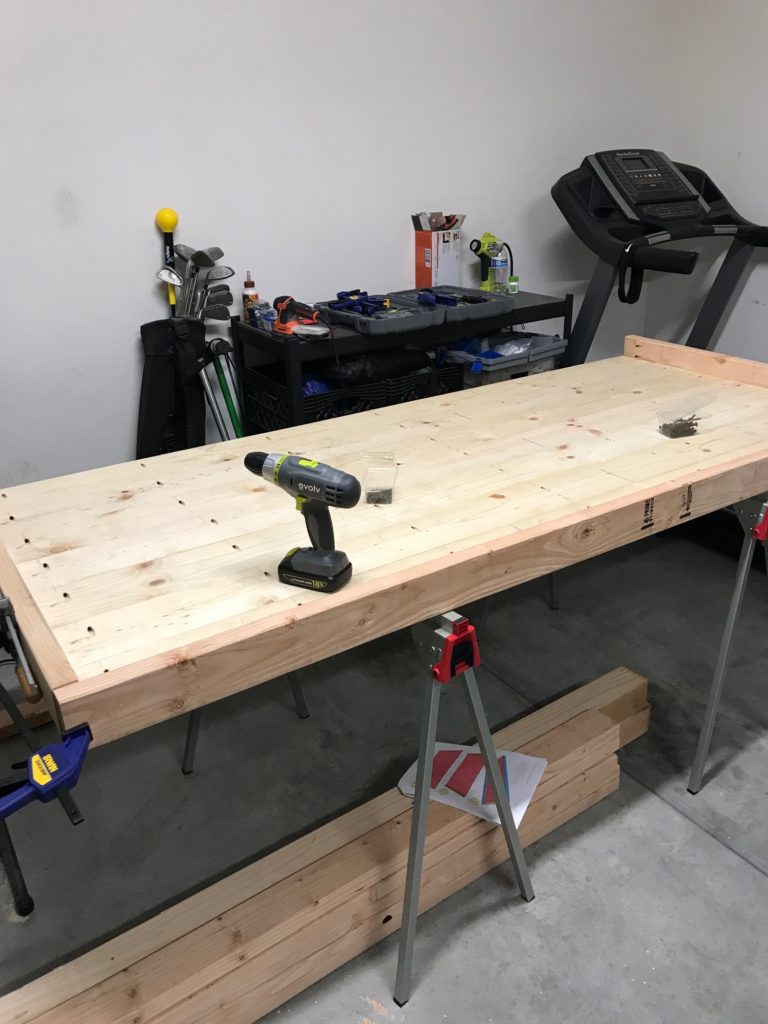
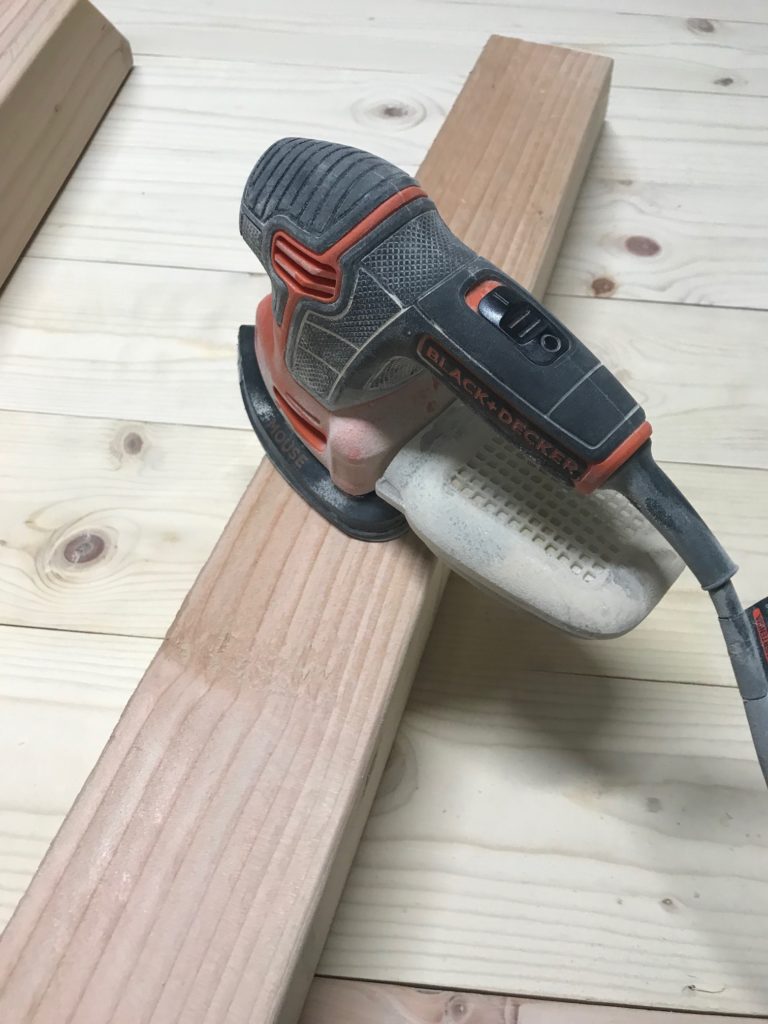
The table top was finally finished and now it was time to begin working on the legs. Several of the leg pieces were rough and had to be sanded before assembling. Since we were on a roll with sanding, I also decided to sand the table-top at this time. Sanding took up a lot of the time, but it was necessary to ensure it would all be smooth, safe, and sliver-free.
Making Progress
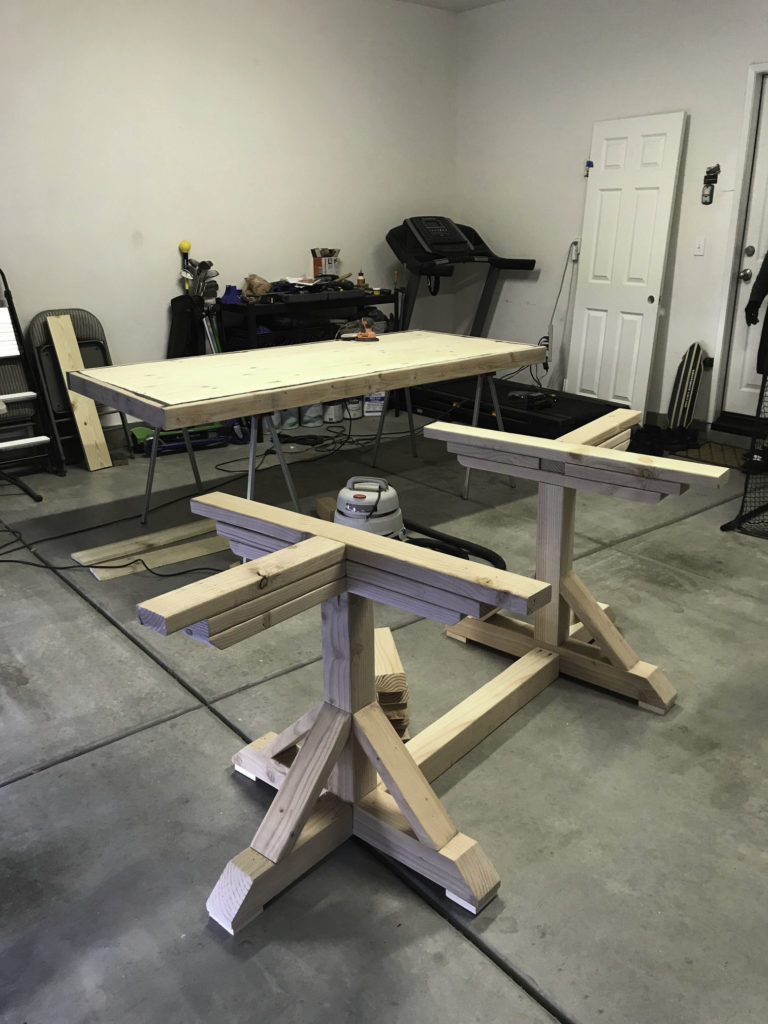
Once the legs were assembled, it was beginning to look more like the DIY RH-inspired dining table I had envisioned. The end was now in sight! Since my husband did most of the building, I decided to give him a break and try to do all of the staining myself.
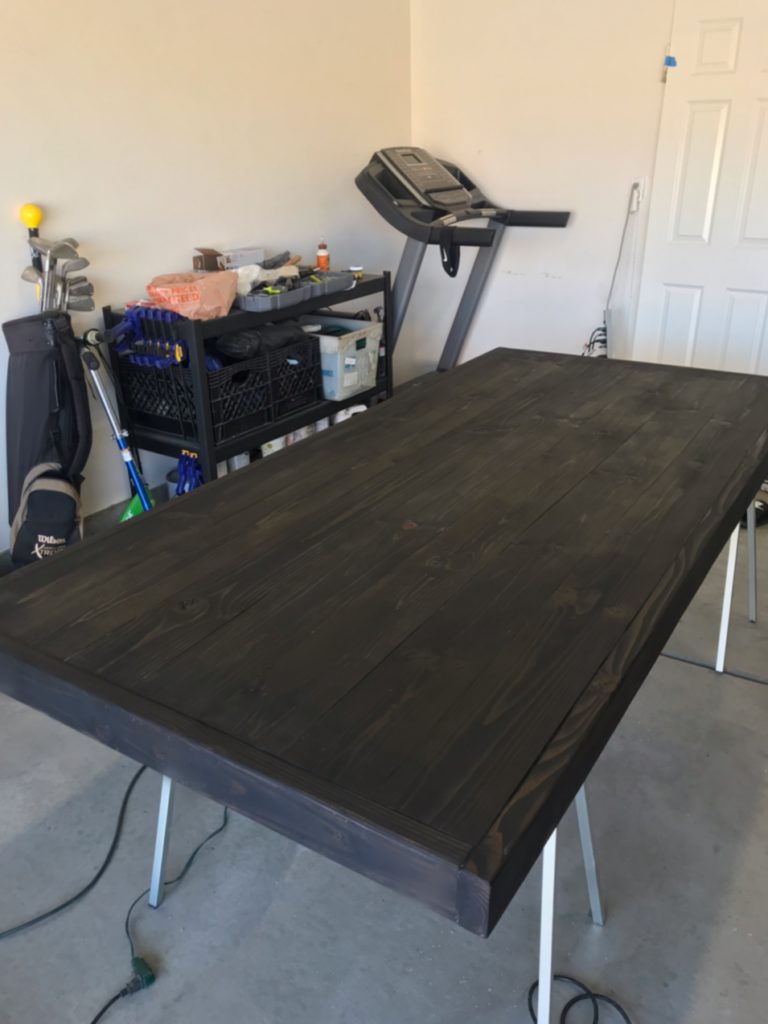
The first coat of stain I used was the MiniWax wood stain in the Ebony color. I really liked how dark the table became after just one coat, but I wanted to add one more coat of stain that included a polyurethane to help protect the table. I decided to go with the MiniWax PolyShades in the Espresso color.
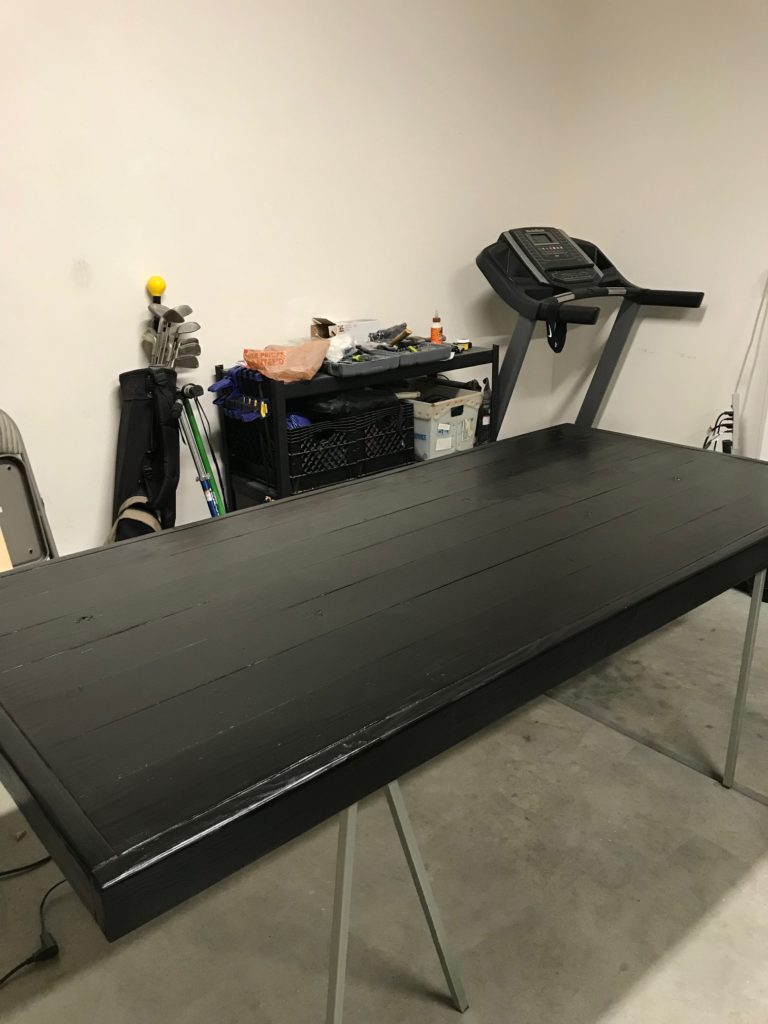
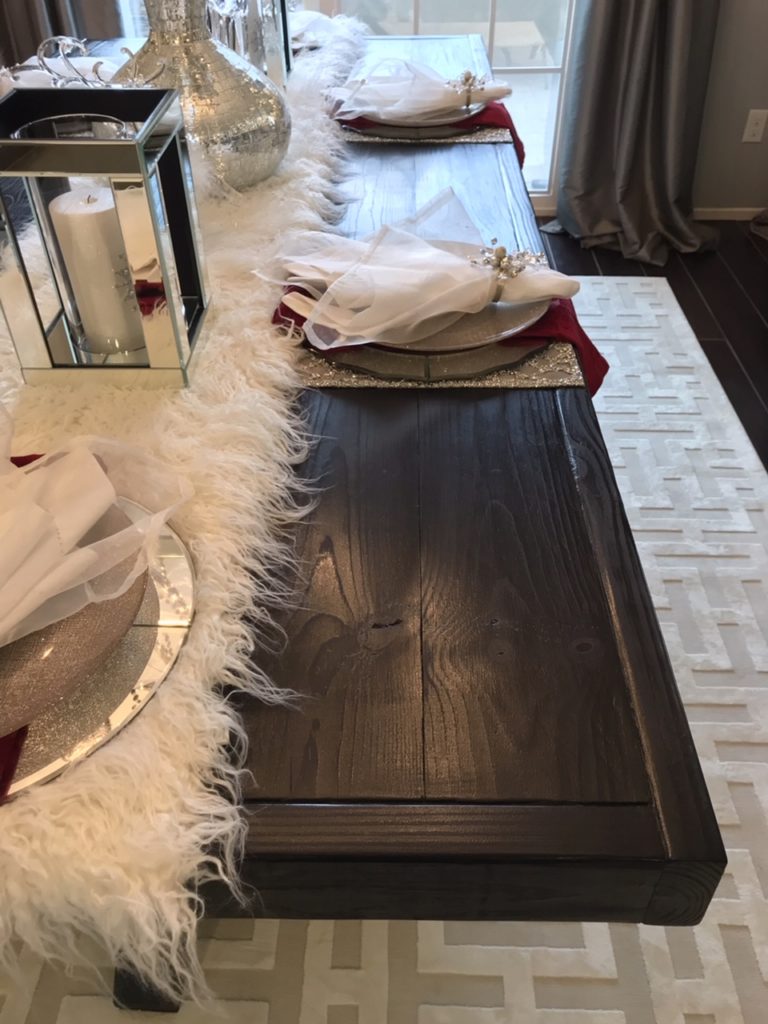
At this point, I was happy with the color, but wasn’t too fond of the finish. Although I did like the shine, I felt like I was doing the table injustice by covering up all of its character. I decided to lightly sand it to see how that would look. I used a 400 grit sandpaper and that seemed to do the trick!
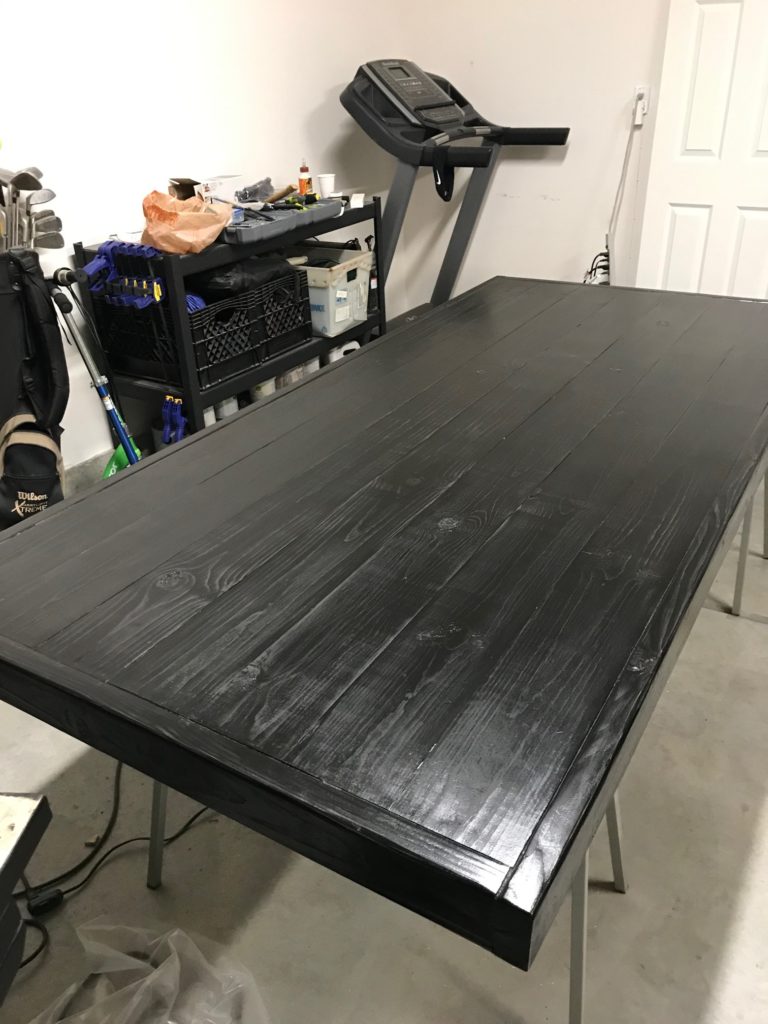
Originally, I wasn’t planning for that much of a rustic feel. Once I started sanding, however, I have to say I fell in love with all of the character that came through. Now that I was satisfied with the finish on the tabletop, I moved onto staining the legs using the same process.
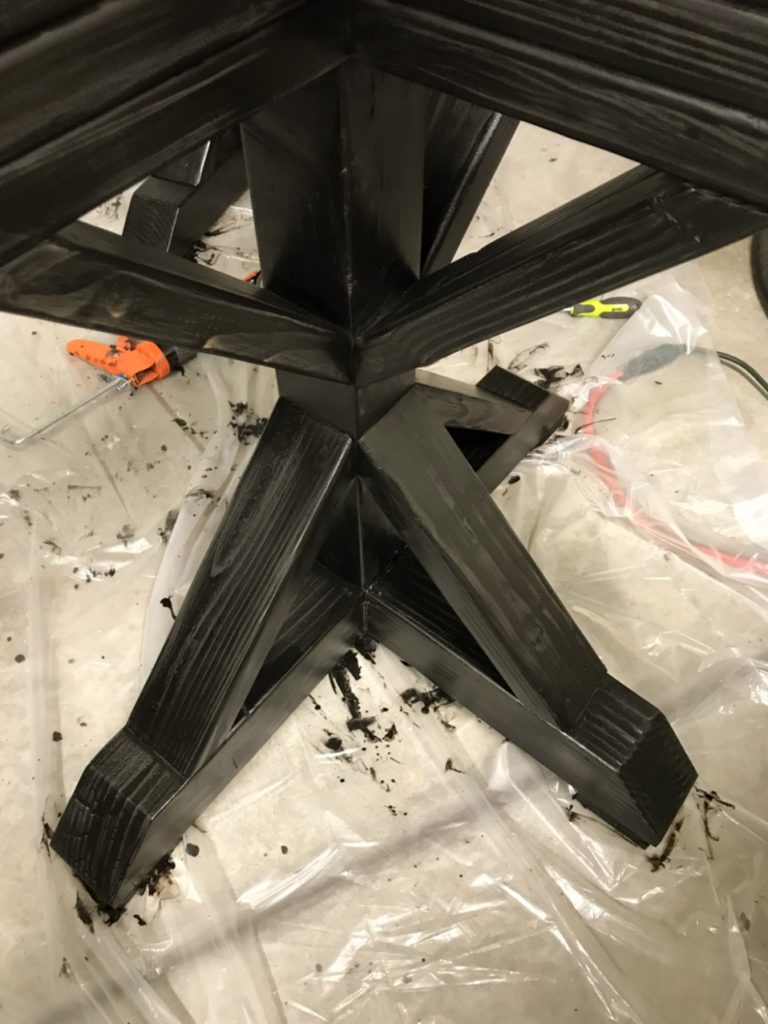
Install Time
Now comes the fun part – the install. The legs had to be placed upside-down in order to attach the 4 x 4 that goes in between them at the bottom. Once we did that, we carefully flipped the legs back over and centered them in the dining room accordingly. The last step was to attach the tabletop. I fell in love at first sight!
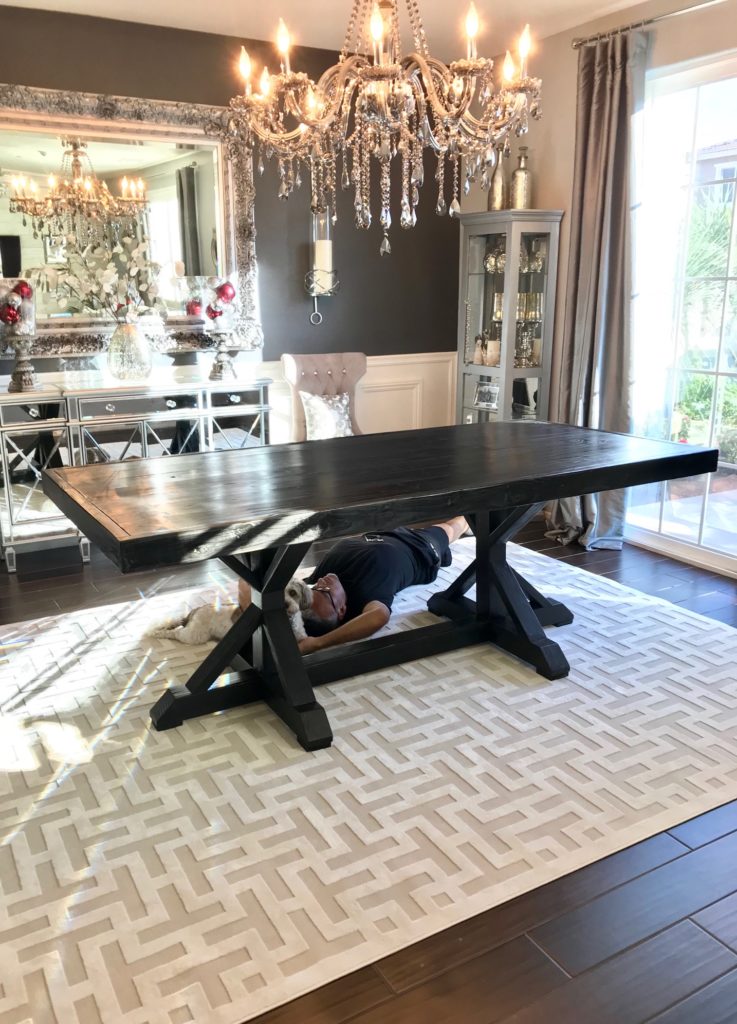
But Wait, There’s More
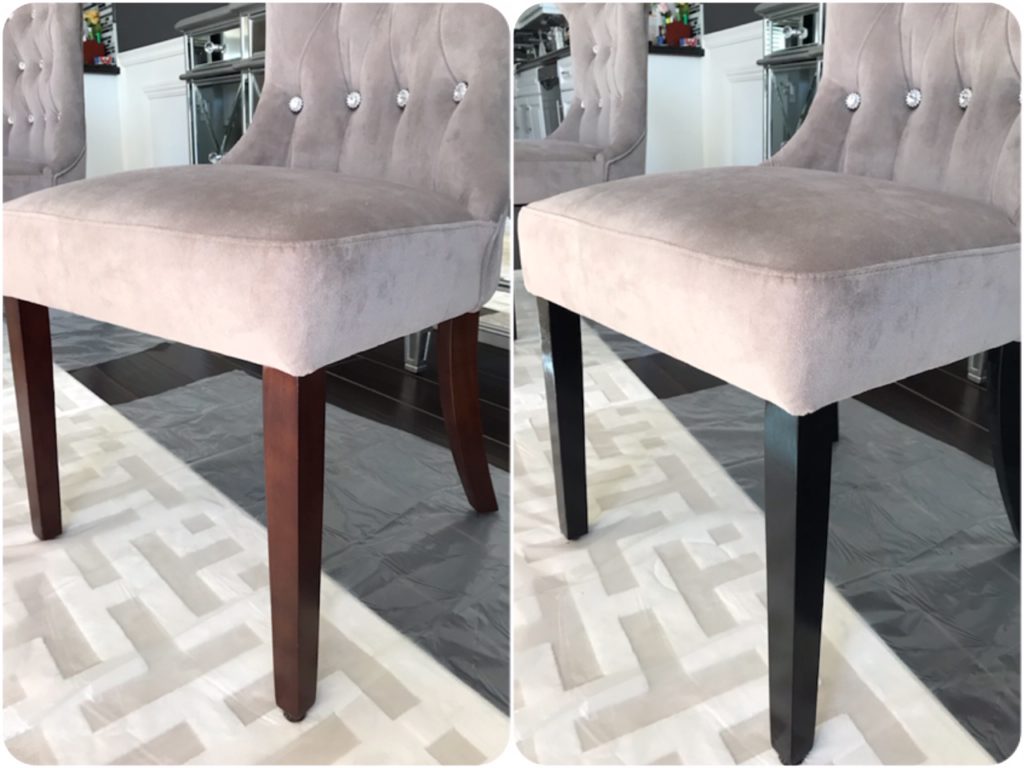
I put all of the chairs in place and was admiring the updated space. Apparently I was too focused on the new table because my husband then asked if it bothered me that the chair legs were lighter than the table. What? I didn’t even notice that!! Once he pointed it out, however, it bothered me like crazy. I decided to go ahead and stain the chair legs too. I used Varathane Premium Fast Dry Wood Stain in Ebony color only because it requires just one coat and dries really quickly. See the before and after pics below.
Time to Relax and Enjoy
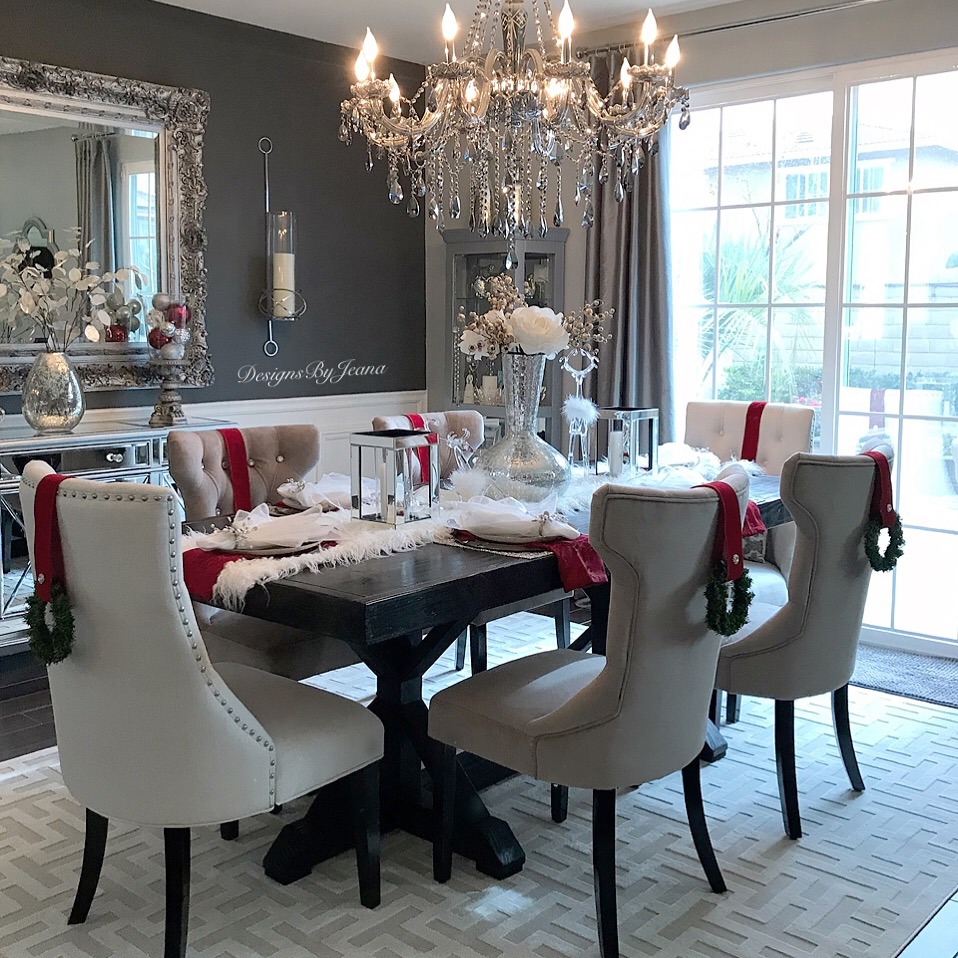
We did it! We finished our DIY RH-inspired dining table in just under 1 month and right before Thanksgiving! I was so happy to get it decorated and cannot wait to use it throughout the years to come! Please feel free to ask questions and/or let me know what you think in the comment section below. Thanks for following along throughout this process!



Samira says
Love the chandelier, where did you get it from?
shelovestodecorate says
Thanks! It is the Omni chandelier from ZGallerie.
V says
Hi! Your table is gorgeous! What’s the size of the finished table? Length/width? I’d like to try this but with more streamlined modern style base.
shelovestodecorate says
Hi! Thank you!! It’s about 42″ by 87″. Hope this helps!
V says
Thank you!