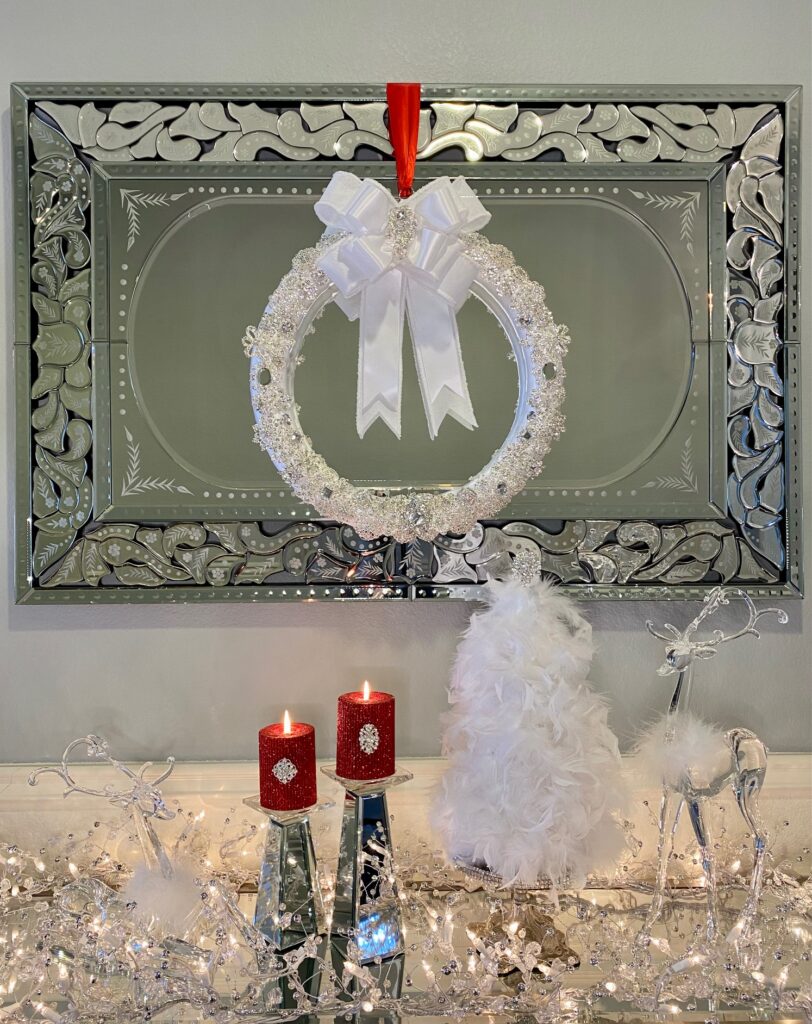
If you follow me on IG, you probably caught a sneak peek of this one. I’m finally finished and super excited to share my DIY brooch Christmas wreath with you today! It took me a couple of attempts, but I think I got it down. 😉
Disclosure: This post contains affiliate links for your shopping convenience. All opinions are my own.
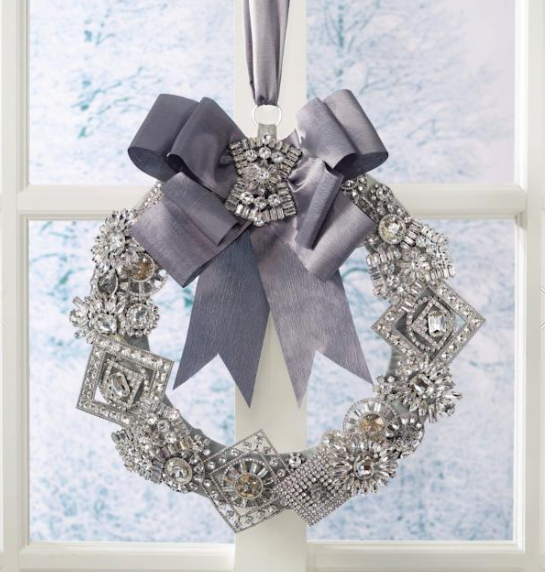
Quick back story first – I’ve had my eyes on a gorgeous designer brooch wreath for a few years, but I just couldn’t get over the $499 price tag! I kept waiting for some amazing sale so that I could justify buying it, but unfortunately that never happened. This year, I decided I was going to just try and make my own. I’ve included the image from their website below to show you where my wreath inspiration came from.
Even though I saved a lot of money making a similar wreath myself, I want to be up-front and say this is a more expensive DIY project because it requires so many brooches. It is possible to save a little more money by using a smaller wreath size so that less brooches are required. (The wreath I used is close to 18″ in diameter.)
What You’ll Need
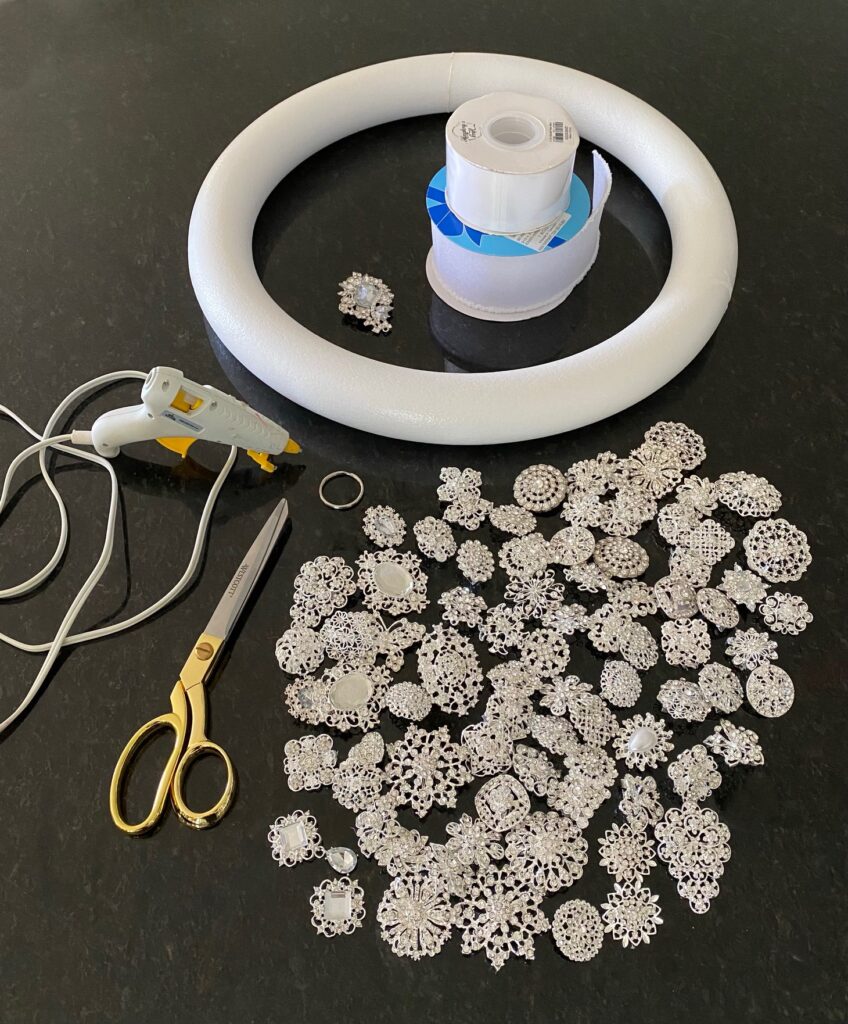
- Styrofoam Wreath
- Silk Ribbon
- Larger Ribbon (for bow)
- Small Brooches
- Assorted-Sized Brooches
- Small Key Ring
- Hot Glue Gun/Several Hot Glue Sticks
- Scissors
- Pliers
Starting Out
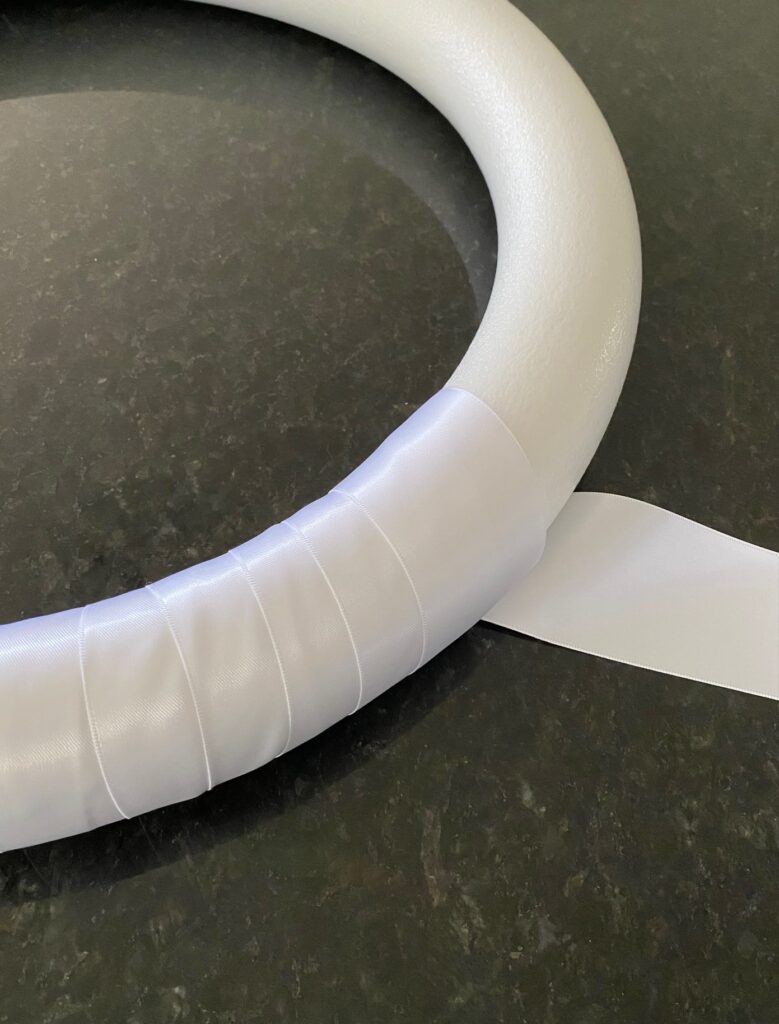
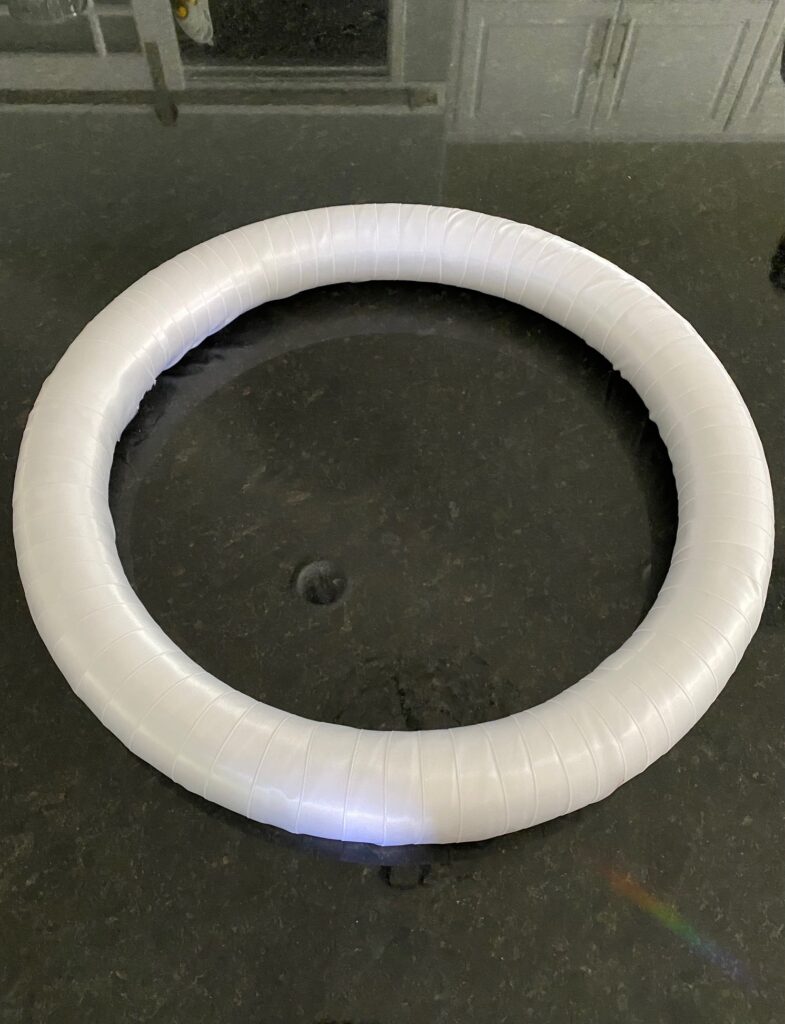
I started out by hot-glueing one end of my ribbon to the wreath and then wrapped the rest of the ribbon all the way around the wreath as shown in the images.
The Loop and Bow
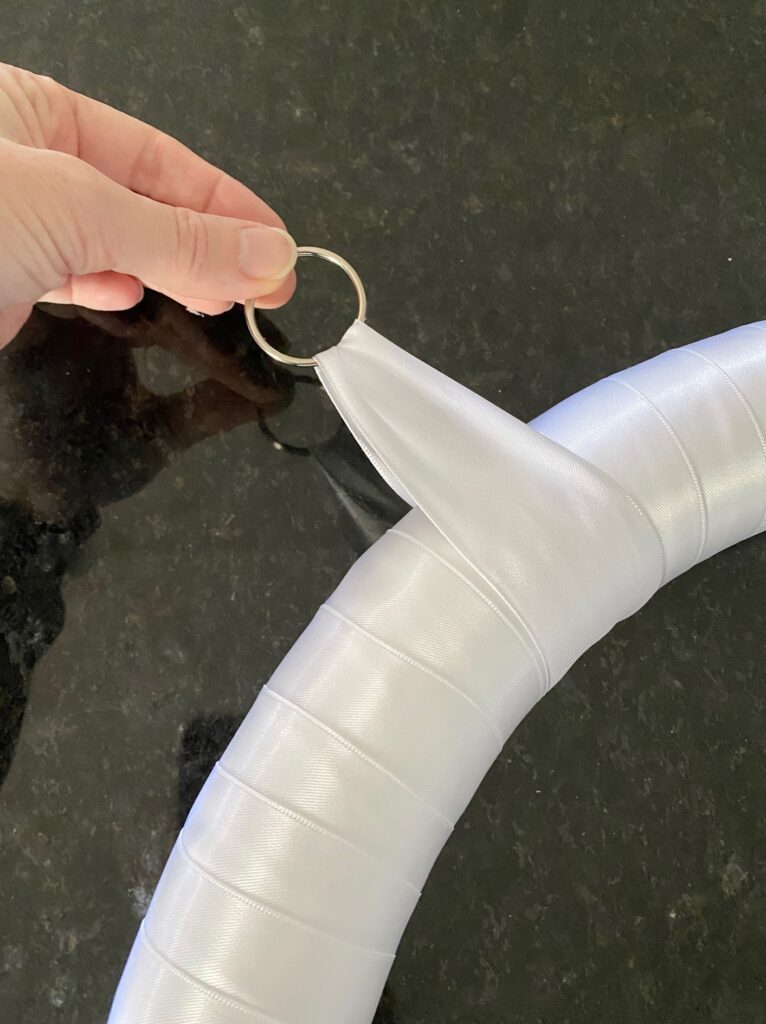
Once I had the wreath wrapped with ribbon, I added a loop to the top for hanging. To do this, I ran a small piece of ribbon through a metal key ring and then tied the ends of the ribbon around the wreath in a knot (see image above).
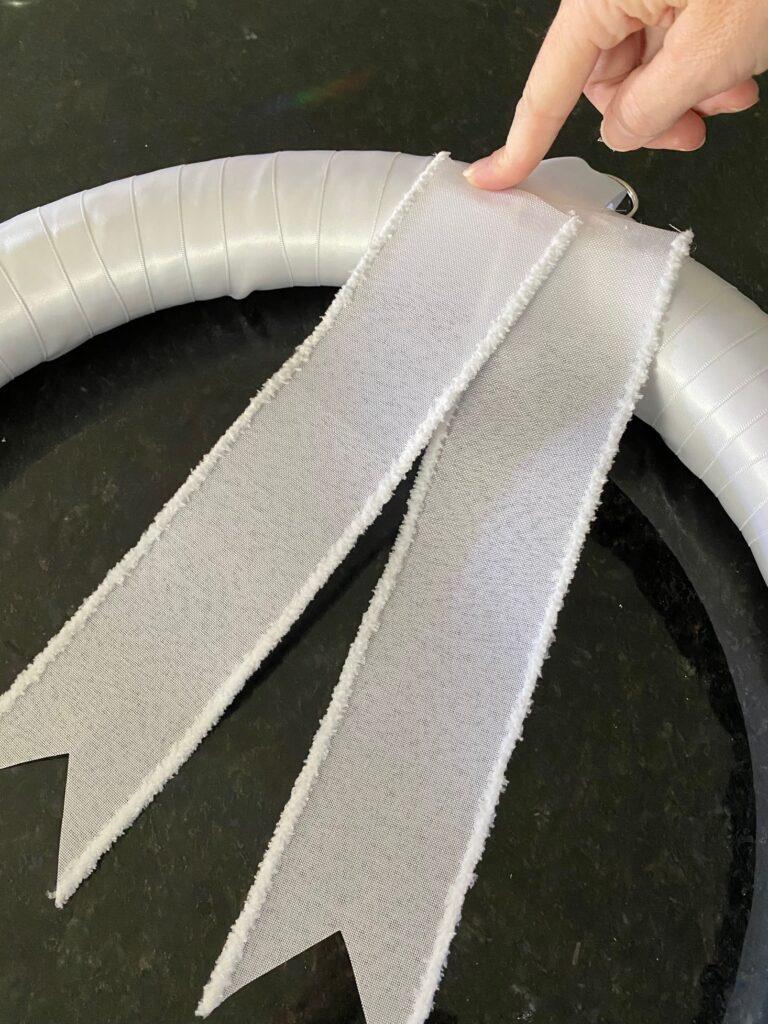
Next, I created the bow piece-by-piece using strips of ribbon. I attached each strip with hot glue.
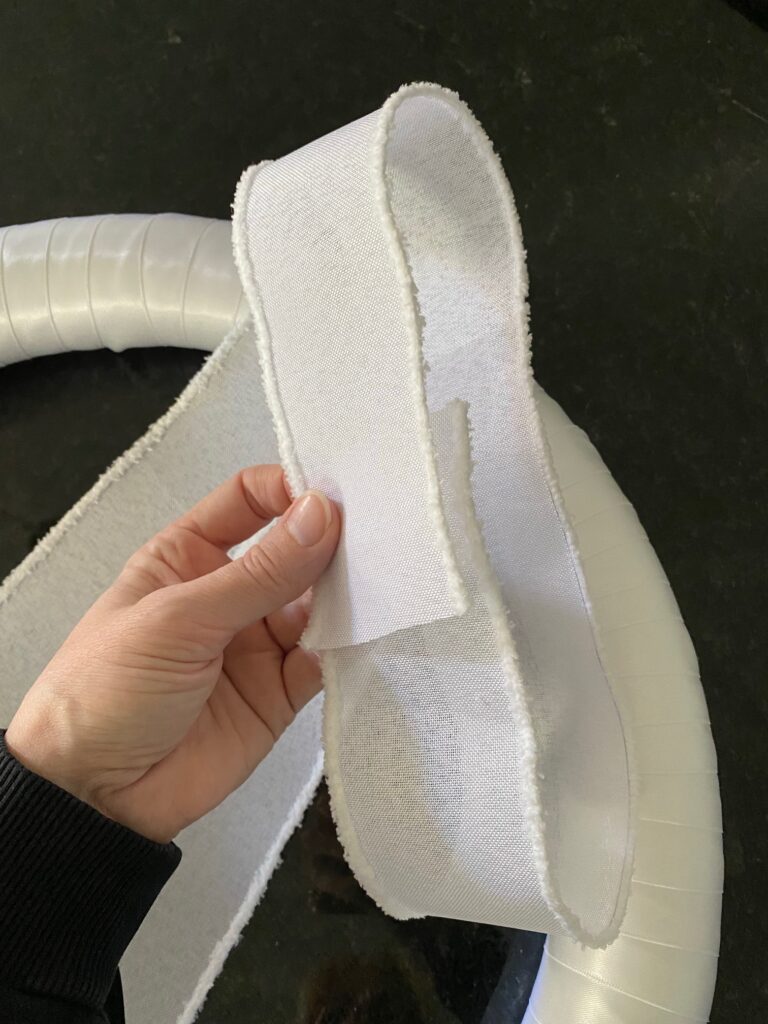
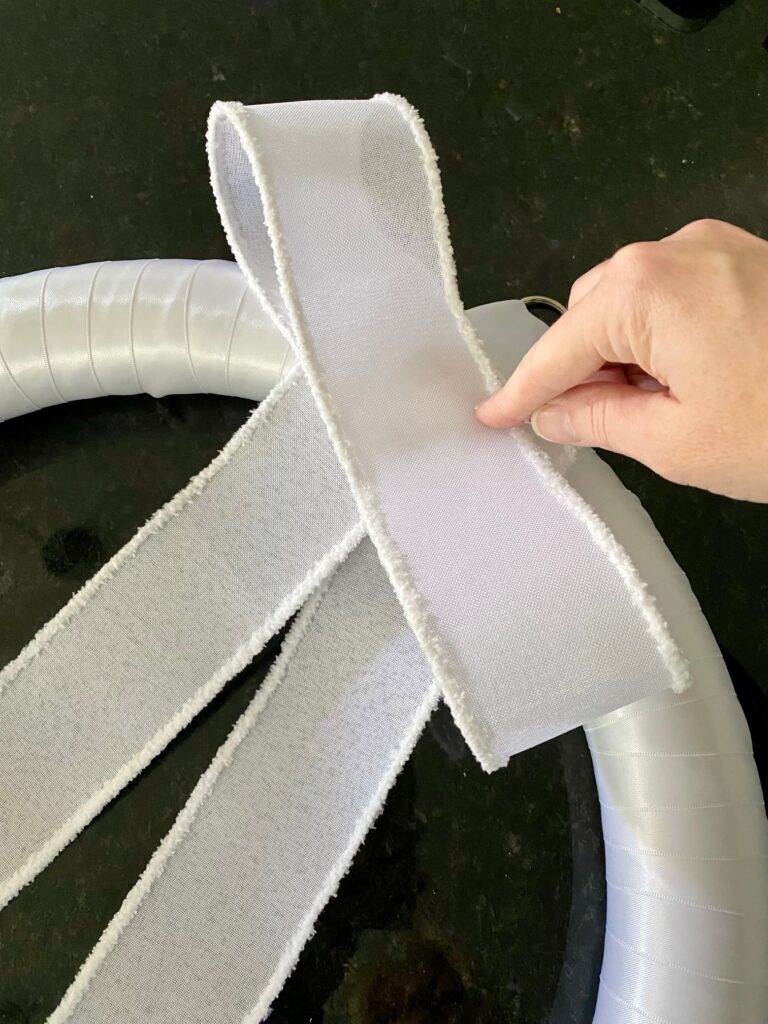
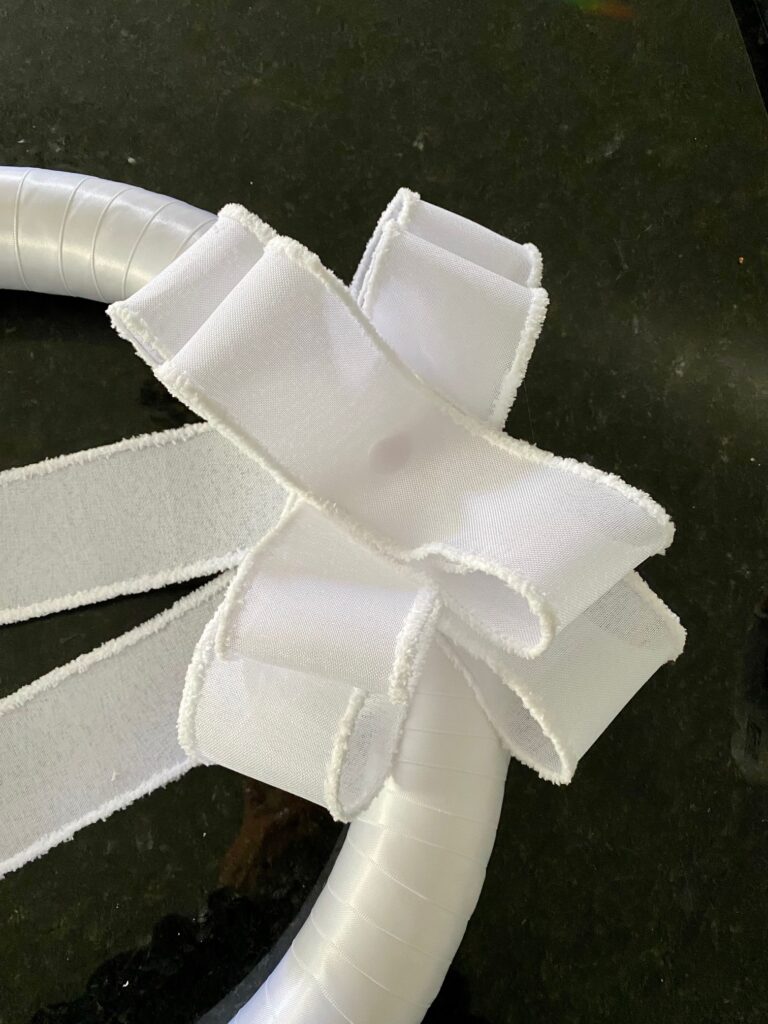
For the 2 larger loops, I used 24″ strips of ribbon and glued them onto the wreath as shown above. Then I glued 2 smaller loops (about 17″ each) on top as shown below.
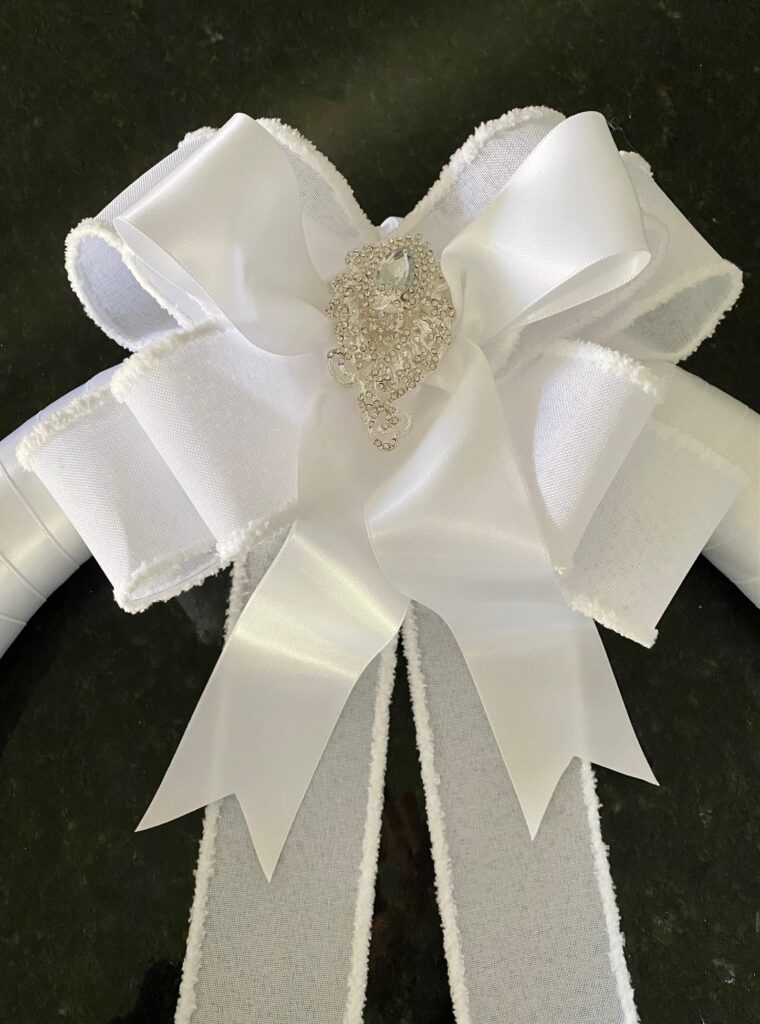
To finish it off, I tied a bow using silk ribbon, hot-glued it on top, and then glued a large brooch in the center of the bow (see image below). I wasn’t completely satisfied with the bow once I completed the wreath and actually ended up changing it a little bit – I’ve included more about this towards the end of this post.
Next Steps
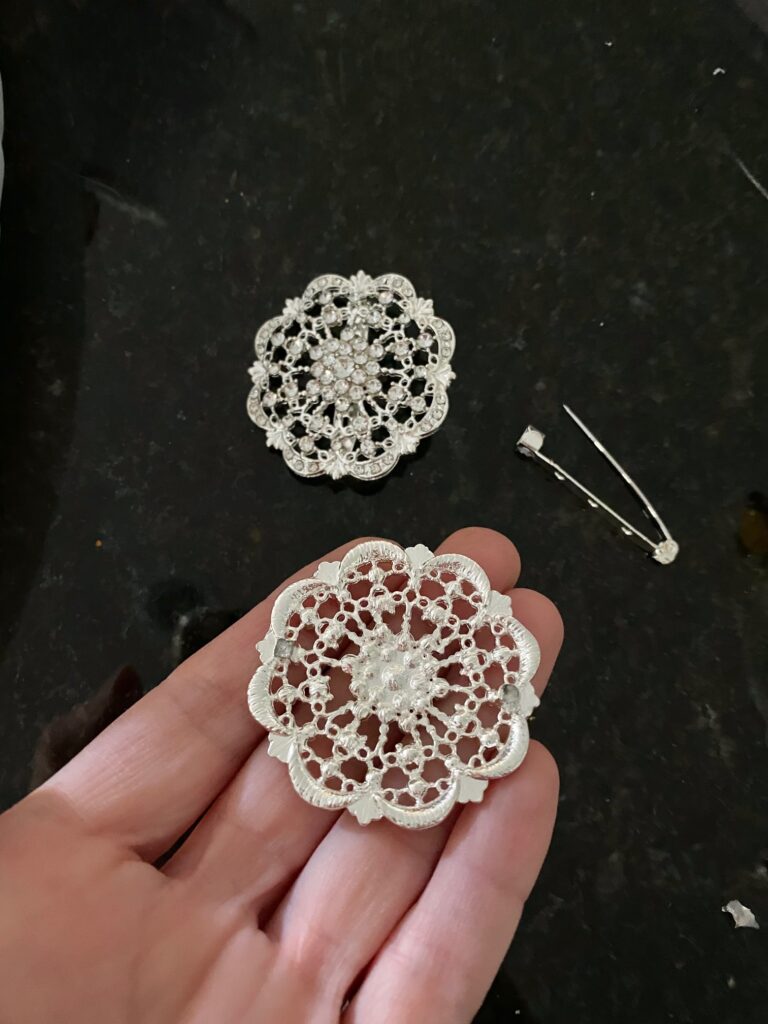
After I was done with the bow, I was ready to start gluing the brooches around the front of the wreath. I first used a pliers to twist off the pins from the back before glueing them on.
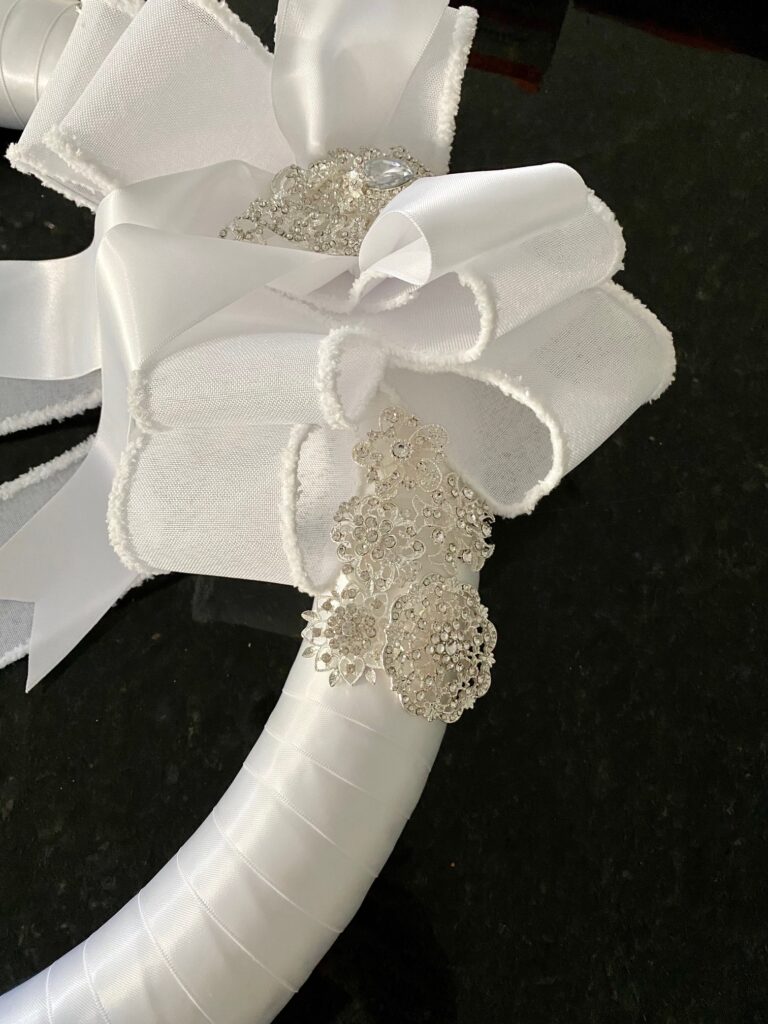
One by one, I hot-glued each brooch on the wreath. I tried my best to use the same style of brooches on both the left and right side so the design would look somewhat uniform. I added a larger brooch at the bottom middle of the wreath.
As I mentioned earlier, when I was finished, I wasn’t completely happy with how the silk bow in the front looked. I changed it a little by cutting off the longer pieces, glueing them on top of the larger ribbon strands in the back, and then adding 2 more silk ribbon loops in the front (see picture below for a better explanation).
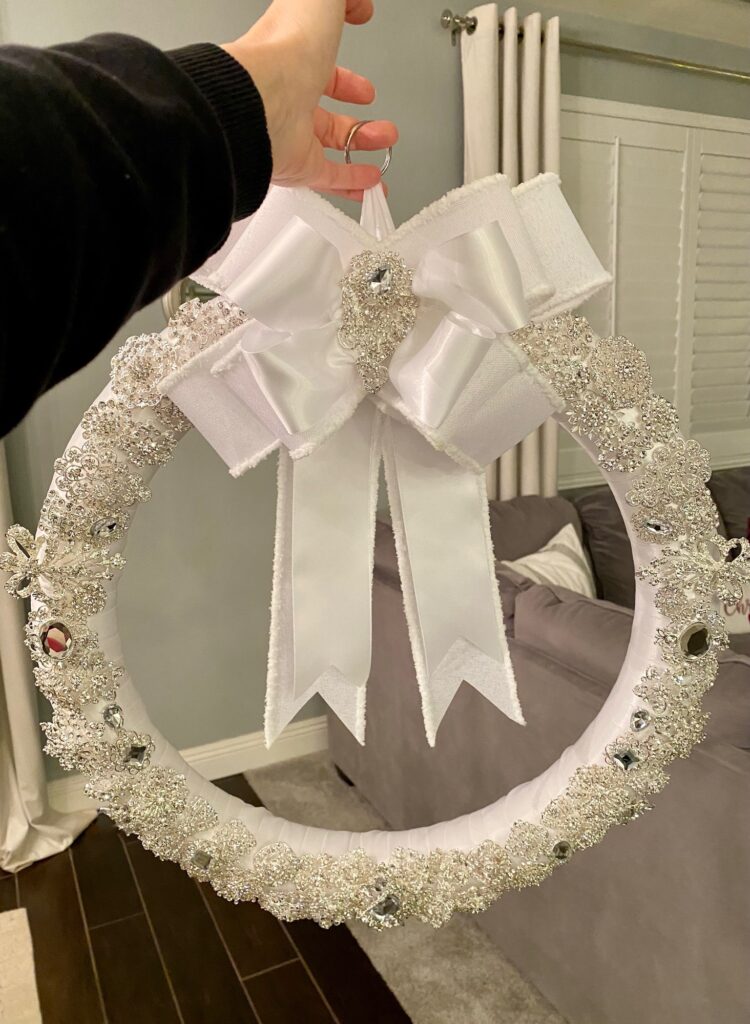
The End Result
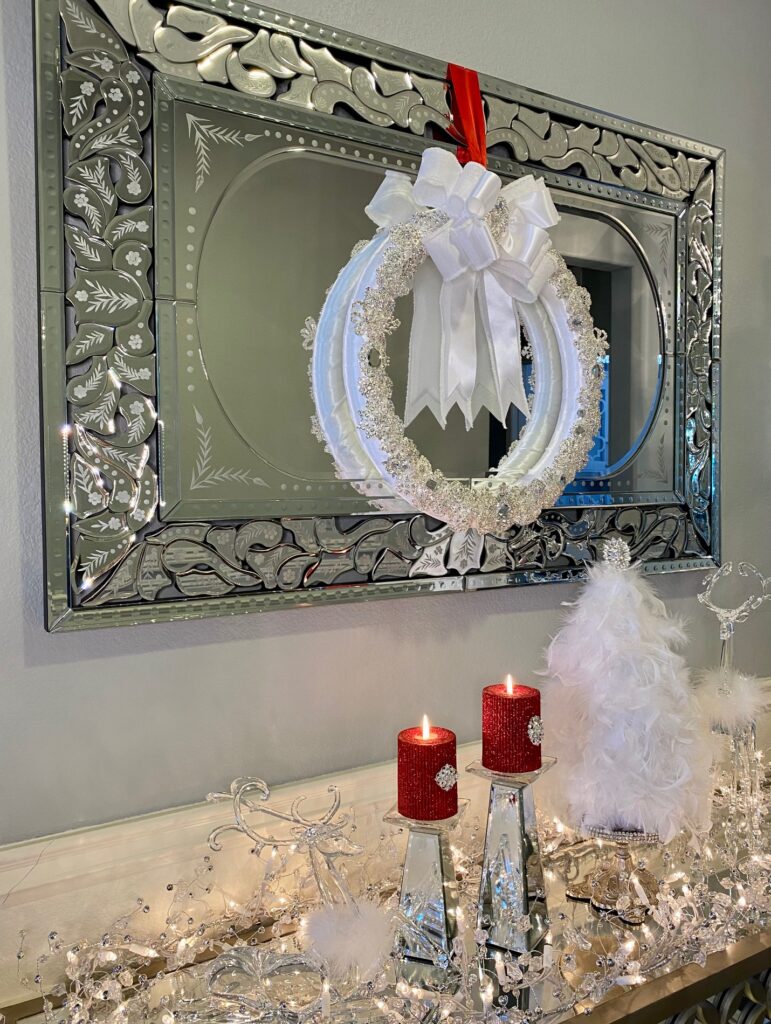
Finally, I used red silk ribbon to hang the wreath in front of my entryway mirror. I figure I can easily change out this ribbon to a different color depending on my holiday color scheme each year.
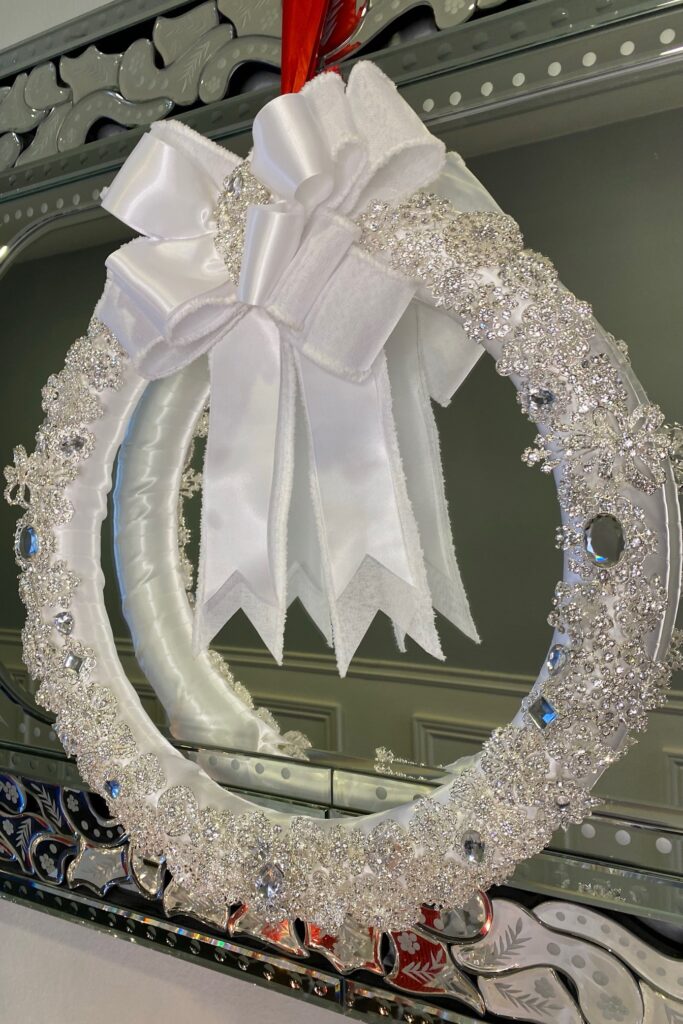
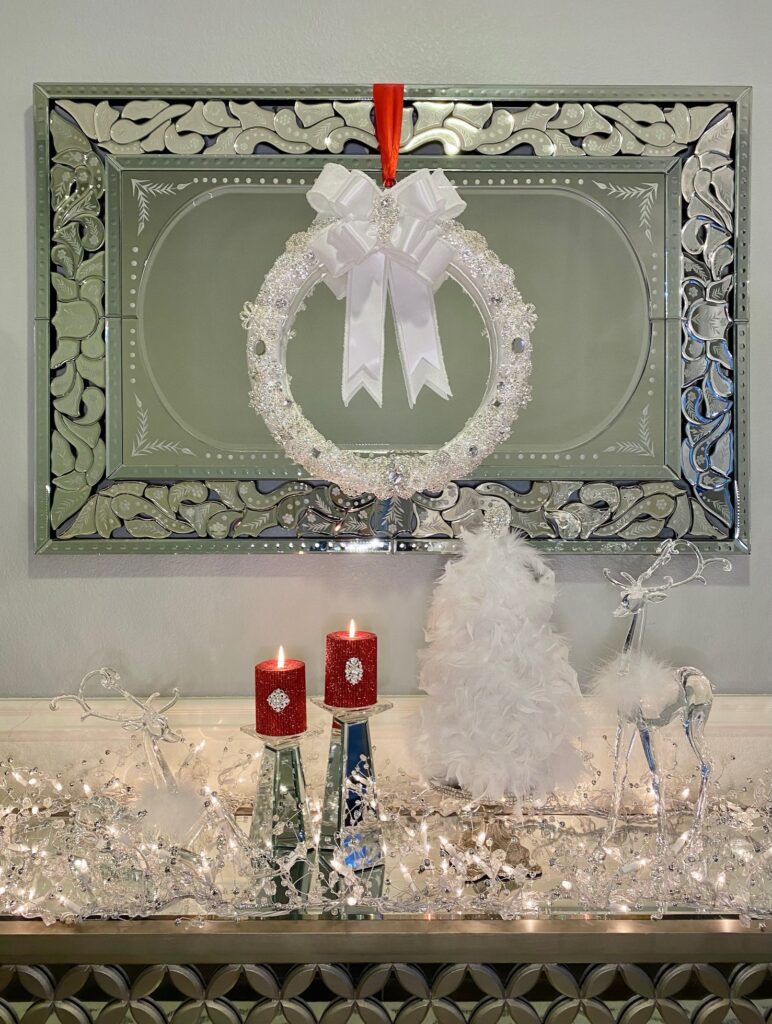
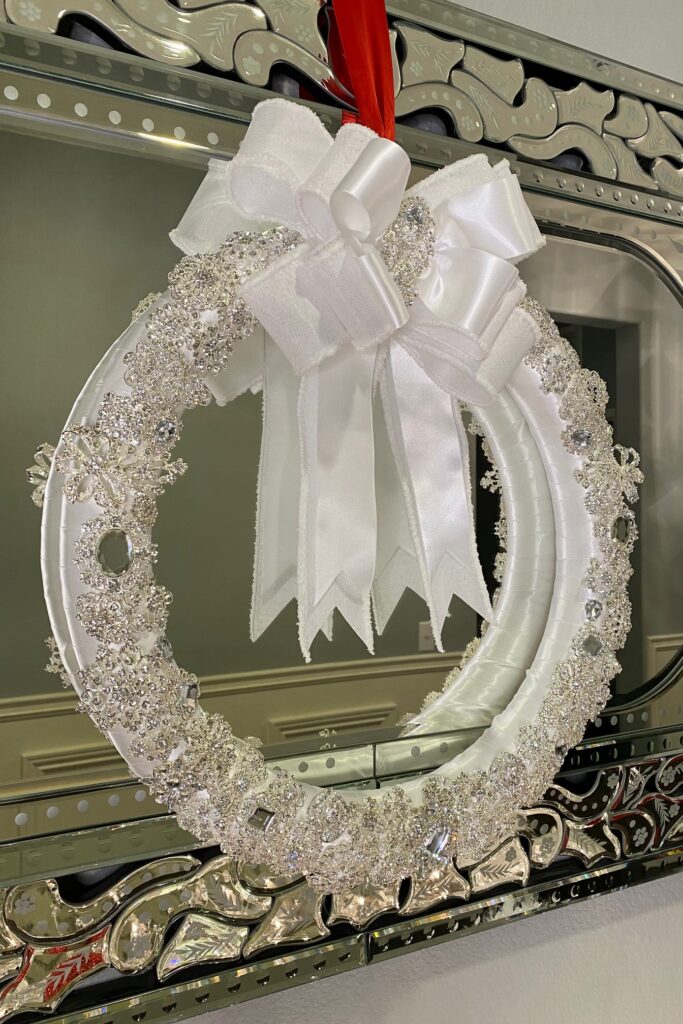
I am so happy with how it turned out! What do you think?
If you decide to try this DIY brooch wreath, I’d love to see your projects! Please share them with me on IG (@designsbyjeana). 🙂 As always, thanks for stopping by!
