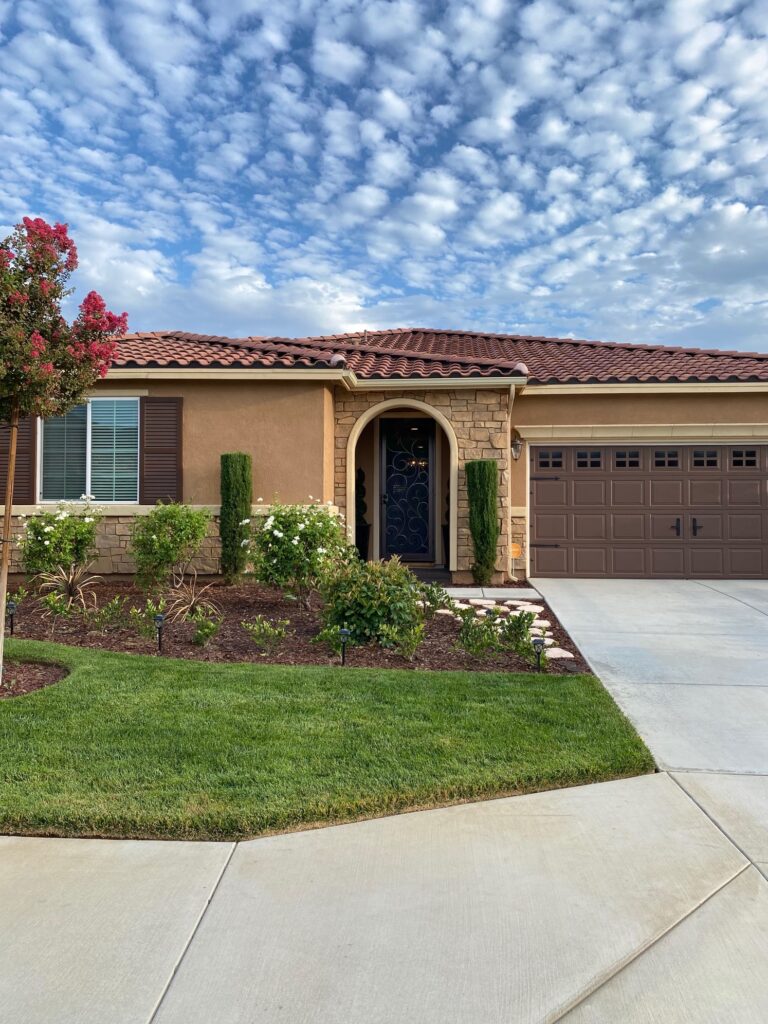
Curb appeal on a budget – that was our mission this summer. I’ve shown a few glimpses of our budget-friendly front yard update on IG and I’m excited to finally share all the details with you here! I really appreciate you stopping by! Hoping this post helps answer some questions or provides you with a little inspiration (or both).
This post contains affiliate links for your convenience. All opinions shared are my own.
Starting Out
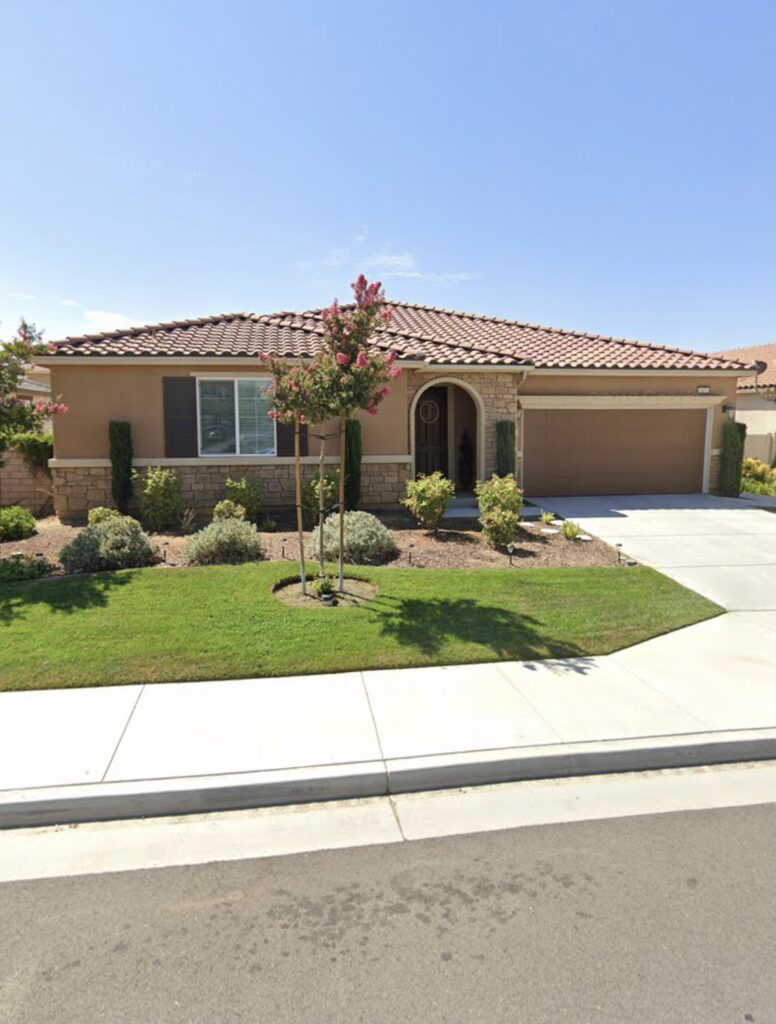
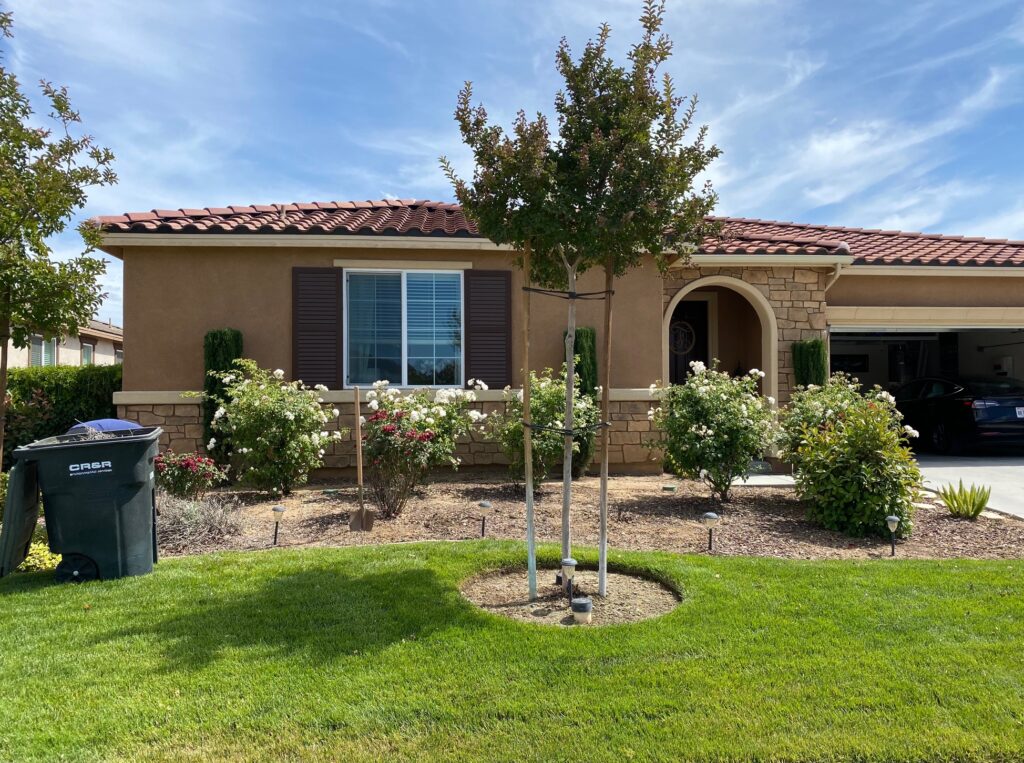
Our front yard wasn’t extremely bad before we started our update. We planted several of the plants you see in the picture above when we moved in about 7 years ago. A couple of the bushes died over the years and were never replaced, so we figured it was a good time to give our front yard a little refresh.
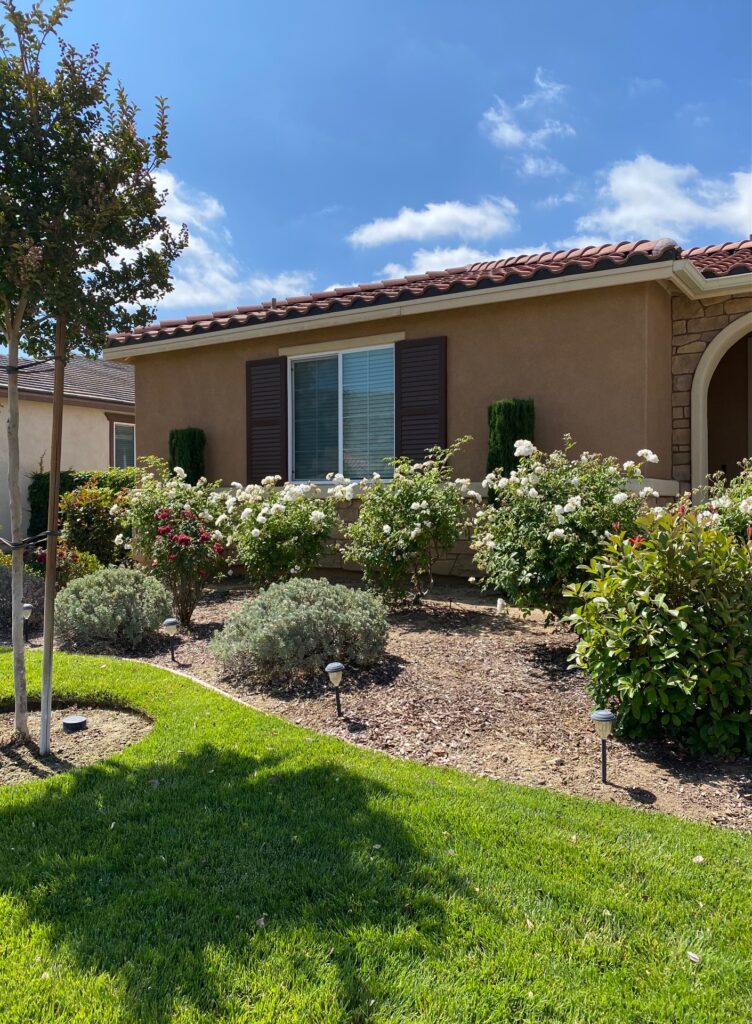
Here’s another look at the front yard before the update (see image above). I knew I wanted to keep the taller Italian Cypress trees in the back along with the pretty white Iceberg rose bushes, but I did not care for any of the other plants. We started out by removing the unwanted bushes in the very front row (see image below).
Picking Out New Plants
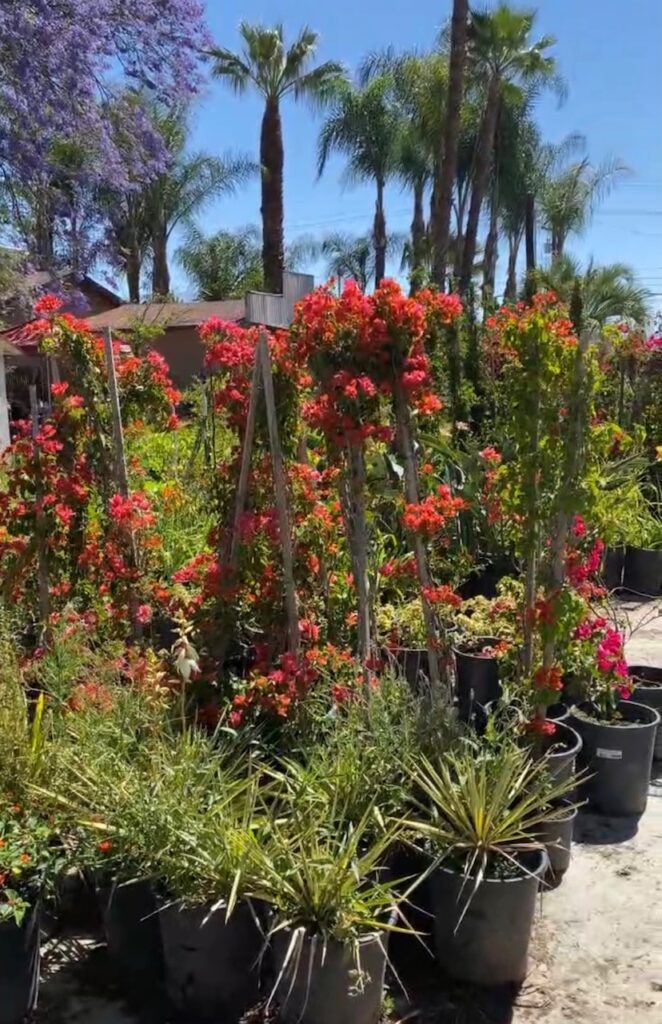
Once we had the old plants cleared out, we headed to our local nursery and picked out our new plants. We ended up buying 25 three-gallon Privet hedges to plant all along the front row. Eventually, these hedges will fill out and create a pretty “plant wall” along the outside border of the planter. We also picked up 4 Cordyline Red Star Dracaena plants to add a little color in the middle.
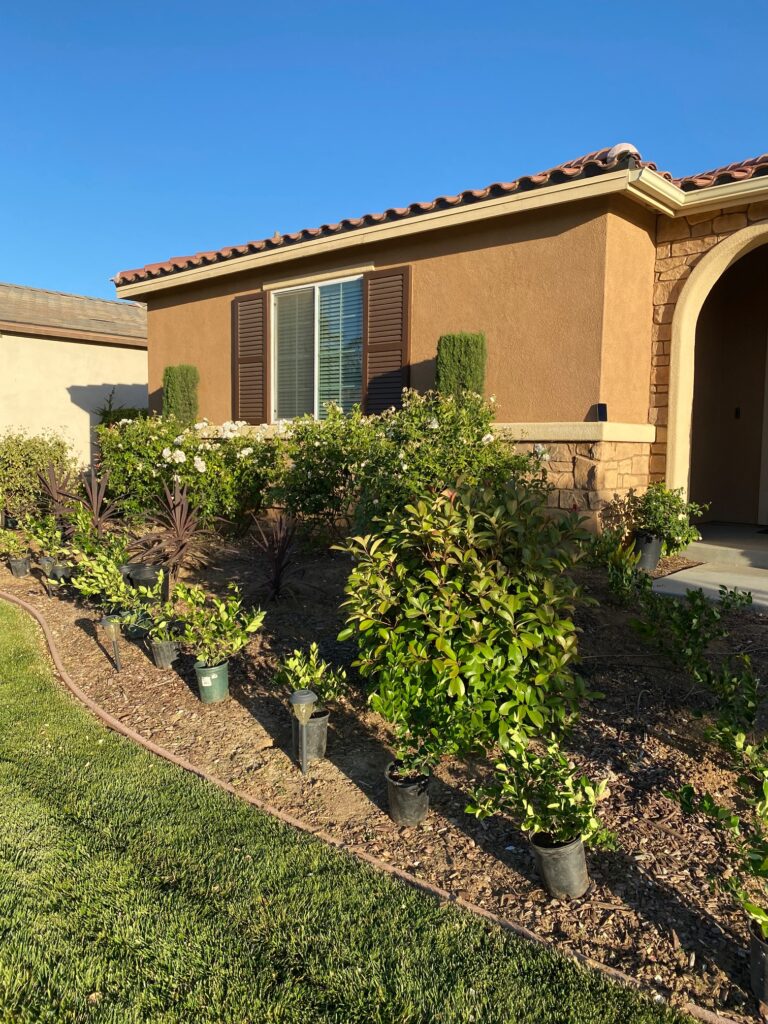
We lined up all of the plants first before digging to make sure everything was evenly spaced (see above image). Then my husband and I both took a shovel and started digging, planting them one by one. My husband extended some of our existing drippers to the new plants and ended up having to add several additional drippers. We also added new, inexpensive solar landscape lights and a few additional concrete pavers to the walkway.
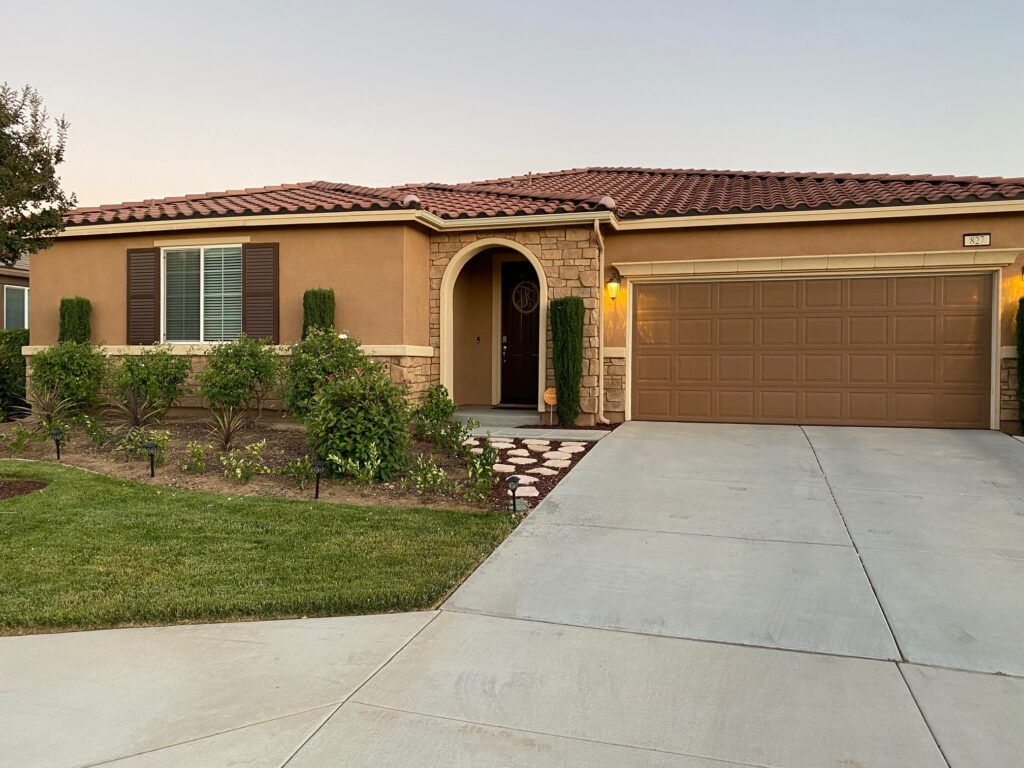
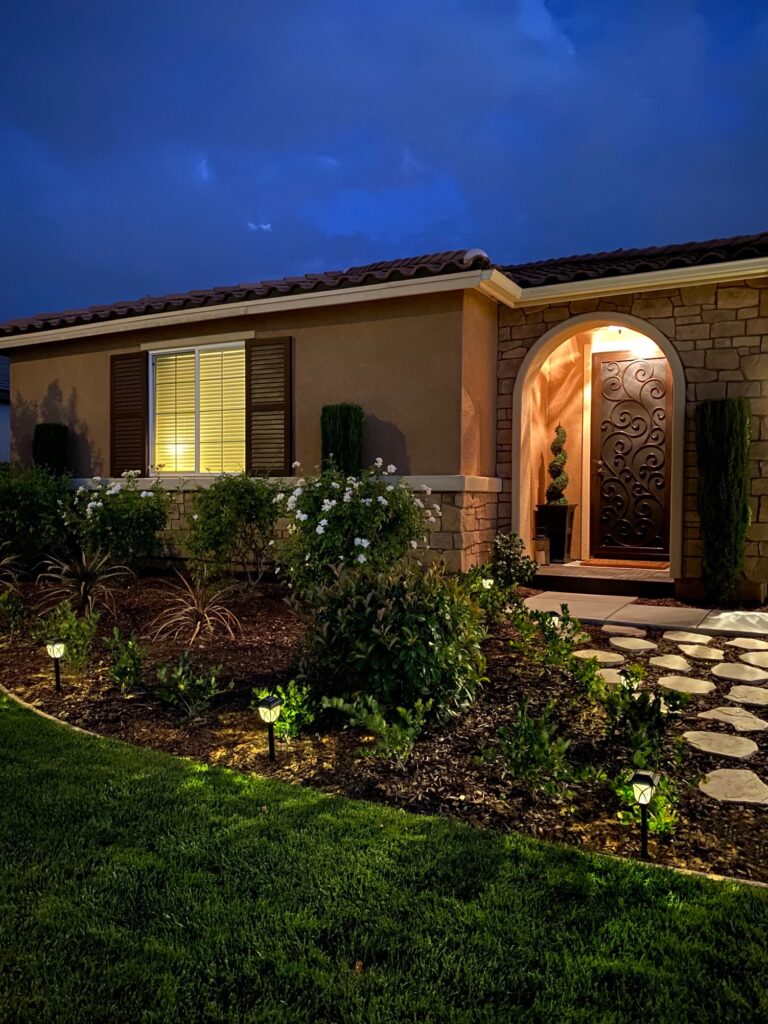
It’s not included in the above image, but we eventually filled in the planter with brown mulch once we were all done with the plants and sprinklers there. You can see how it looks with the mulch in the very first or last image of this post.
Updating the Front Porch
Interlocking Pavers
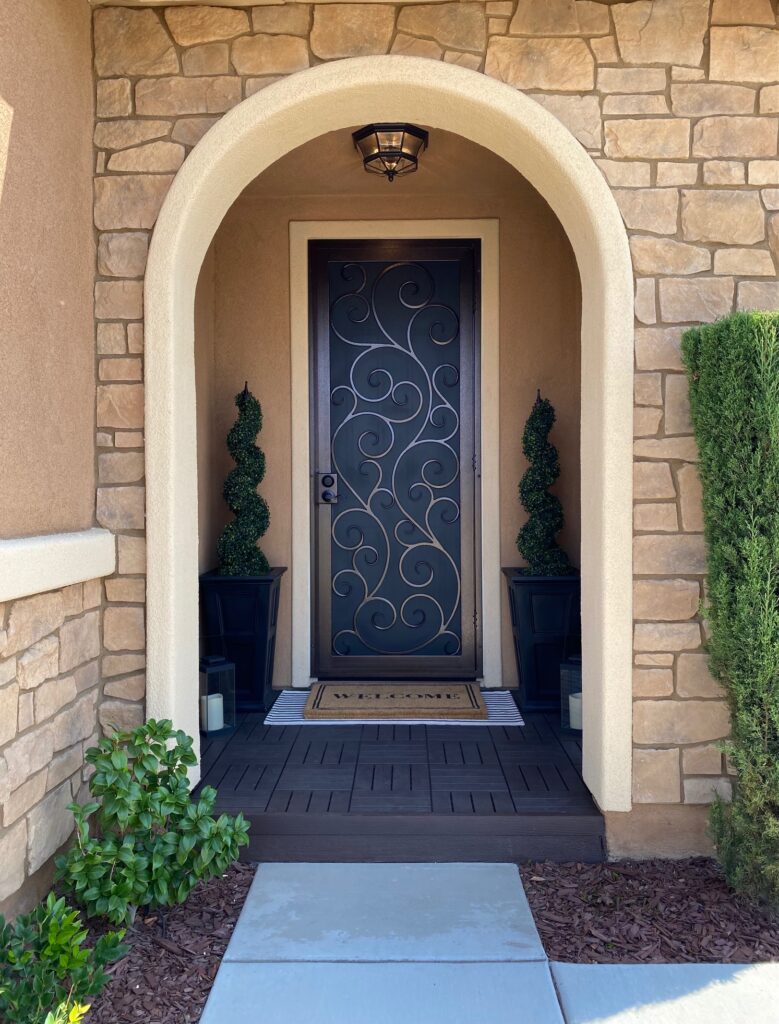
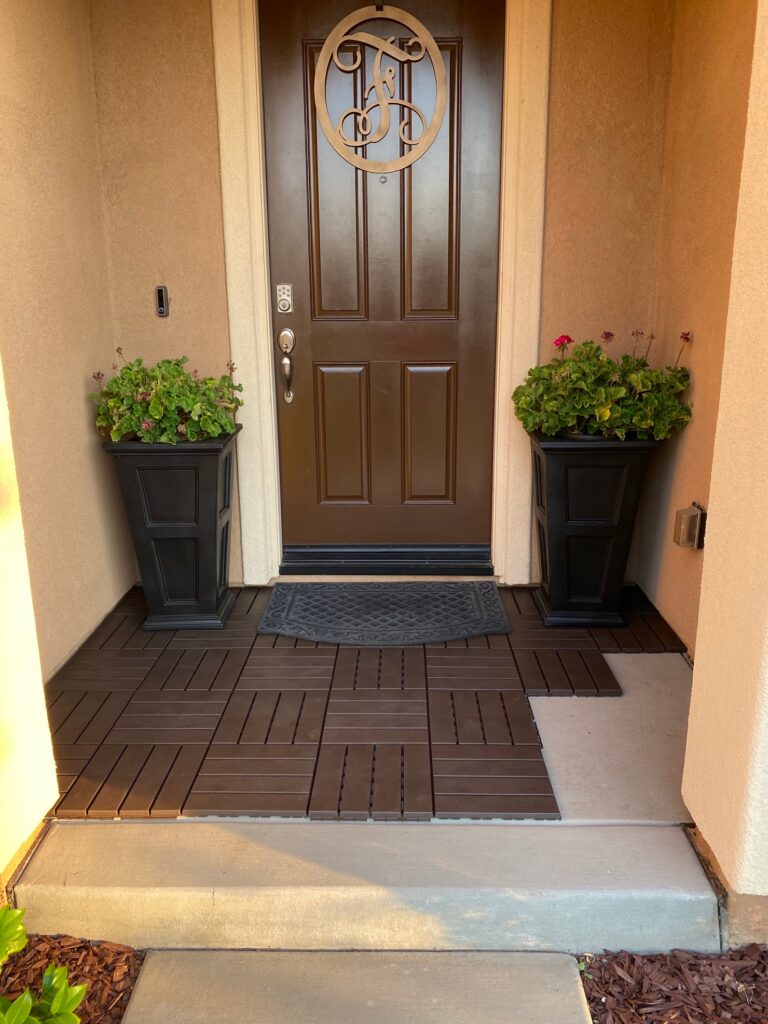
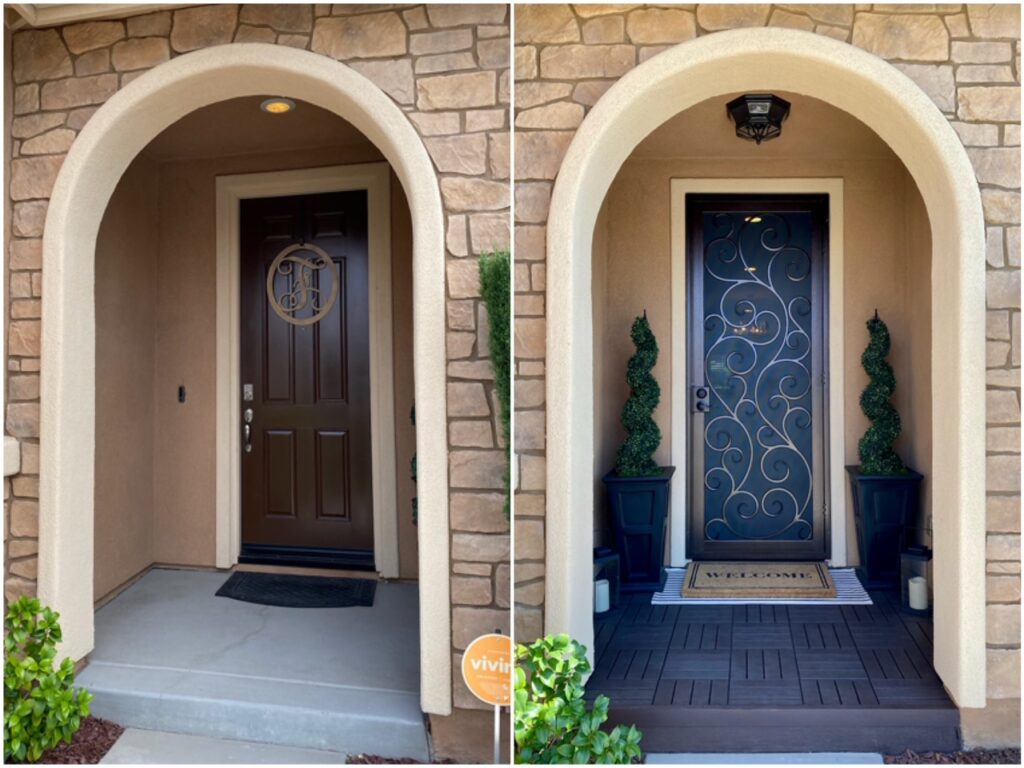
I wanted to do something custom to the front porch concrete slab that was easy enough for me to accomplish on my own. I found the perfect solution – plastic pavers that snap together and are fairly simple to install (see mid-installation image below). The pavers ended up fitting perfectly on the sides so I only had to cut the ones along the very edge of the step. My dad used his table saw to cut them for me. I then added the stair nose to finish it off. I used an espresso-colored paint to paint the front of the concrete step and the color seemed to match the pavers perfectly. Lastly, I styled the porch with new rugs, faux spiral topiary plants/planters, and my favorite battery-operated lanterns. Click here for links to all of the accessories.
Custom Screen Door
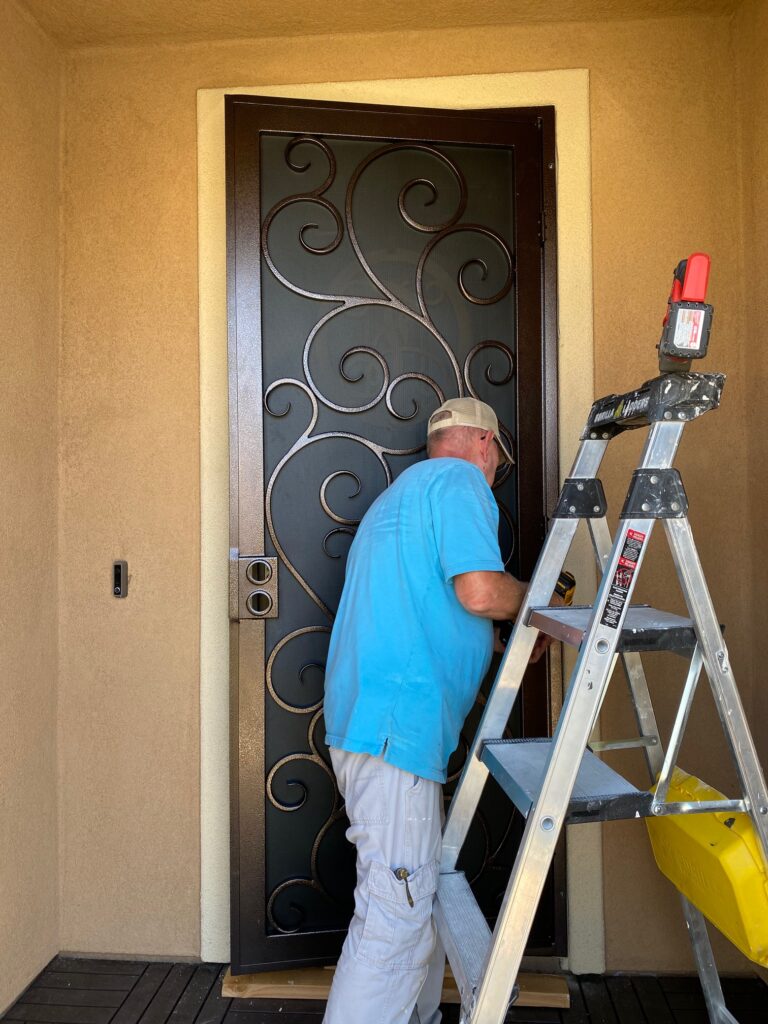
The screen/security door was the one thing we somewhat splurged on, but I definitely feel like it was worth it. I have gotten so many questions about this door. I was lucky to find someone local to custom-make it for us and he did a wonderful job! If you live in southern CA and are looking for something like this, let me know and I will be happy to share his contact info with you.
The Lighting
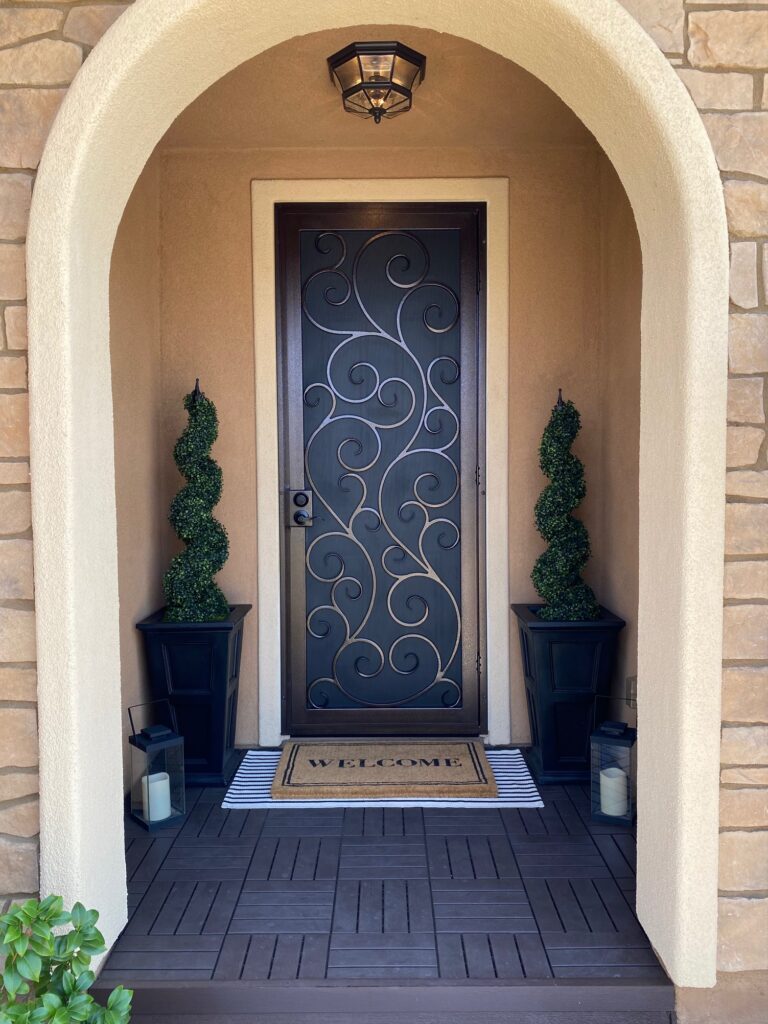
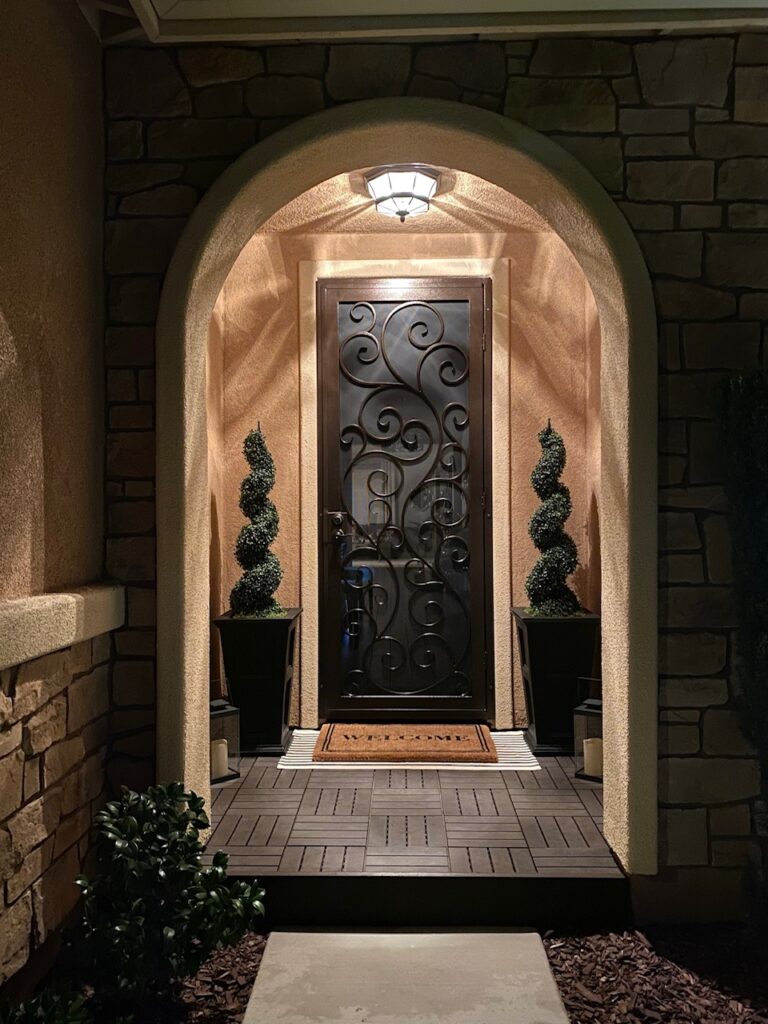
Originally, I wanted to add a hanging-lantern light fixture for the porch lighting. I even ordered one I was so excited about (it was soooo pretty), but sadly I had to return it. Right before we installed it, we realized it would be in the way when opening the new screen door since the door swings out and would hit it. We had to switch to plan B – a flushmout fixture – and decided on the one you see in the picture above.
Shop the Post
The Garage Door
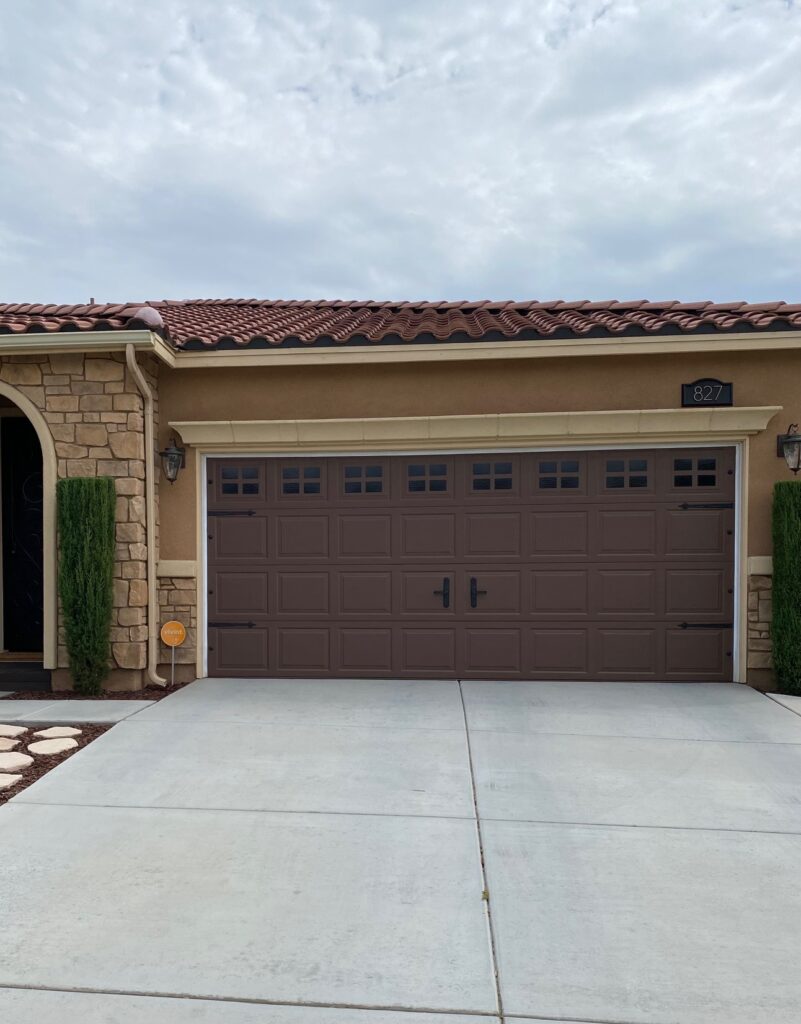
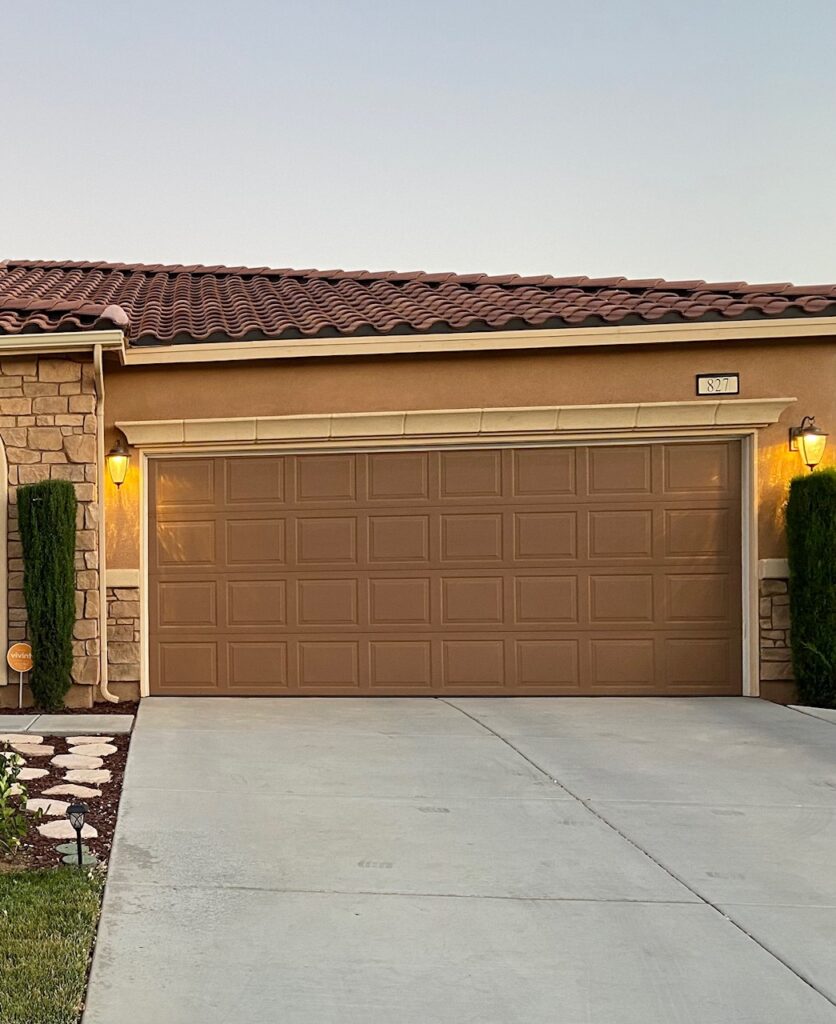
I never liked the original color of the garage (see image below) so I decided to have it painted a darker brown to match the shutters and front door. We chose an exterior paint color called Carmelized Walnut by Glidden in Satin finish. Eventually, I would love to paint the rest of the house a lighter color, but for now, the small garage update will do.
Can you believe the added garage door decor is all magnetic? I wasn’t sure how it would look or if it would even stay on, but so far so good! It hasn’t fallen off or even moved around and we have had it on there for about 4 months now.
The address plate above the garage door was also updated (house numbers sold separately).
Curb Appeal on a Budget Complete!
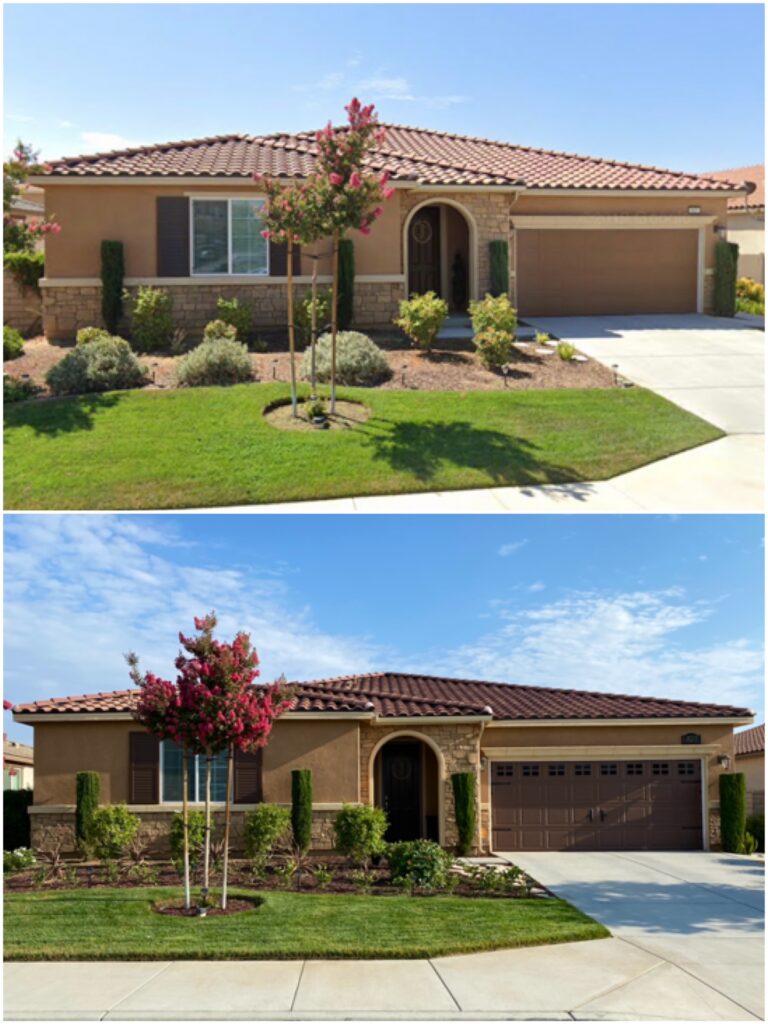
I know what we did in the front of our home wasn’t a huge transformation, but I am very happy with how our project curb appeal on a budget turned out. It will look even better once the new plants start to grow and fill out a little more. I will add an updated post once that happens.
Thanks again for stopping by! I appreciate your interest and hope our budget-friendly update helps inspire you!

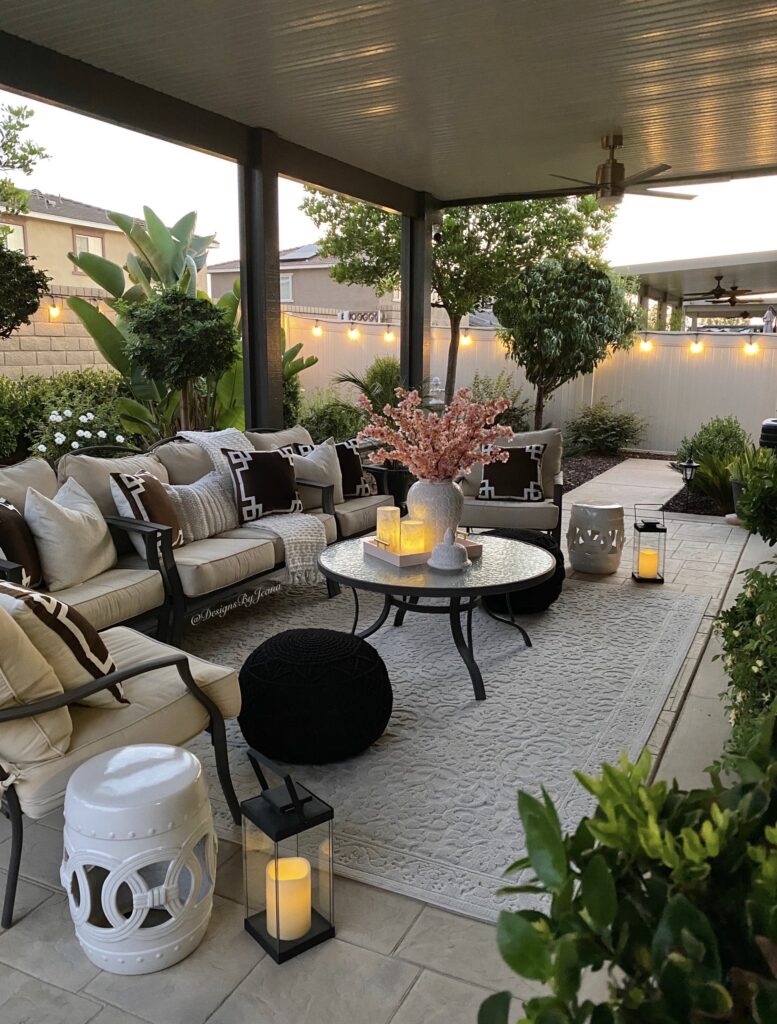
If you haven’t checked out our small backyard design (below) and are interested in seeing more, click here.
