This post contains affiliate links for your shopping convenience.
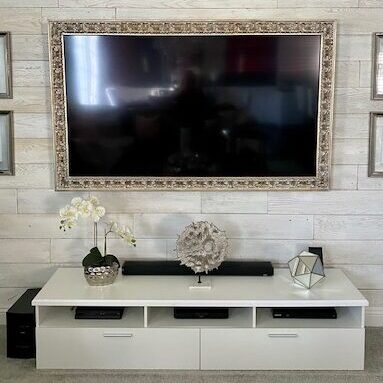
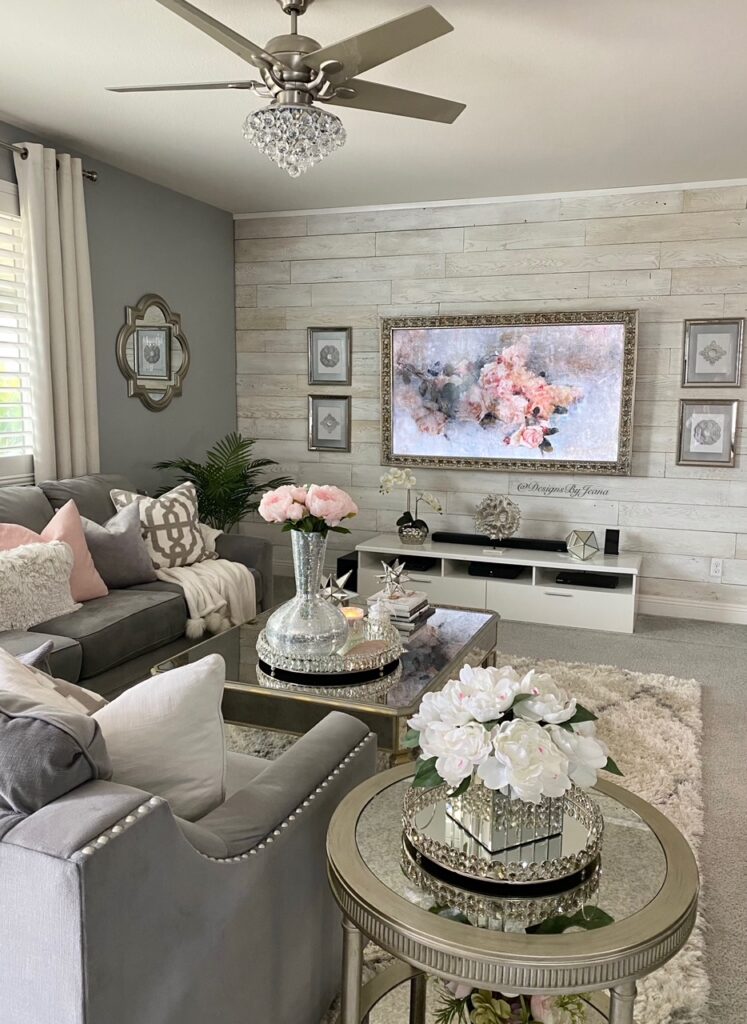
Want to turn your TV into a work of art? You can create this same look without having to spend money on a fancy new tv! I am super excited to share this beautiful ornate DIY TV frame project with you!
You have probably seen the framed art TV that sells for over $1500. Throw in the custom TV frame for hundreds more and you’ve got yourself a beautiful, but expensive new television that showcases like a piece of art. Don’t get me wrong – nothing is wrong with getting a nice new television and frame if you can afford it. If you are on a budget like me, however, then you appreciate knowing how to create a similar look for less. That is exactly what we did!
What You’ll Need
- Measuring tape
- Top of frame – 1″ x 4″ common board (width of your TV)
- Sides of frame – 1″ x 4″ (x2) common boards (height of your TV + 2″)
- Bottom of frame – 1″ x 2″ common board (width of your TV)
- Chair rail/decorative trim (enough to go around the front of the frame)
- Wood screws
- Table/miter saw
- Nail gun
- Spray paint
- Antiquing wax (if you want the same look as mine)
Starting Out
If you are building one of these frames, check to see where your TV sensor is located so that your DIY frame doesn’t cover it up and prevent the remote from working properly. Our sensor is on the bottom of our TV, which is why we used a thinner board for the bottom piece of our TV frame.
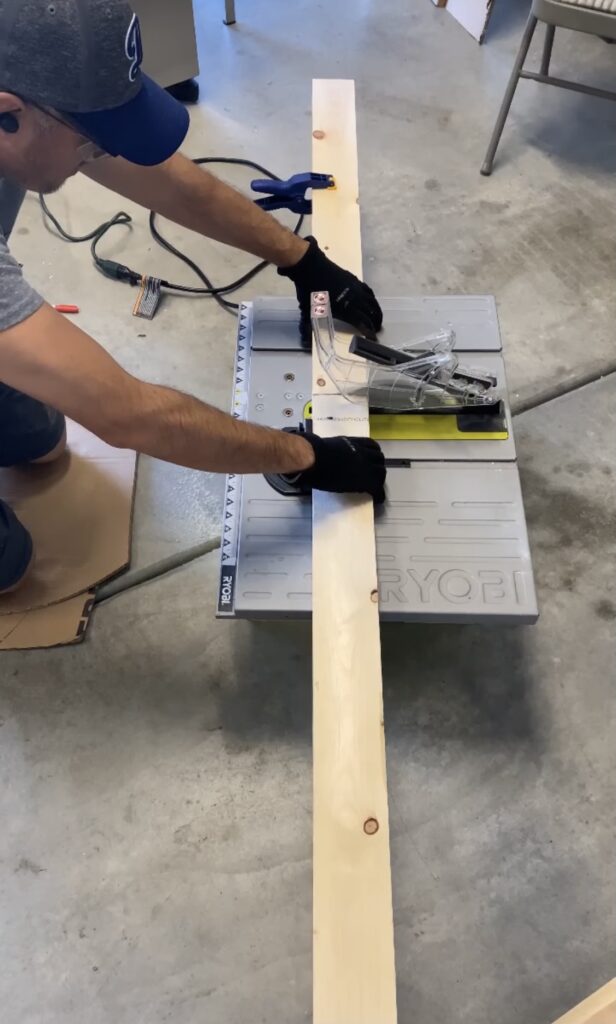
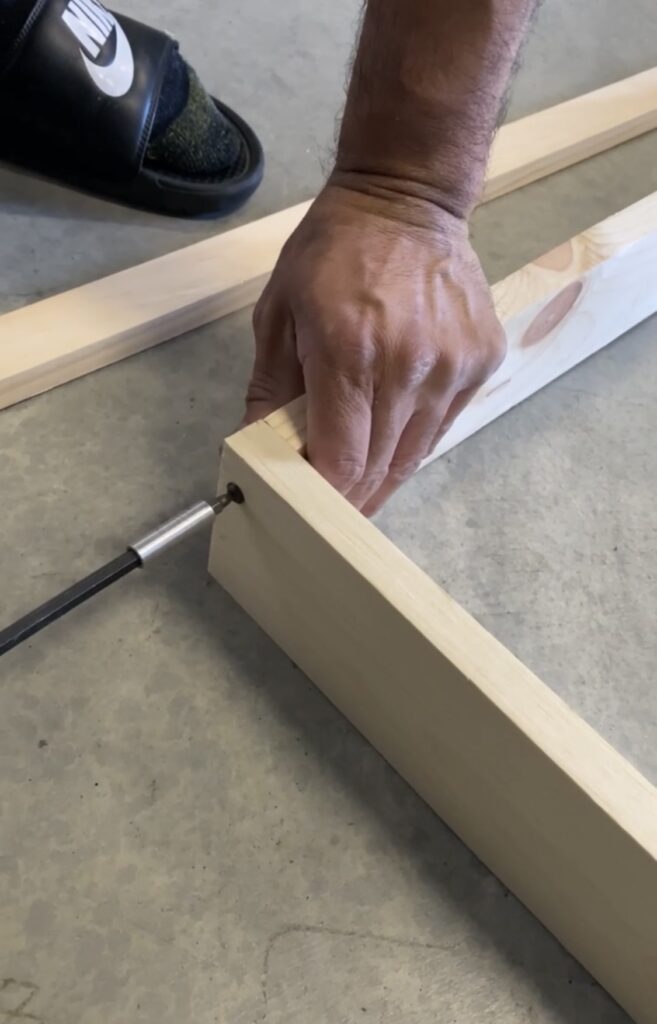
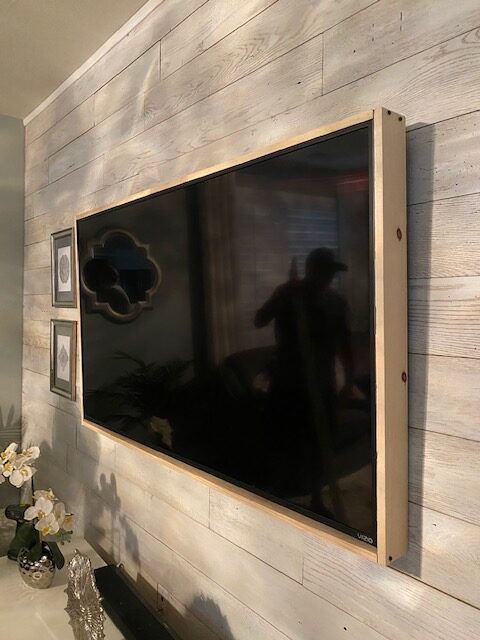
First, we started out by measuring and cutting the common boards to build the frame. We used the exact width of the TV when measuring and cutting the top and bottom pieces of the frame. This helped create a snug fit to prevent the frame from sliding off. We added a little extra length to the side pieces. This allowed for a small gap between the bottom of the TV (where the sensor is) and the wood frame. Next, wood screws were used to fasten the pieces together on the sides (see image below). The screws can always be tightened/loosened accordingly.
Adding the Decorative Trim
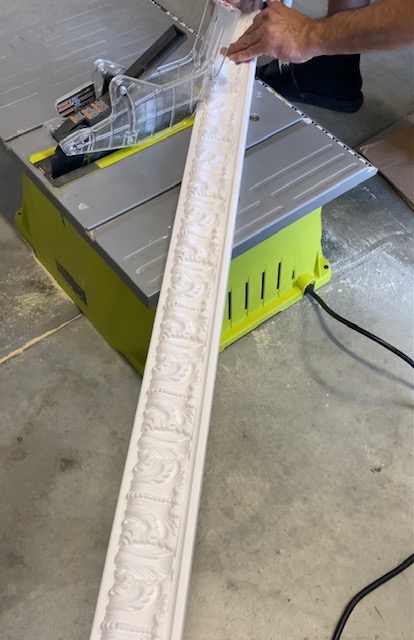
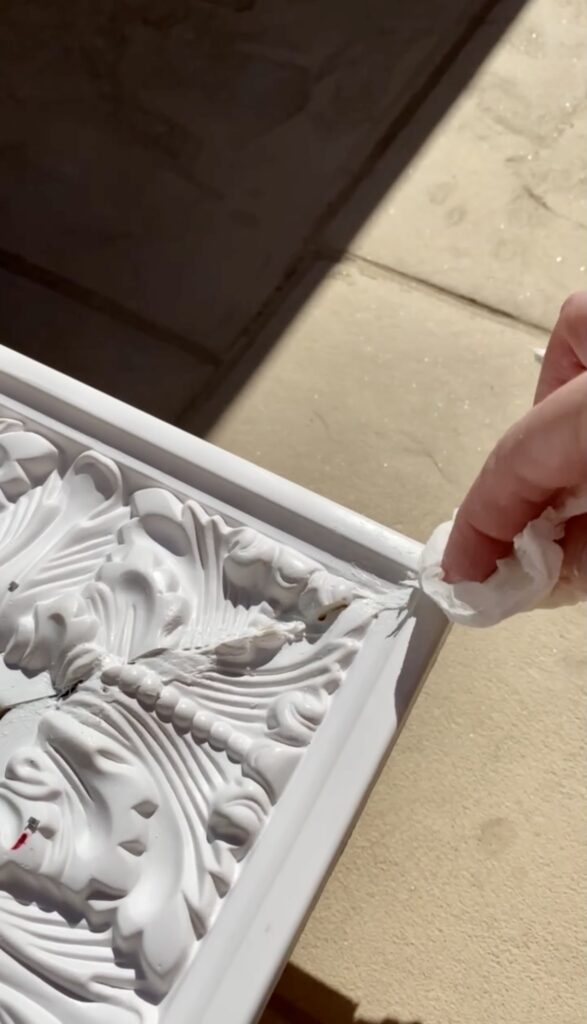
Then, we measured and cut 4 pieces of the decorative trim at a 45 degree angle to add to the front of the frame. A nail gun was used to fasten the trim to the frame. Once it was all put together, white caulk was used to fill in any gaps in the corners before painting the frame.
Time to Paint
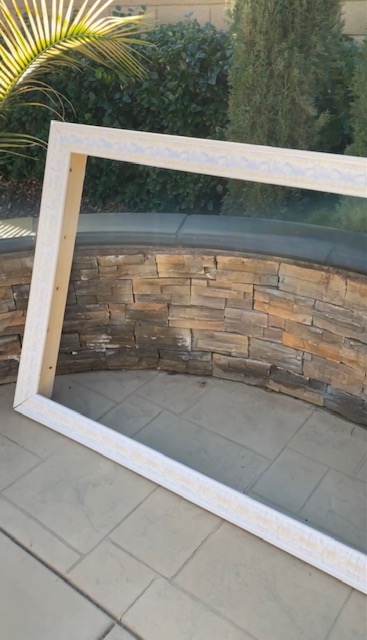
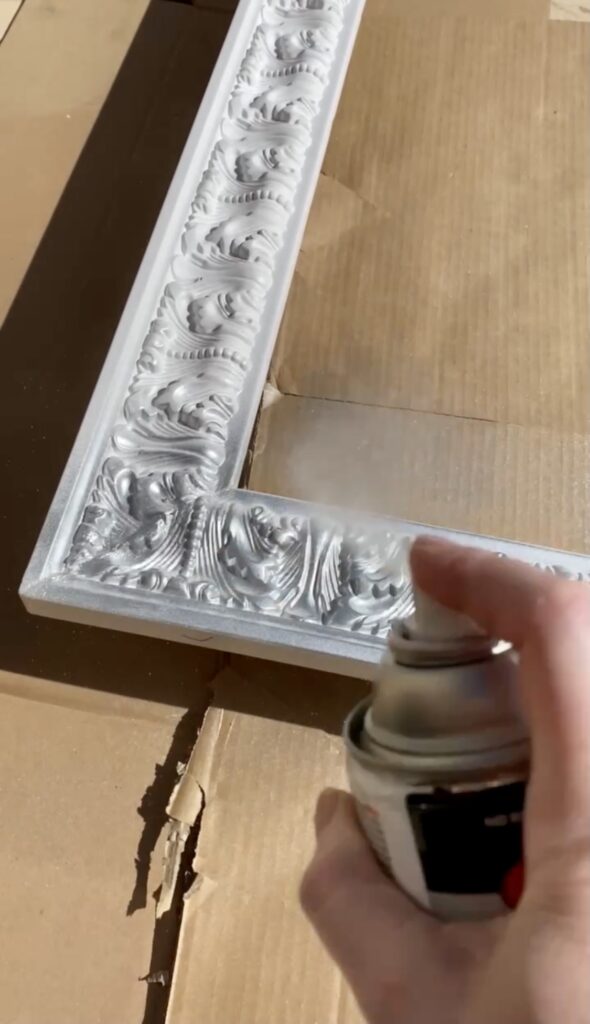
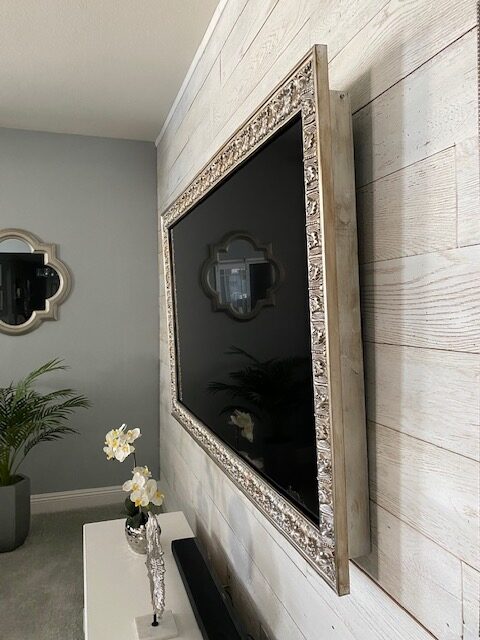
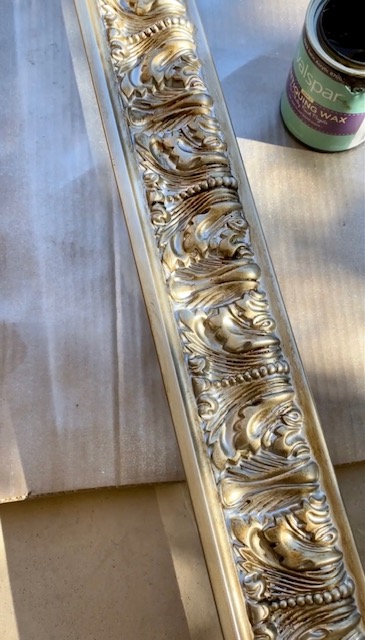
Next, it was time to paint. I used a silver spray paint as the first step and then decided to add an antiquing wax to give the frame a little more character. Once the paint was dry, a cloth was used to apply the wax on the frame (a brush can also be used for this). When it was all done, I ended up with more of a champagne-colored look, which is what I was hoping for (see image below). Then, I left it outside to dry for 24 hours.
Mission Accomplished
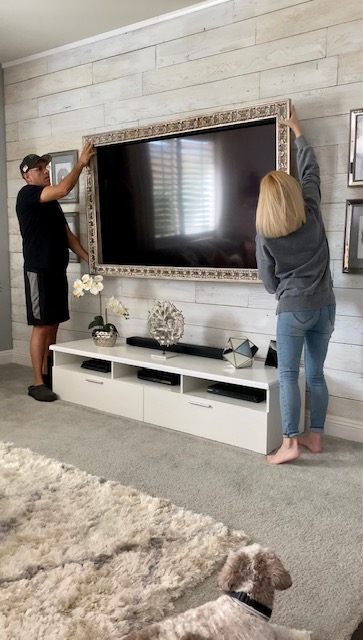
Finally, we were ready to hang the frame up! The materials we used were all lightweight, which made it easy to place the frame over the TV. As I stated earlier, the frame had a really snug fit, so we had to be careful when sliding it on. We adjusted the side screws, as needed.
Mission accomplished – we now have our custom framed art TV for a fraction of the price it would normally cost! I absolutely love how it looks!
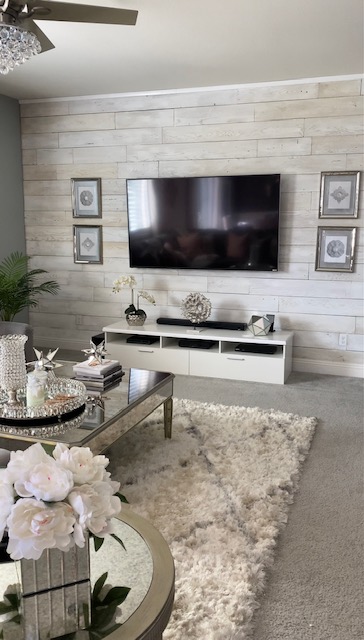
Before 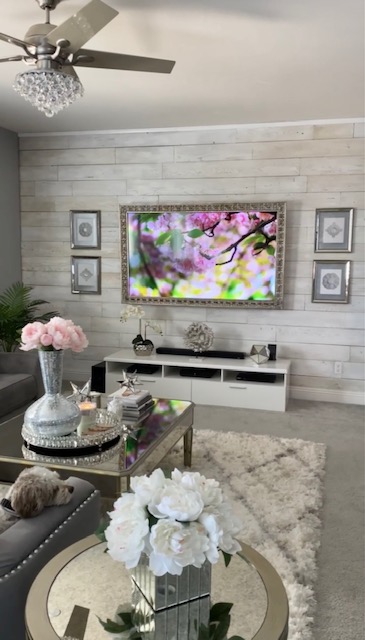
After
TV Screensaver Art

As for the art/screensaver, there are so many options you can find on YouTube. Just search for “tv art slideshow” or “tv screensaver”. This is one of my favorite TV art channels and where I found the above-pictured image: Vintage Art TV
I hope this helps anyone thinking about building their own DIY TV frame. Don’t forget to tag me on IG (@DesignsByJeana) with your finished projects. I love to see and share what you create!!


