This post contains affiliate links for your shopping convenience.
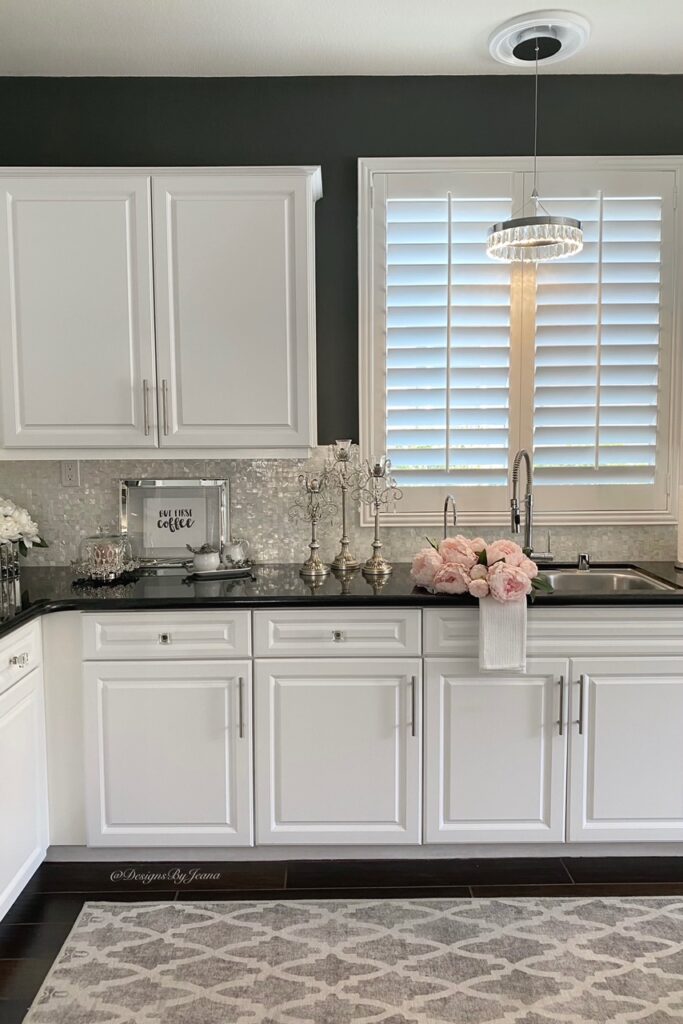
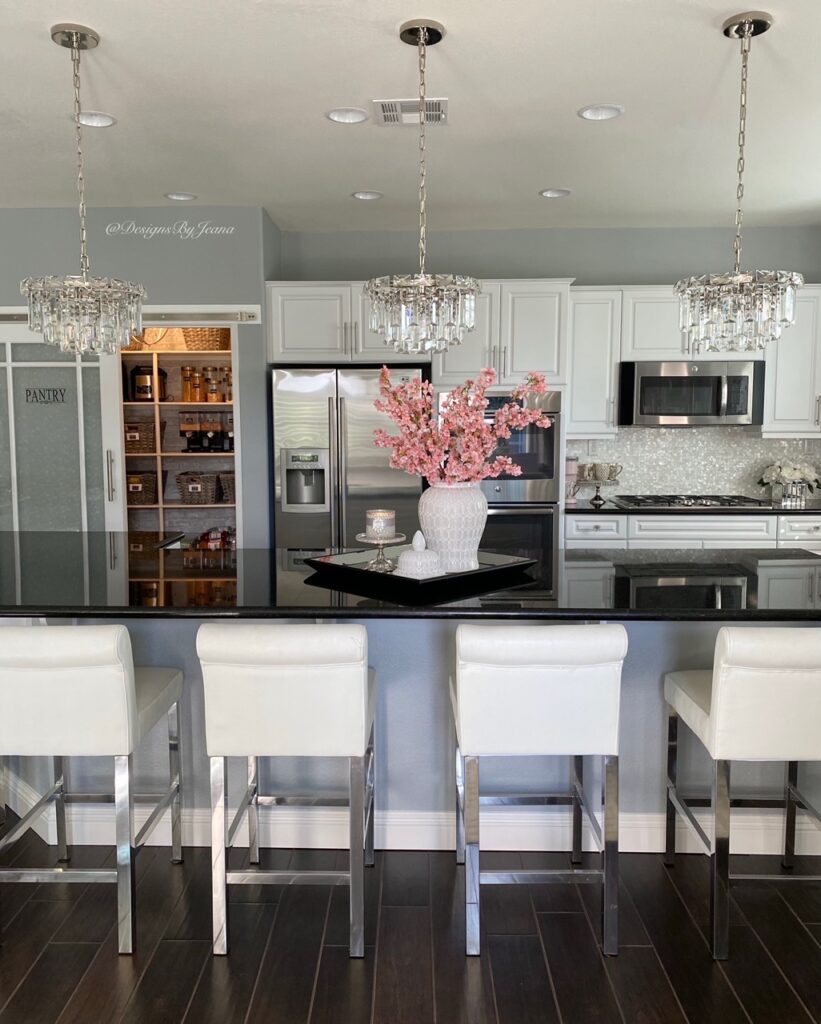
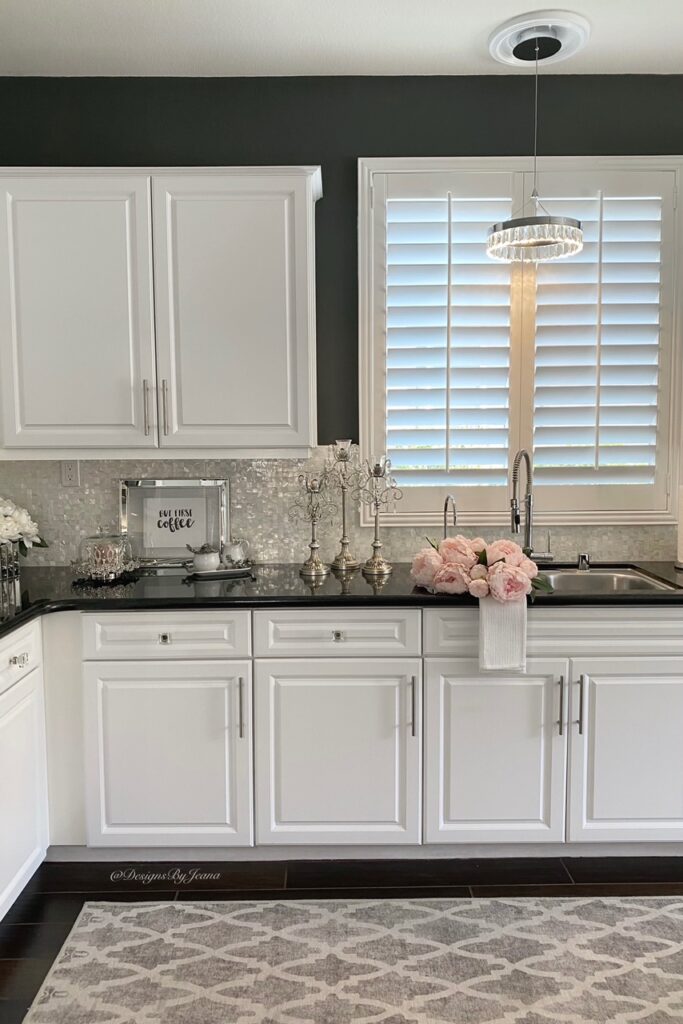
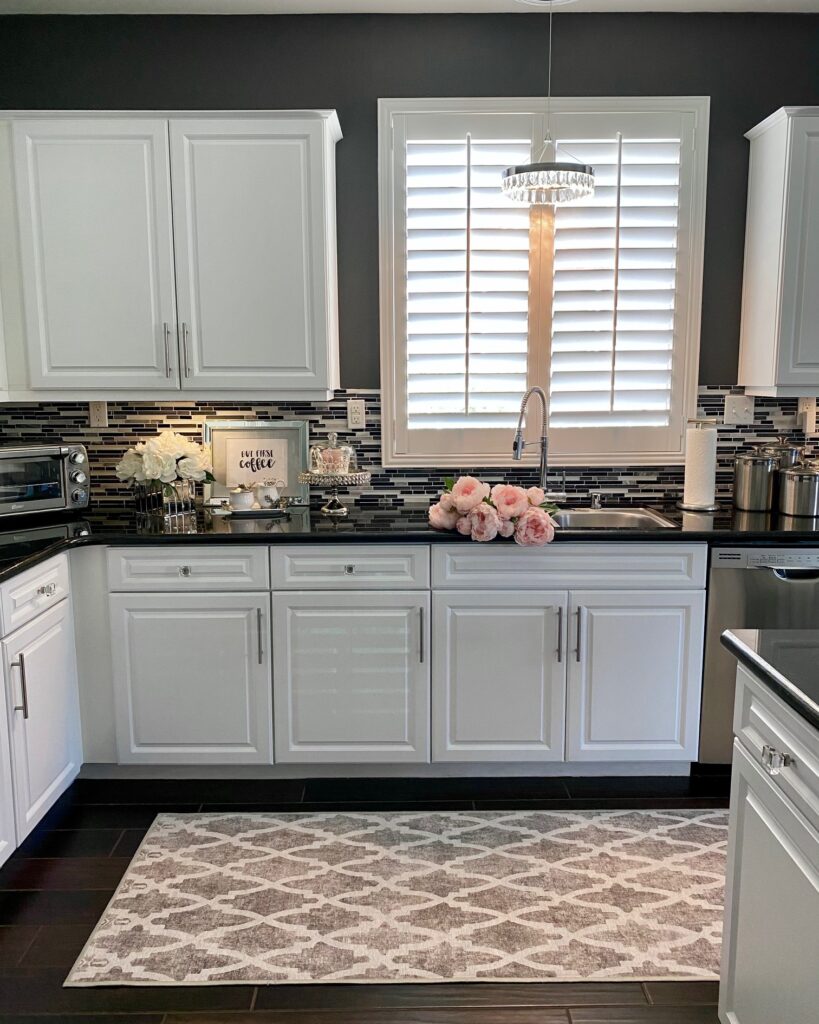
If you follow me on Instagram, you might have seen how I updated my kitchen with this beautiful Mother of Pearl DIY peel-and-stick backsplash. My existing backsplash wasn’t bad – just a little busy. In addition, I wanted to do something to brighten up my kitchen a bit. I got so many questions about this project, so I thought I would share all the info here.
All About the Product
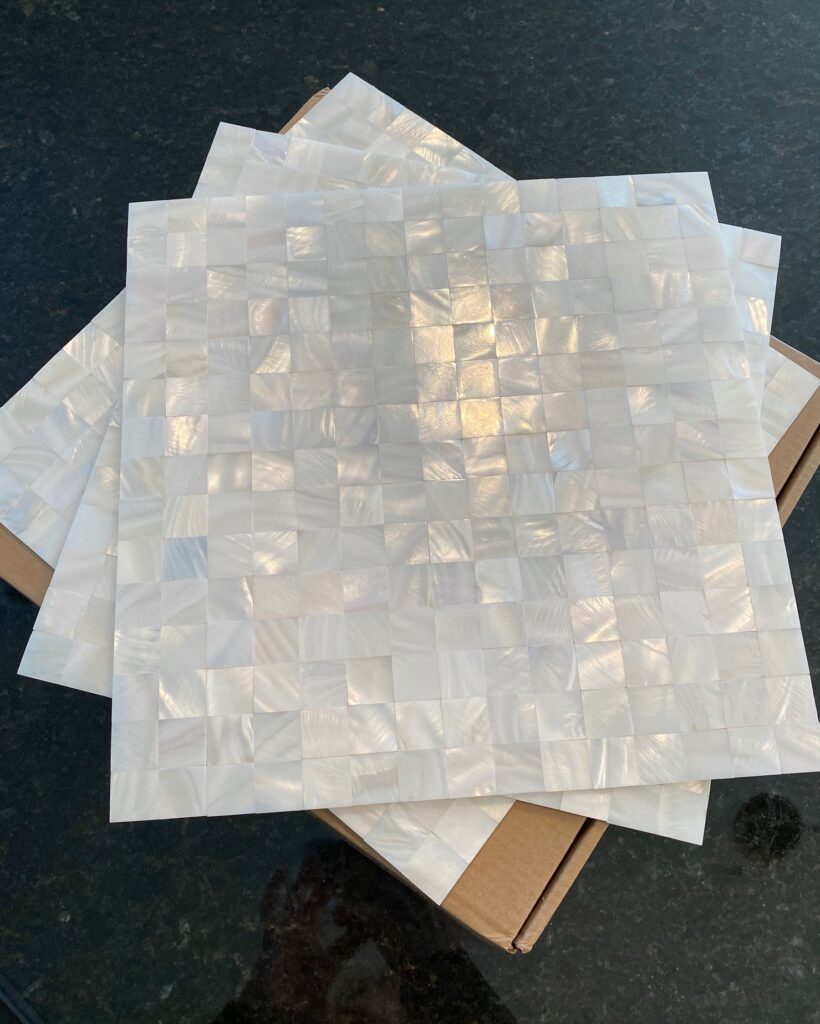
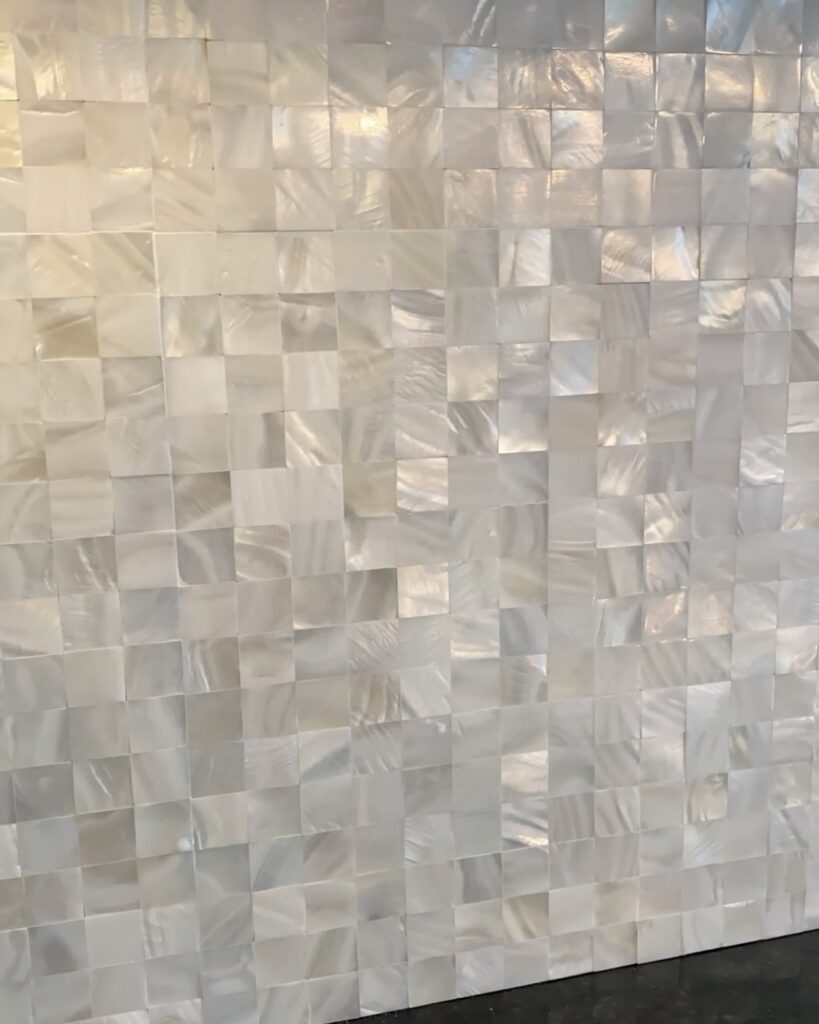
First off, I wanted to share more about the product since several of you were wondering if it is plastic. It is not. Each sheet contains about 1 square foot of individual mother-of-pearl shell squares, so it is of very good quality and has a beautiful luster to it. The back of each sheet contains an adhesive (very sticky) that is exposed once you remove the protective layer.
The backsplash can be easily applied to most flat surfaces including existing tile (as long as it is flat). It is semi-permanent, meaning it can be removed, but it would probably not be an easy process. Some scraping might be needed to get all of the adhesive off. If it is applied directly to drywall, I imagine it could damage the wall a little when removing it.
Getting Started
There are only two walls I was working with in my kitchen. Three boxes of 10 turned out to be a perfect amount for this project.
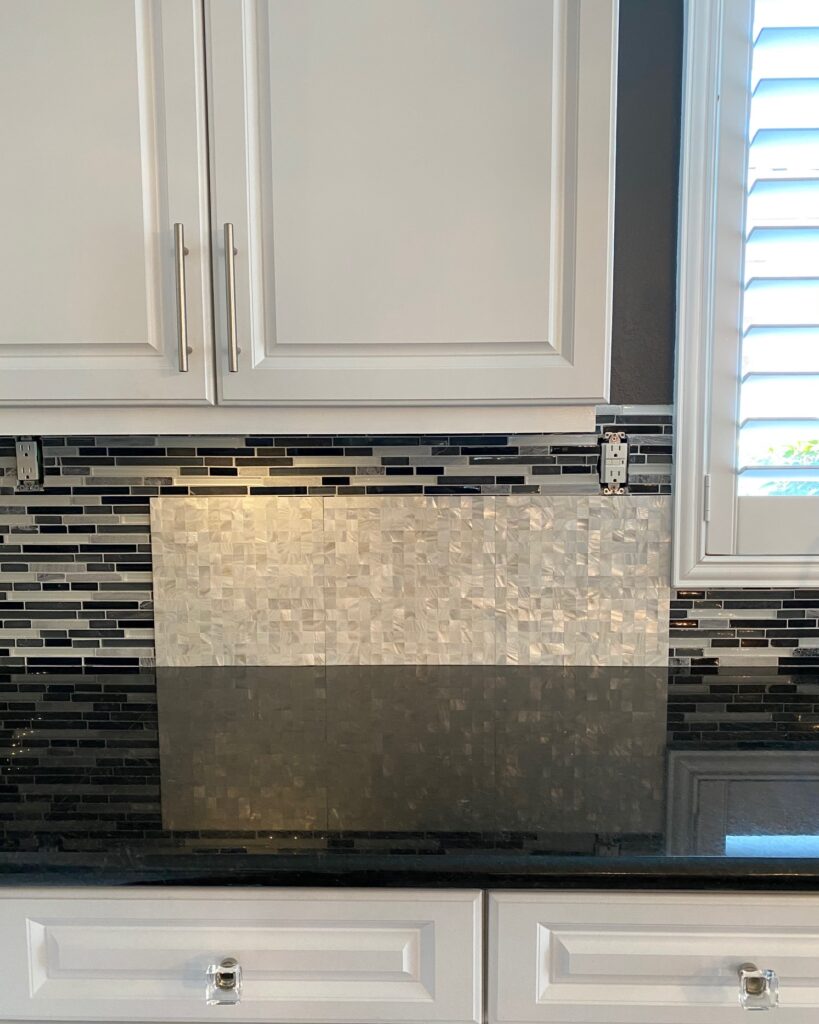
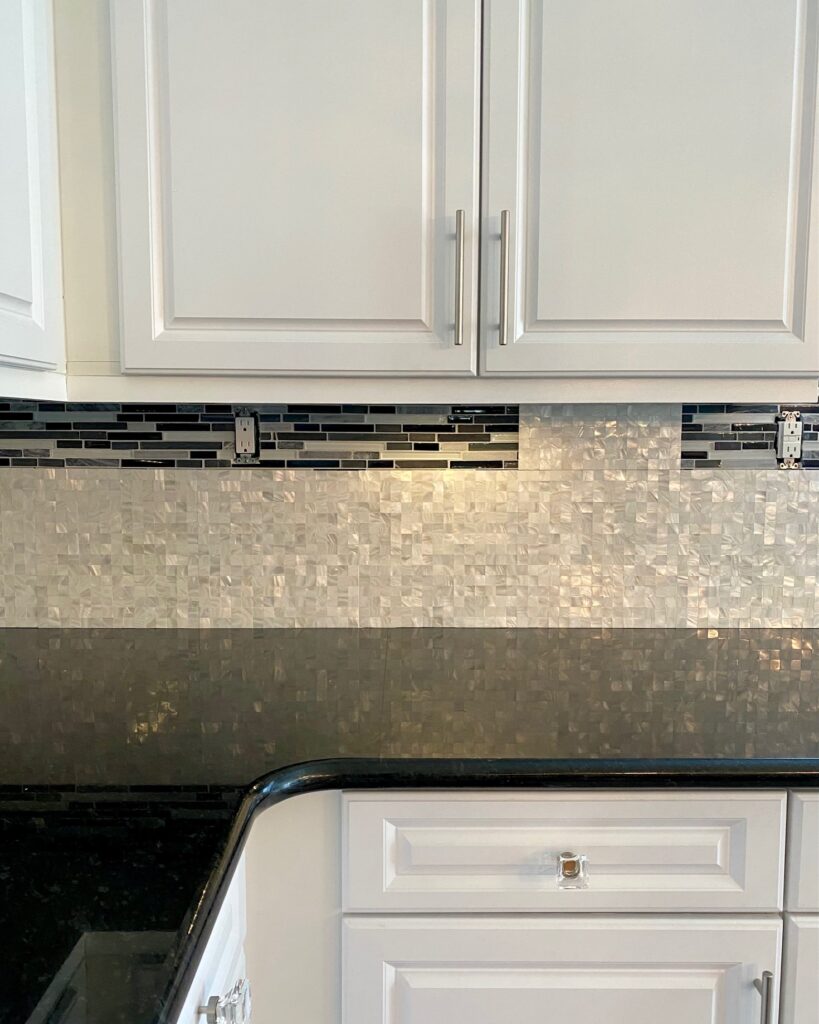
I decided to start at the bottom left corner of the window, which is on the center of one of the walls. I carefully applied each piece along the bottom of the wall, ensuring it was all even and placed tightly together to avoid large gaps (see image below). Once the pieces are stuck on the wall, they are very difficult to adjust, so I did my best to get them right the first time.
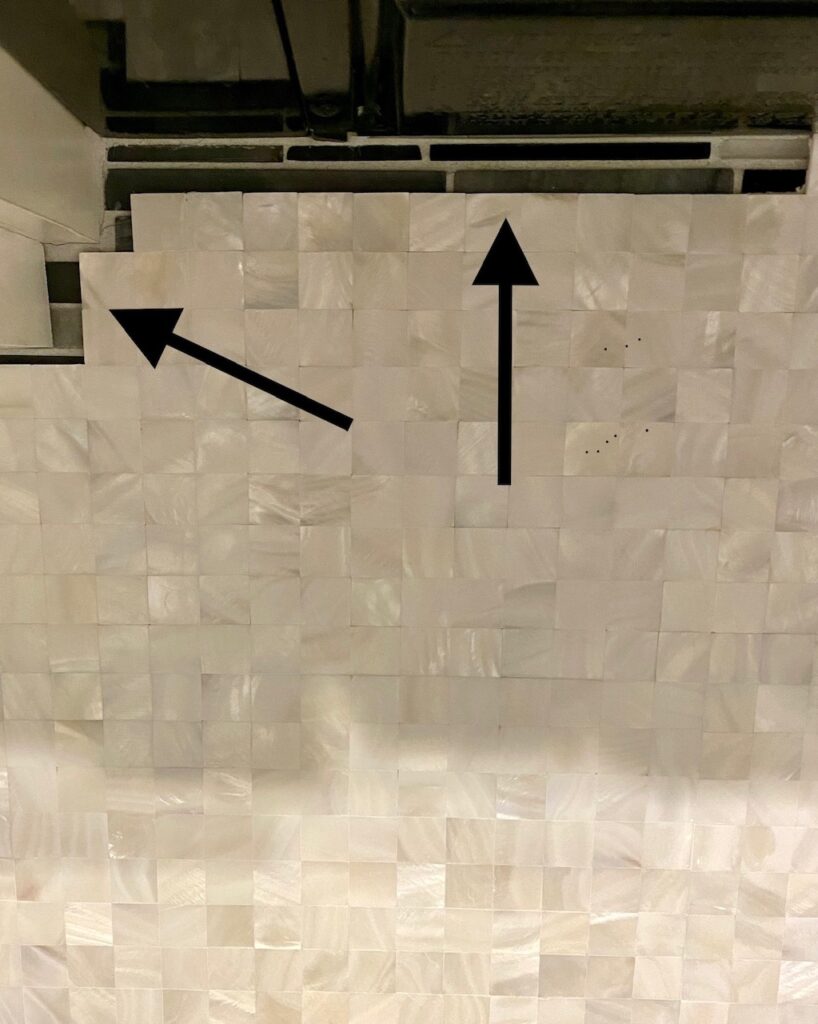
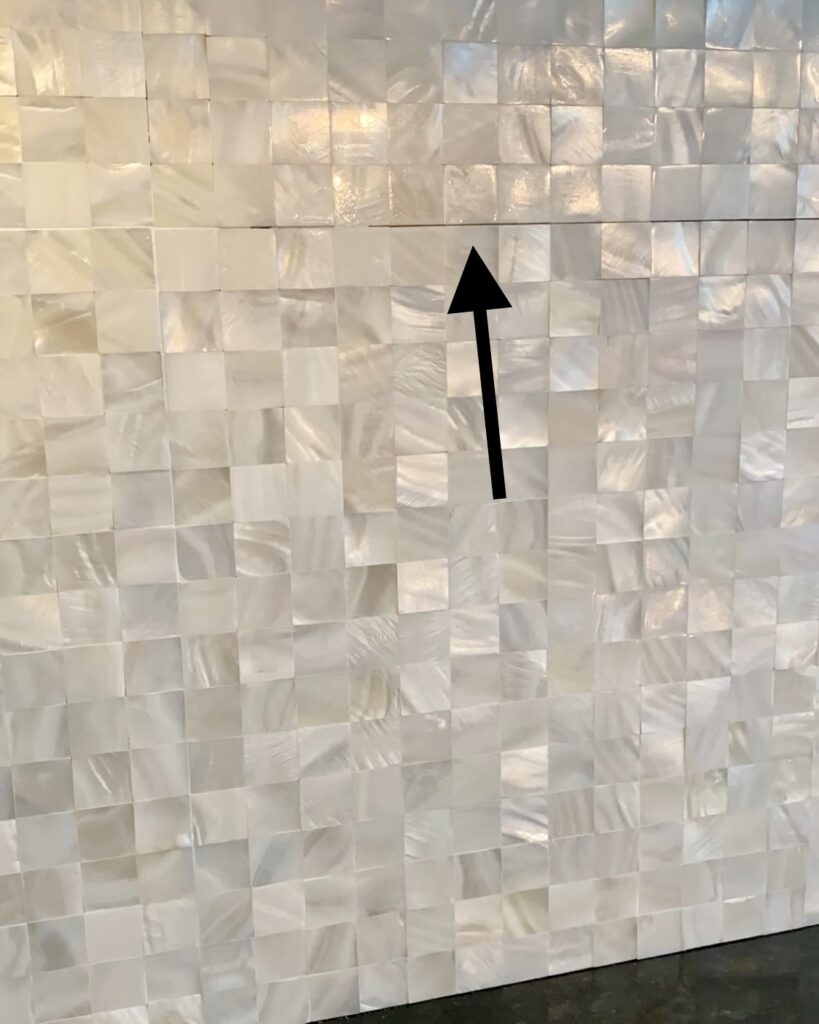
I only worked with full pieces starting out and went as far to the corner as I could before trimming the other pieces I had to adjust in size. Once the bottom row was complete, I started lining up the square pieces on a second row directly above the first completed row (see images below).
Adjusting the Size
The sheets were easily trimmed using regular scissors when I needed smaller pieces. Just fold back between the rows and cut (see image below).
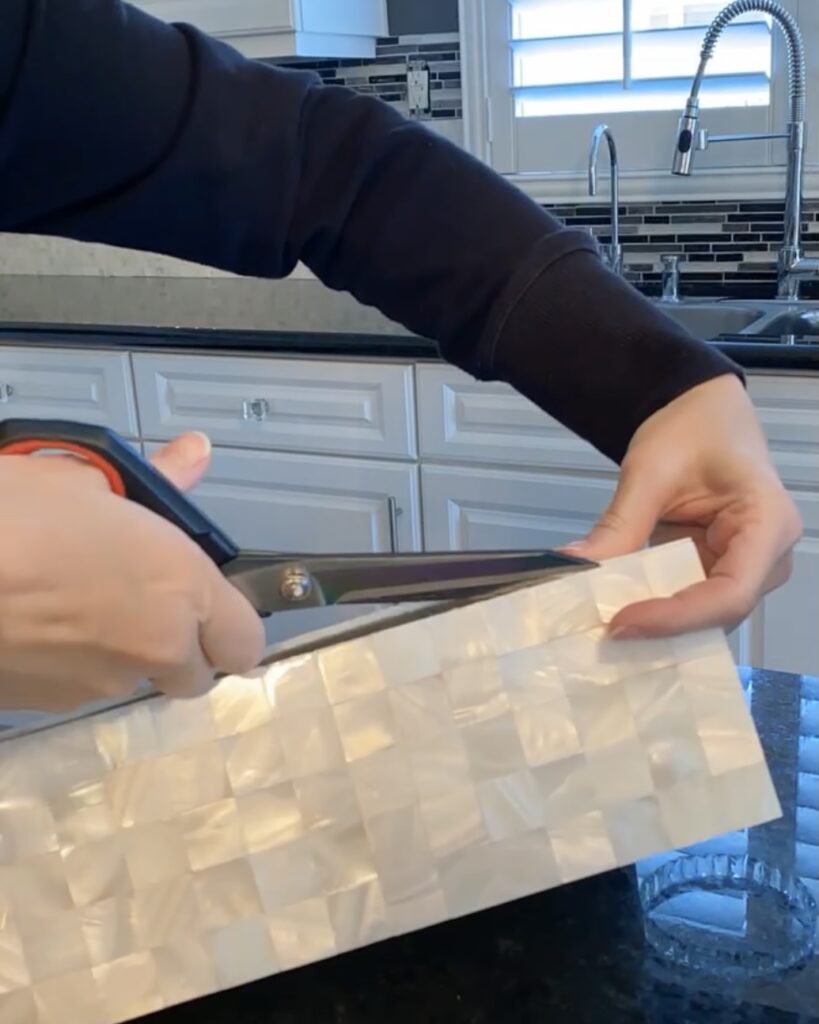
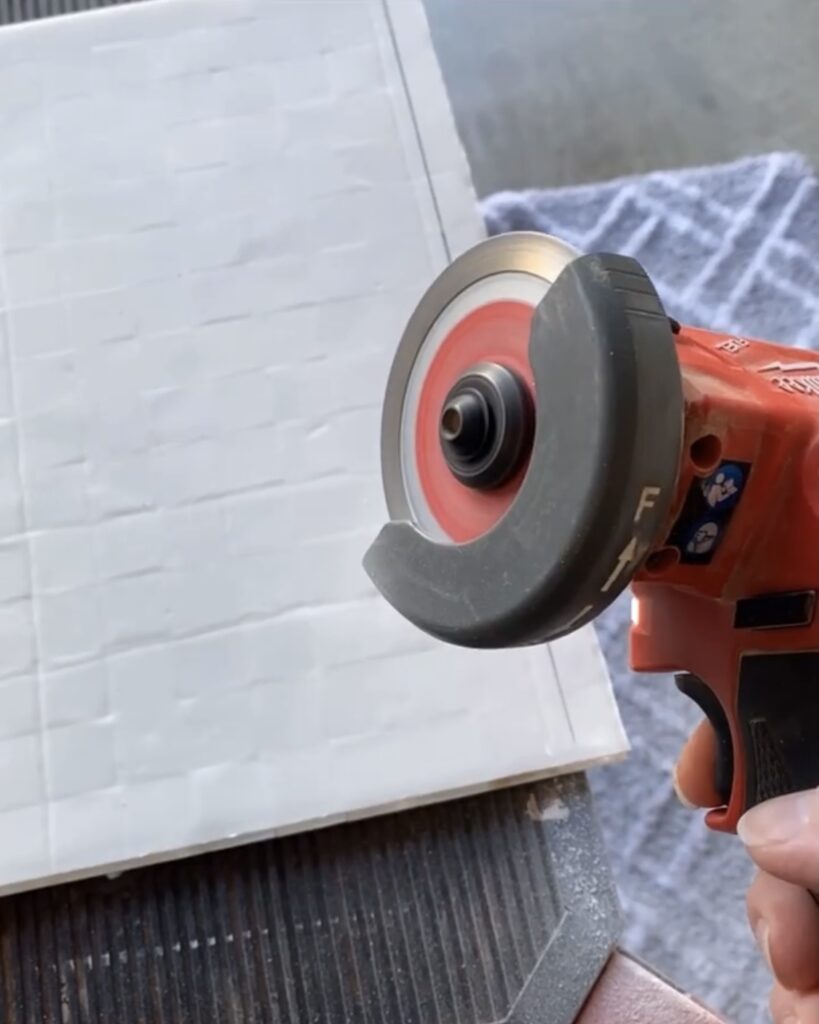
I did have to borrow my dad’s 3″ cut-off saw in order to trim some of the individual squares. This was for smaller pieces I needed around the outlets, along the bottom of the microwave and cabinets, in some of the corners, etc. (see images below).
Filling in the Gaps
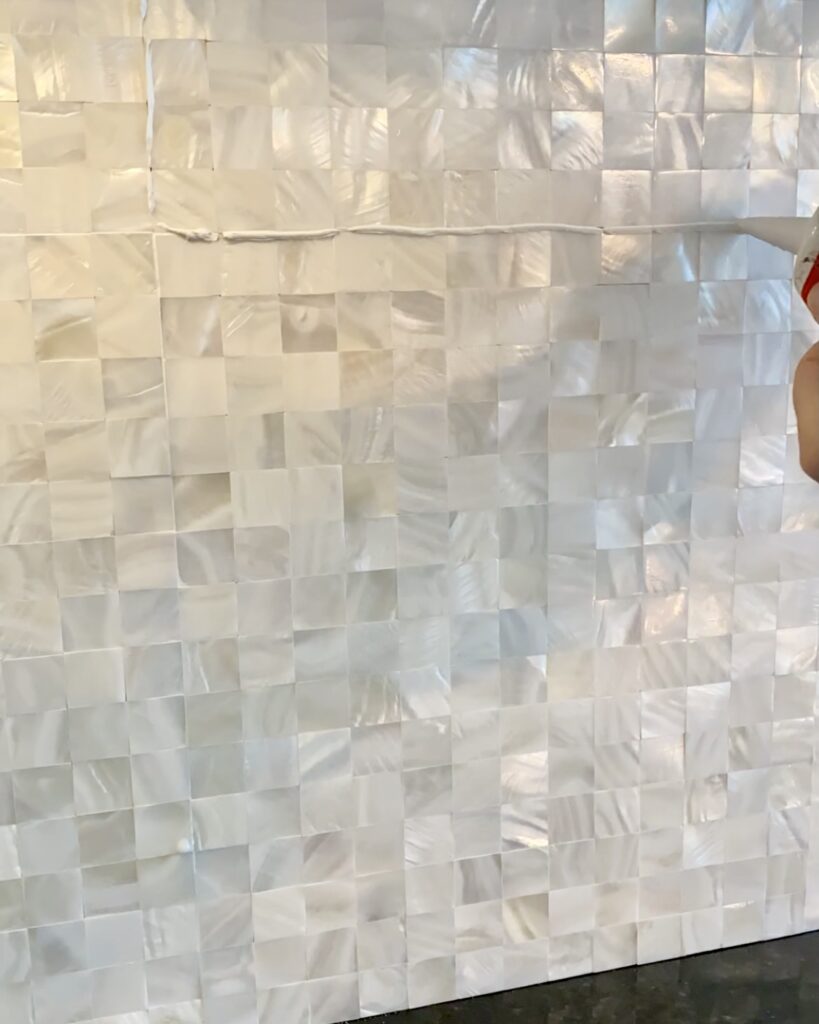
For filling in any small gaps, I used white caulk, which seemed to work perfectly. I also used it along the top, bottom, and sides of the backsplash in order to seal it all off once I was finished applying the tile to the wall.
All Done
I have to admit I was a little nervous to start this project, but Kathy from @lovefabdecor really inspired me when she shared a similar project in her kitchen. I am extremely happy with the result! All together it took about a full day to complete, but was easy enough for me to tackle by myself. You can click on the image above to get the link for ordering this Mother of Pearl peel-and-stick backsplash.
I hope this post helps to answer your questions, but feel free to reach out to me if there is anything you still aren’t sure about. Please share your projects with me if you decide to try this. I would love to see what you do!
Shop My Kitchen
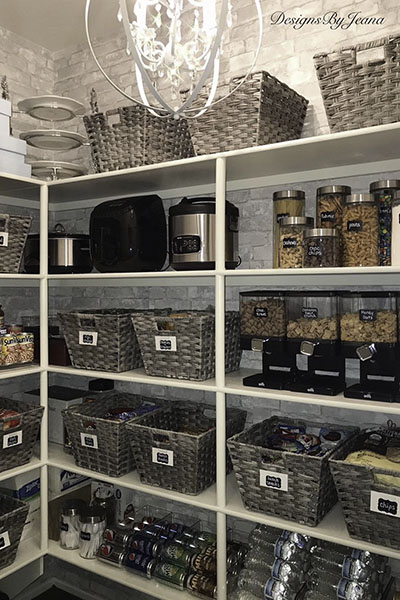
My Pantry
If you missed my pantry makeover post, you can check that out here.


