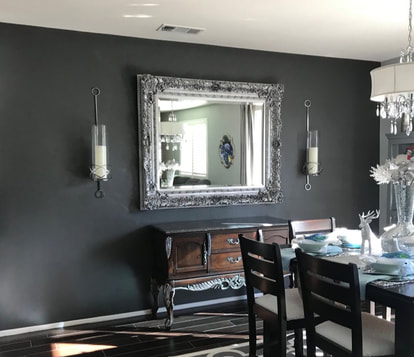
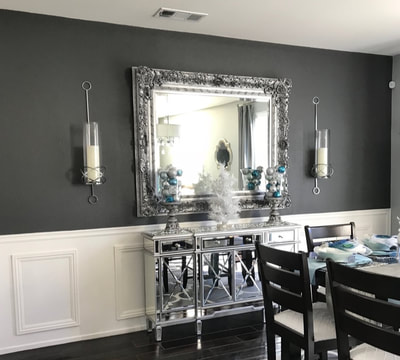
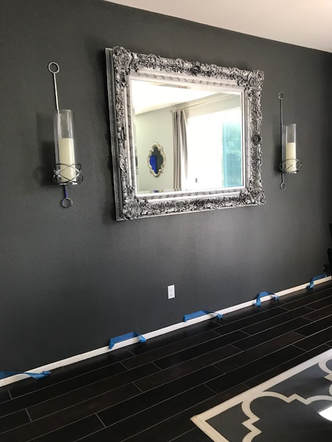
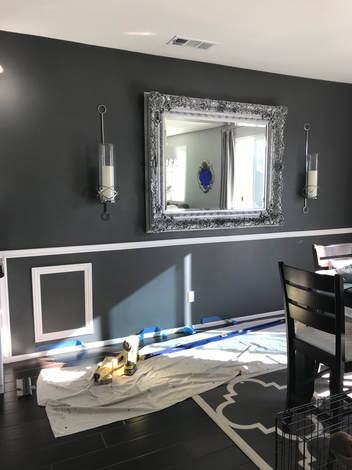
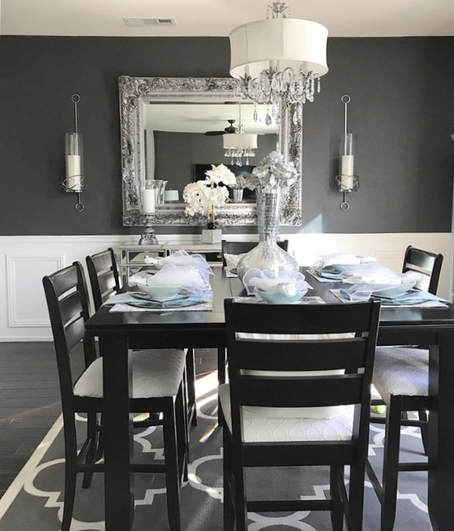
Before and After:
I thought about painting the whole wall a lighter color, but I didn’t want to compromise the look of the darker accent wall that much since I really like that color. I also considered extending my lower kitchen cabinets so that they spread across that entire wall (this is how the model home was designed). Since my cabinets are white, I figured this would definitely lighten things up in addition to creating a lot more storage space. I knew this cost would be slightly high, however, and I didn’t want to spend a ton of money.
I decided that I could sell my old sideboard, buy a new mirrored cabinet that would reflect more light, and add some character to the wall the same way I did in my front hallway – with a little moulding and paint (and the help of my handyman dad).
The steps below are to give you a general idea of how you could incorporate something like this in your home. I cannot give you specific measurements of your cuts because every wall is different, but I wanted to give you an idea of how this can be done on a budget.
Here are the steps I used:
This is definitely the most difficult part in order to get everything looking even and symmetrical. This step requires a lot of patience, but once you are done here, the rest of the steps are a breeze! First measure and mark how high you want your moulding to come up. I made mine even with the counter to the left side. You’ll then have to measure the width of the entire wall and then divide it evenly according to the number of squares that will fit in your space. I started with an idea of how many squares I wanted (5) and then we had to figure out how wide to make them and how far apart we could space them. We used a pencil to mark it all out (and mark it all out again, and then mark again). We used tape at the bottom of the wall to give us an idea of spacing. Like I said, this is the most time-consuming step since you want all of your squares to have the same width and at the same time be evenly spread across your wall.
After you measure, you are ready to purchase your trim. I purchased one type of moulding for the top and the two sides (to frame it all). For the individual squares, I purchased a different type of moulding. Whatever fits your home and style works here. You can get creative with what you choose.
STEP 3: Cut and nail on the moulding/trim
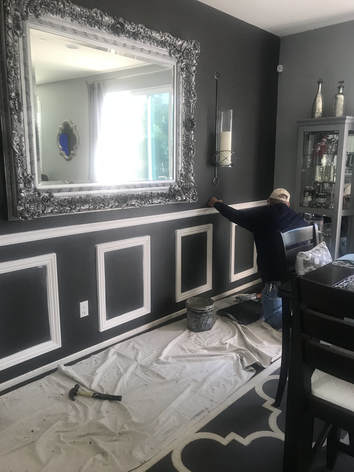
This is where the fun begins! You are now ready to start cutting and nailing your moulding to the wall. The top trim in the easiest and quickest to put up. Since you have already measured and marked the height (you should mark the height in a few different places down the wall), you just have to cut it according to the wall’s width. Then nail it (we used a nail gun) horizontally on the wall using a leveler to ensure it stays straight. Next come the squares. Since you already have an idea marked of where your squares are going, you will just need to measure one more time to make sure the number of squares you want will all fit evenly in your space. Then just cut and nail the trim accordingly to frame out each square.
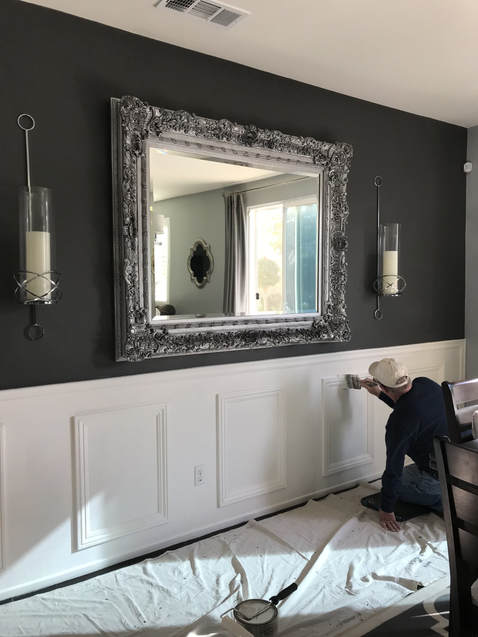
We used Behr Gloss White Enamel and went over the wall several times. It took about three coats to cover up the dark gray paint I had there prior.



Leave a Reply